Batch loss from undetected mold is one of the most frustrating and costly failures in commercial cannabis cultivation. Teams often realize the issue too late, when salvage is no longer possible. Industry data shows that nearly 1 in 10 batches fail microbial testing post-harvest, with mold as a leading cause.
The challenge is catching it early, when visual signs are subtle and easy to misread. This article breaks down cannabis mold pictures and what they typically show, helping you recognize early-stage contamination and act before it spreads across the batch.
Let's start with the basics:
- Mold drives batch failures. Up to 1 in 10 batches fail due to microbial contamination, often caused by mold that was not detected early.
- Visual cues are often subtle. Early-stage mold can resemble trichomes or residue, increasing the risk of misidentification.
- Detection must go beyond visuals. Smell, texture, environmental signals, and testing trends help identify contamination earlier.
- Risk peaks at specific stages. Flowering and post-harvest phases create the highest likelihood for mold development.
- Structured operations reduce risk. Consistent workflows, environmental tracking, and data visibility improve early detection and response.
What Is Mold in Cannabis Plants?
Mold in cannabis plants refers to fungal contamination that develops when moisture, organic material, and poor airflow create favorable conditions for spore growth. These fungi can establish themselves on leaves, stems, and within dense flower structures, often spreading before visible symptoms become obvious.
This is why mold is a big problem for commercial growers:
- Triggers batch failure during microbial testing, leading to total product loss
- Spreads rapidly across rooms, especially in dense canopies
- Degrades cannabinoid and terpene profiles, reducing product quality
- Increases compliance risk, including recalls and regulatory penalties
- Creates operational disruption, requiring quarantine, cleanup, and rework
- Impacts brand reliability, especially in regulated markets
Early identification is critical, but mold does not always present clearly in its initial stages. In the next section, we break down cannabis mold pictures and what they typically reveal, so teams can recognize contamination before it escalates.
Suggested Read: Determining the Level of Contamination in Your Weed
5 Cannabis Mold Pictures That Help Detect Mold Early in Commercial Facilities
What most teams rely on are reference visuals and pattern recognition. You need to understand how different mold types typically present across canopy, flower, and post-harvest environments.
The examples below break down what these “pictures” usually show and how to identify, verify, and respond before contamination spreads.
1. Bud Rot (Botrytis) – Internal Flower Mold
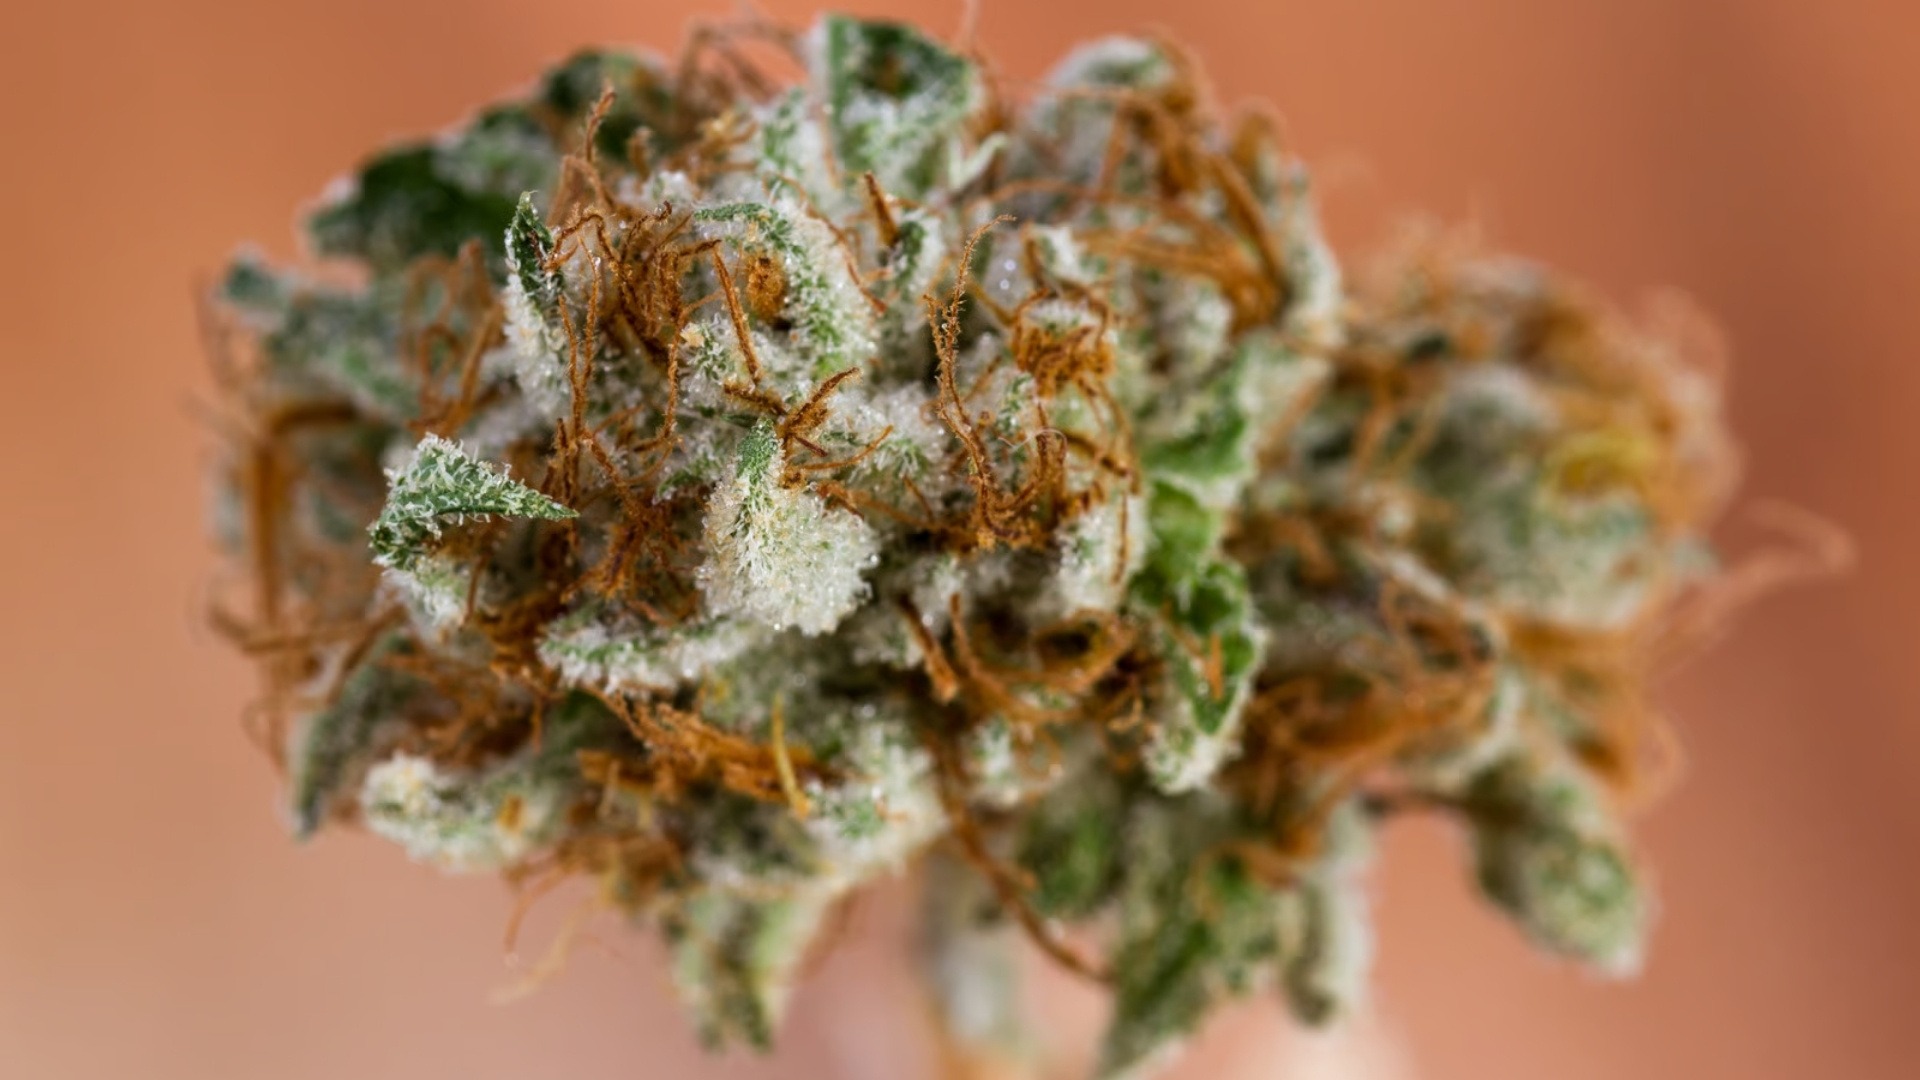
Bud rot develops inside dense colas, where moisture is trapped, and airflow is limited. It often progresses unseen until structural damage becomes visible. You need to be careful when looking at pictures of white mold on buds to identify it properly.
How to Identify
- Browning or graying within the inner bud structure
- Soft, collapsing flower when lightly pressed
- Dusty gray spores released when disturbed
Mistakes to Avoid in Identification
- Checking only outer bud surfaces
- Assuming discoloration is late-stage ripening
- Ignoring isolated affected buds
Fix
- Remove infected plants immediately
- Lower humidity and increased airflow
- Inspect surrounding plants thoroughly
What Else Can It Look Like
- Natural senescence in late flower
- Physical damage within dense buds
- Nutrient-related discoloration
2. Powdery Mildew – White Surface Growth
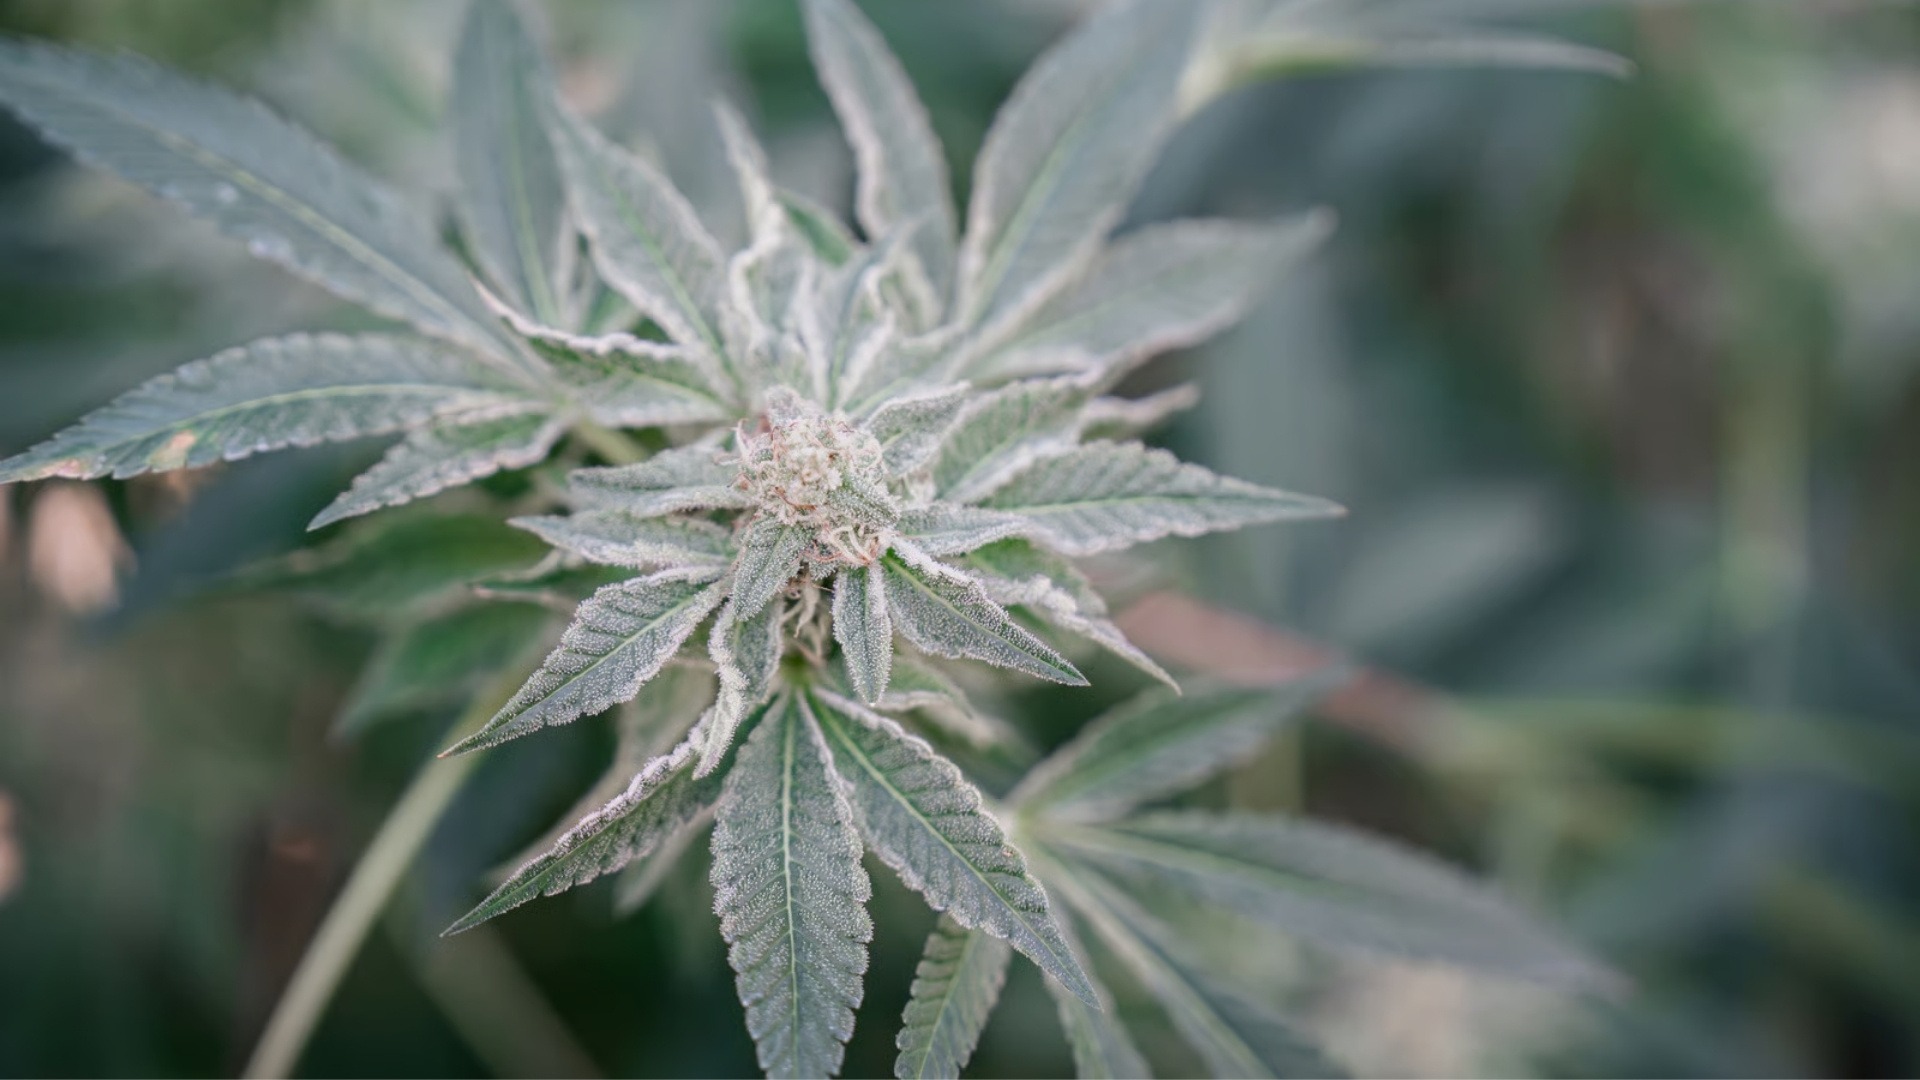
Powdery mildew appears as a white, chalky coating on leaf surfaces and can spread rapidly under stable, humid conditions. You can see this mold on the weed picture as very similar to trichomes. It typically starts small but, if unchecked, expands across the canopy.
How to Identify
- White powder-like spots on leaves
- Circular patches that expand over time
- Presence on upper canopy leaves
Mistakes to Avoid in Identification
- Confusing with foliar spray residue
- Wiping it off without further inspection
- Ignoring early, isolated spots
Fix
- Isolate affected plants quickly
- Improve airflow and reduce humidity
- Remove heavily infected foliage
What Else Can It Look Like
- Dust accumulation on leaves
- Dried nutrient spray residue
- Light bleaching from exposure
3. White Fuzzy Mold – Early-Stage Fungal Growth

This mold appears as soft, cotton-like growth in high-humidity zones with poor airflow. It is often an early warning sign of more aggressive infections.
How to Identify
- Fuzzy, cotton-like white patches
- Growth in shaded or dense canopy areas
- Moist or damp plant surfaces nearby
Mistakes to Avoid in Identification
- Mistaking it for trichome density
- Overlooking shaded lower canopy zones
- Ignoring small, isolated patches
Fix
- Remove affected areas immediately
- Increase airflow across the canopy
- Address humidity spikes
What Else Can It Look Like
- Heavy trichome coverage
- Early resin formation
- Residue from environmental buildup
4. Aspergillus – High-Risk, Low-Visibility Mold
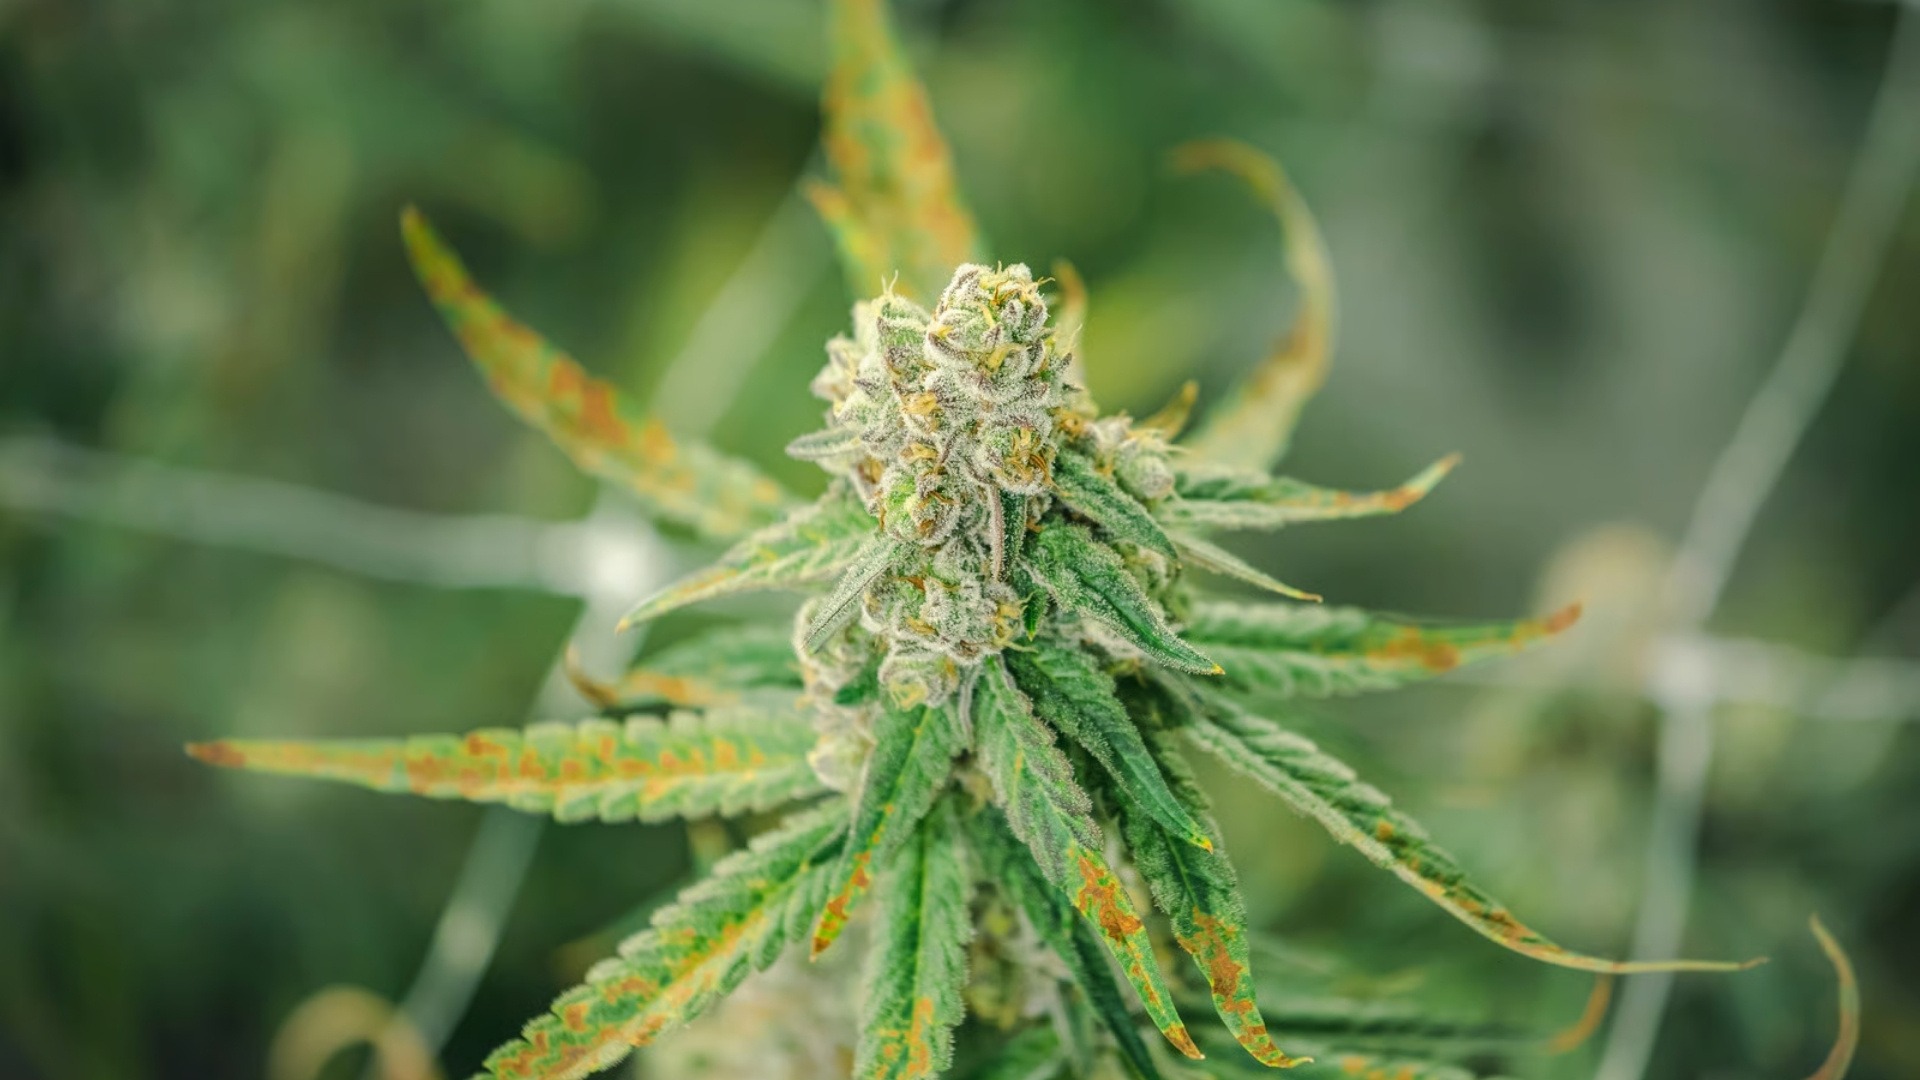
Aspergillus is a high-risk mold often not visible until contamination is advanced. It is a major compliance concern due to strict microbial limits.
How to Identify
- Fine dust-like spores in severe cases
- No clear visual signs in early stages
- Detected primarily through testing
Mistakes to Avoid in Identification
- Assuming clean visuals mean no contamination
- Skipping routine testing protocols
- Relying only on visual inspection
Fix
- Maintain strict environmental controls
- Implement routine microbial testing
- Eliminate contamination sources
What Else Can It Look Like
- Normal environmental dust
- Handling residue on surfaces
- Harmless particulate buildup
5. Penicillium – Blue/Green Mold in Late Stages
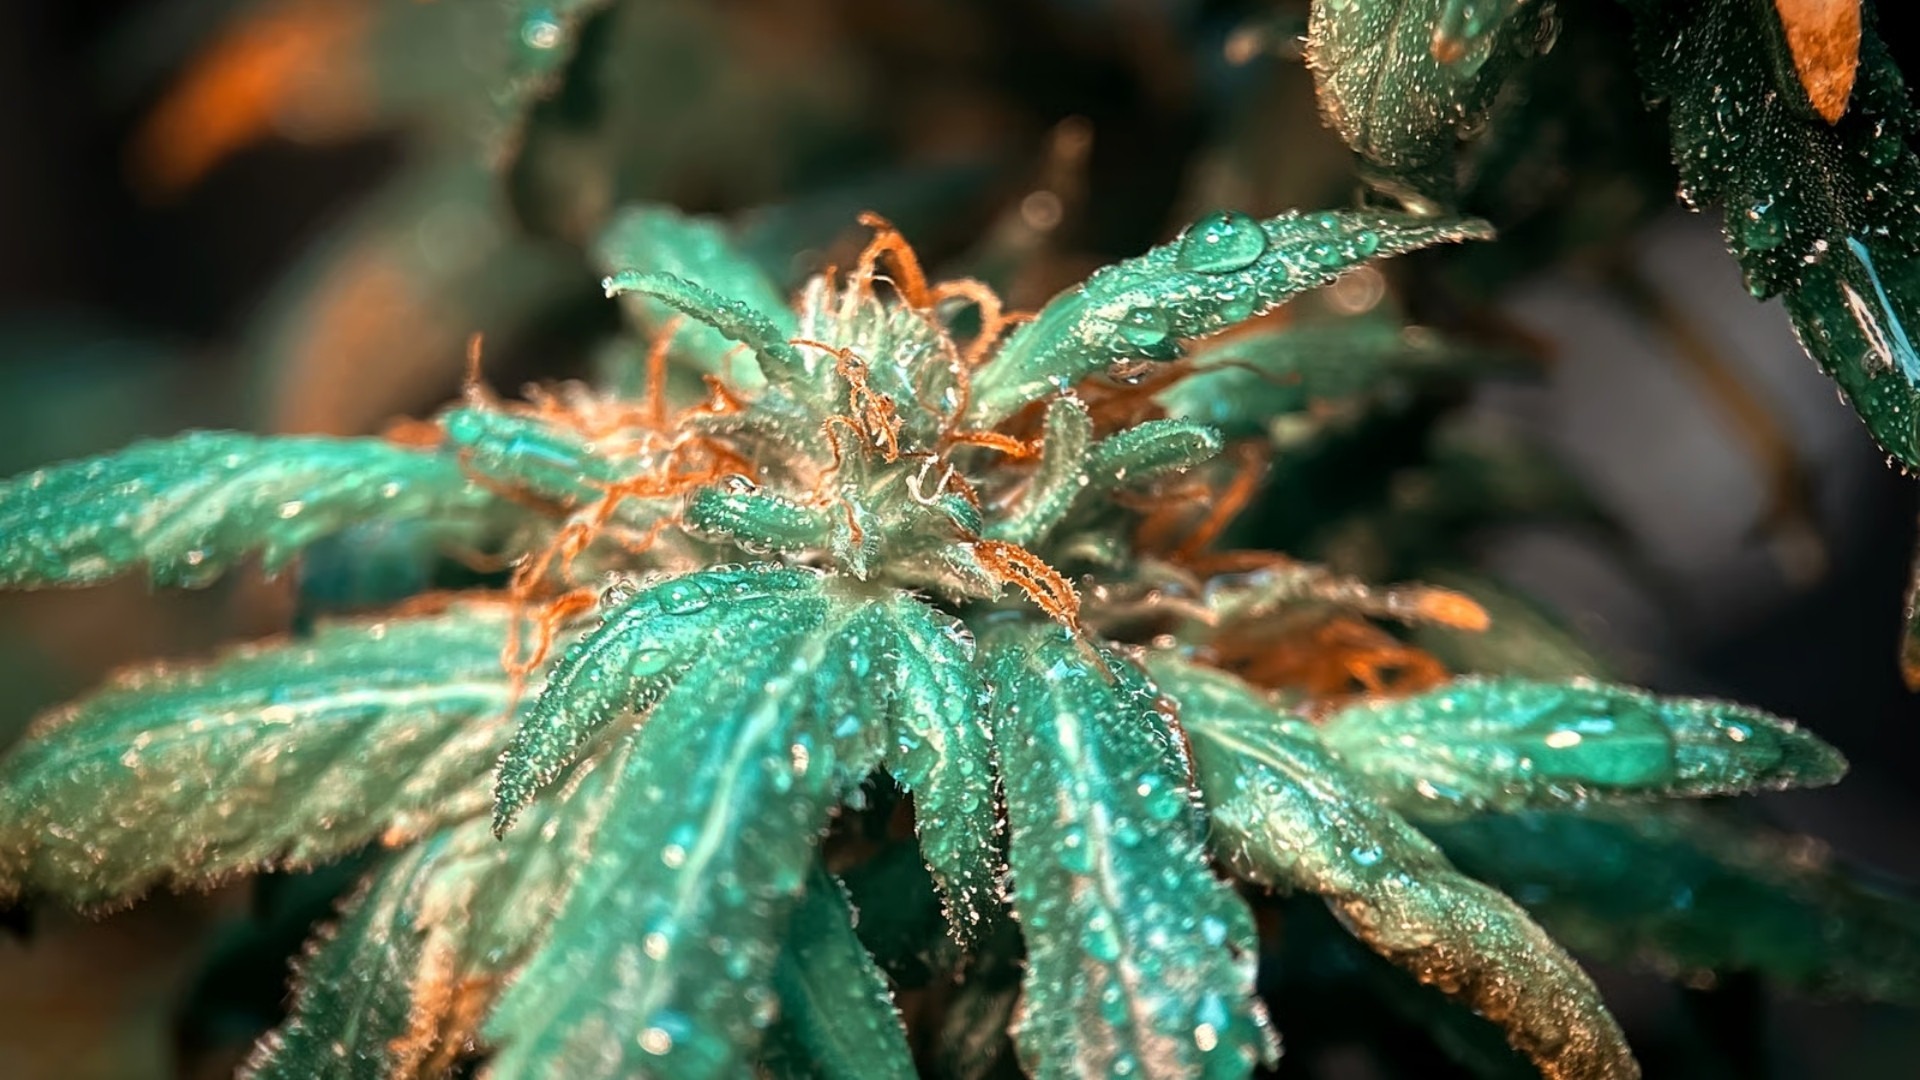
Penicillium typically develops during drying or curing when moisture levels are not properly controlled. It appears as distinct colored patches on the flower.
How to Identify
- Blue or green patches on buds
- Visible during drying or storage
- Powdery or fuzzy surface texture
Mistakes to Avoid in Identification
- Confusing with natural color variation
- Ignoring small patches during curing
- Overlooking storage conditions
Fix
- Discard the affected product
- Tighten drying and curing controls
- Monitor humidity closely
What Else Can It Look Like
- Bruising from handling
- Natural pigmentation changes
- Oxidation effects
Consistent detection is not just about visual awareness. It depends on how well teams track environmental conditions, standardize inspections, and respond to early signals.
PlanaCan supports operations by centralizing environmental data, batch tracking, and task workflows in one place. Instead of relying on scattered observations, teams can connect visual cues with real-time conditions and historical patterns. Schedule a free demo.
Ways to Identify Mold in Cannabis Cultivation Beyond Visual Inspection
In commercial environments, teams rely on smell, texture, environmental signals, and batch inconsistencies to flag potential contamination before it becomes visible.
Non-visual signs include:
- Smell Changes
A musty, damp, or mildew-like odor often replaces the plant’s natural terpene profile as mold begins to develop. This shift can appear before visible signs, making it a reliable early warning indicator during inspections. - Texture Shifts
Infected buds may feel unusually soft, moist, or structurally weak compared to healthy, dense flowers. As mold progresses, the internal structure begins to break down, even if the outer surface appears intact. - Environmental Red Flags
Persistent humidity spikes, condensation, or stagnant air zones create ideal conditions for mold growth. These signals often point to risk areas within the canopy where contamination can develop unnoticed. - Unexpected Quality Drops
Variations in batch quality, such as reduced aroma, potency, or shelf stability, can indicate underlying contamination. Early degradation during storage is often linked to mold that was not detected at harvest. - Testing Signals
Rising microbial counts in lab results, even when visuals appear clean, suggest hidden contamination. This gap between testing and visual inspection is common with early-stage mold development.
These signs often appear before visible mold develops, making them essential for early intervention. Mold risk is also not constant throughout the cycle. In the next section, we look at when mold is most likely to develop and where teams should focus their attention.
Suggested Read: Curing Cannabis: Why It is Critical and How It Impacts Quality
When Is Mold Most Likely to Develop in the Cannabis Growth Cycle?
Mold risk tends to spike during specific stages where moisture, plant density, and environmental instability intersect. Understanding these windows allows teams to focus on monitoring and intervention where it matters most.
Table showing mold risk in different stages:
These stage-specific risks highlight where attention needs to be concentrated. The patterns below summarize where mold is most likely to emerge and why certain phases require tighter control.
Key mold risk patterns across growth stages:
- Flowering stages carry the highest risk due to bud density and moisture retention
- Post-harvest phases are often underestimated, yet account for a significant share of contamination
- Environmental instability during transitions creates ideal conditions for mold development
- Microclimates within the canopy can differ significantly from room-level readings
- Delayed response during high-risk stages increases the likelihood of full-batch impact
Consistent monitoring across these stages is critical, but timing alone is not enough. Teams also need visibility into environmental shifts, task execution, and batch-level conditions as they evolve.
PlanaCan helps by centralizing environmental tracking, stage-based workflows, and operational data in one system. By connecting risk signals to specific growth stages, teams can act earlier and reduce the chances of contamination progressing unnoticed. Try PlanaCan for free.
Mold vs Trichomes: How to Tell the Difference
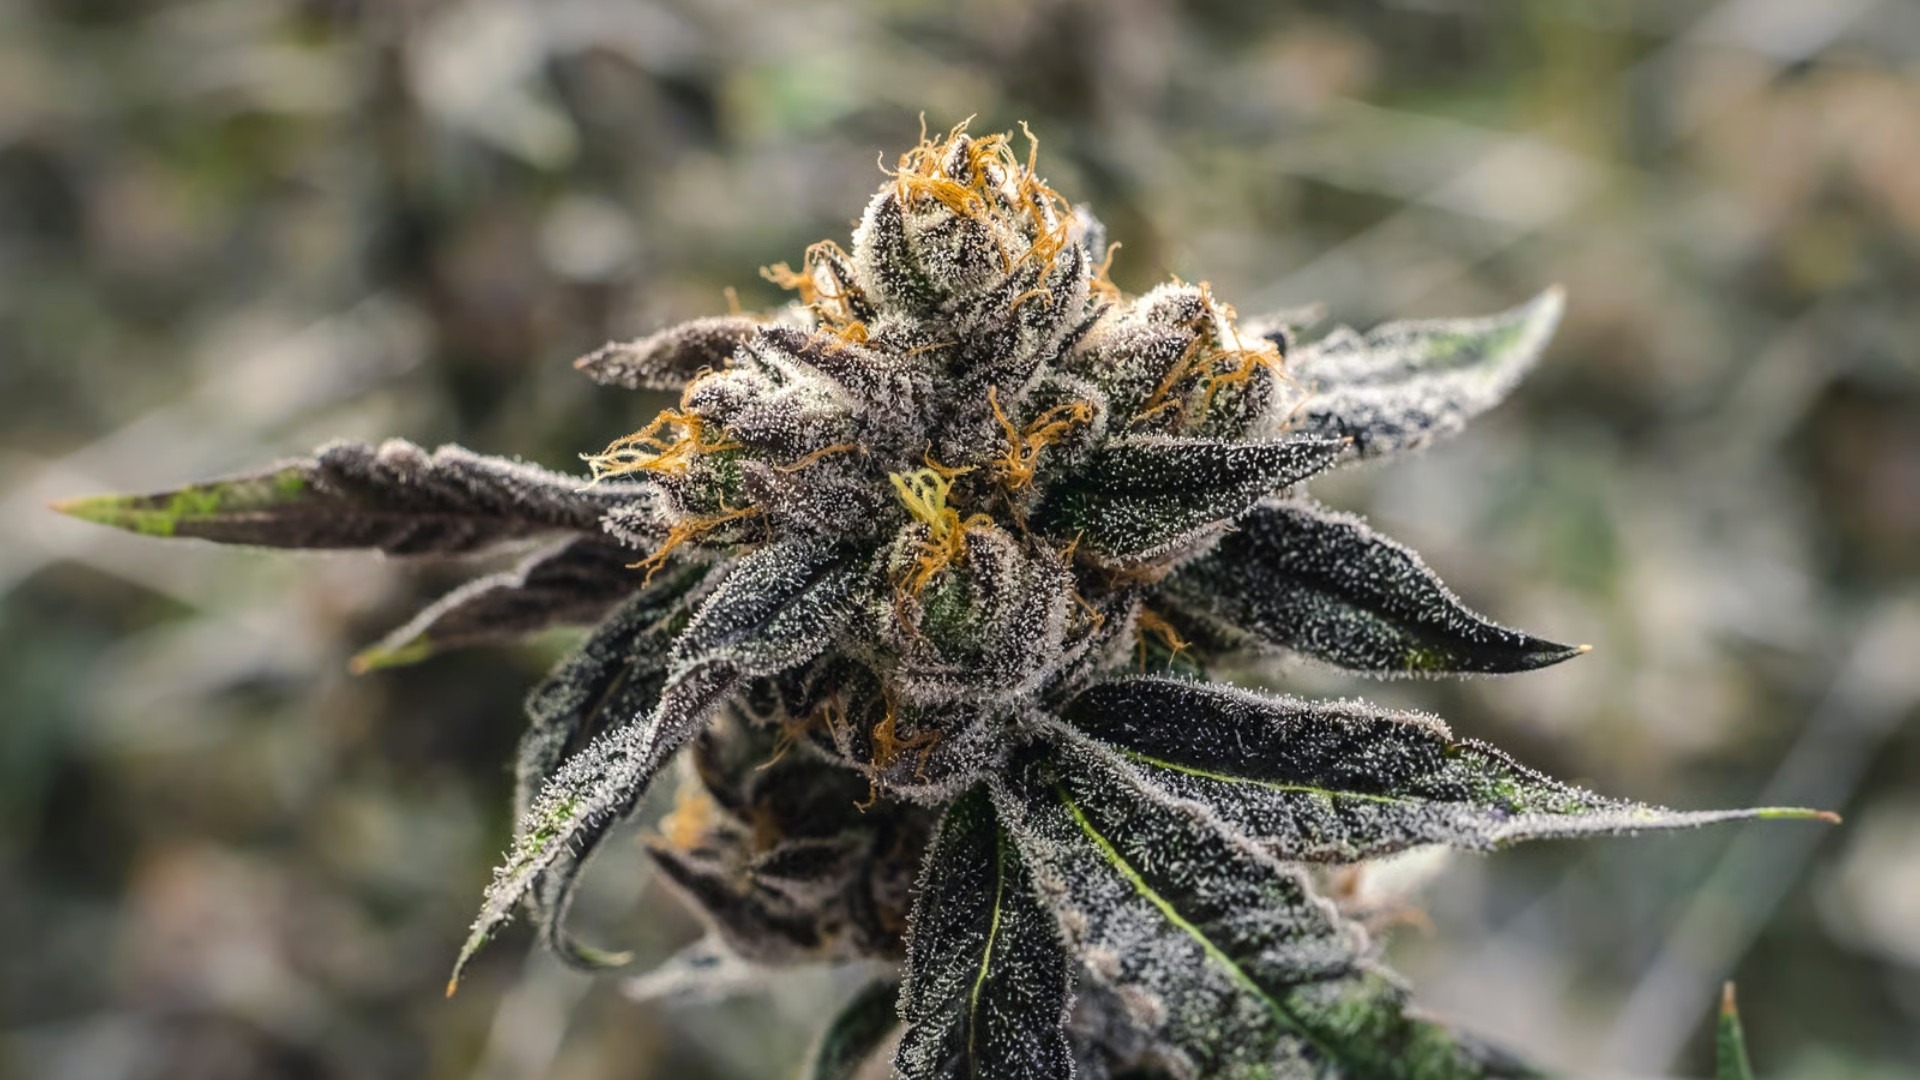
Trichomes are the small, resin-producing glands on cannabis flowers that produce cannabinoids and terpenes, and they are a sign of healthy plant development. For commercial growers, distinguishing between the two is critical, as misdiagnosis can delay response and increase the risk of contamination spreading across the batch.
The differences below highlight how mold and trichomes present across key indicators:
- Appearance: Mold appears irregular, patchy, and fuzzy, while trichomes are uniform, crystalline, and evenly distributed
- Texture: Mold feels soft or powdery, whereas trichomes are sticky and resinous to the touch
- Growth Pattern: Mold spreads unpredictably across surfaces, while trichomes develop consistently across healthy buds
- Color: Mold can appear white, gray, or green, while trichomes shift from clear to milky to amber as they mature
- Location: Mold often develops in hidden, high-moisture areas, while trichomes are present across exposed flower surfaces
Accurate identification is the first step, but prevention is what reduces long-term risk. Once mold is recognized correctly, the focus shifts to controlling the conditions that allow it to develop.
How to Prevent Mold in Commercial Cannabis Cultivations
Mold prevention results from consistent environmental management, standardized processes, and disciplined execution across every stage of the growth cycle. Small gaps in airflow, humidity control, or sanitation can quickly compound into contamination risks.
Prevention tips include:
- Control Humidity and Airflow: Maintain stable humidity levels across rooms and eliminate stagnant air pockets within dense canopies.
- Standardize Irrigation and Scheduling: Avoid overwatering and ensure consistent dry-back cycles to reduce excess moisture buildup.
- Enforce Sanitation Protocols: Clean tools, surfaces, and grow areas regularly to limit spore introduction and spread.
- Optimize Plant Spacing: Prevent overcrowding to reduce humidity traps and improve airflow penetration.
- Monitor Environmental Data Continuously: Track temperature, humidity, and VPD to identify risk zones early.
- Train Teams on Detection and Response: Ensure staff can identify early signs and act quickly to contain issues.
Mold is not always visible in its early stages. The next step is understanding whether operational systems can reduce this risk and support more consistent detection.
Suggested Read: Understanding How Dryness Affects Cannabis Potency
Can a Cultivation Planning Software Reduce Mold Risk in Cannabis Cultivation?
Mold prevention and early detection depend on consistency, visibility, and timely action. Planning software helps standardize operations, reduce human error, and ensure that environmental and workflow signals are not missed across large-scale grow facilities.
These features help reduce mold risk across operations:
- Task Consistency: Use software to automate work such as inspections, sanitation, and environmental checks so critical steps are not missed.
- Operational Timing: Strong schedule management ensures activities like irrigation, pruning, and drying happen at the right time to avoid excess moisture buildup.
- Team Coordination: Centralized communications allow teams to report and escalate early signs of mold quickly and without gaps.
- Data Visibility: Built-in analytics track environmental trends and batch performance to identify mold risk before it becomes visible.
PlanaCan supports commercial growers by bringing these features into a single system. It adds another layer of control by connecting day-to-day activities with structured workflows and data visibility. Dynamic interactive calendar, standardized templates, and data-tracking help teams align tasks, maintain consistency, and identify mold risks earlier across batches.
Conclusion
Mold-related batch failures are rarely caused by a single issue. They result from small gaps in visibility, delayed detection, and inconsistent execution across the growth cycle. By the time mold is confirmed, containment is limited, and losses are already locked in.
PlanaCan connects environmental data, task execution, and batch tracking into one workflow. It uses an interactive calendar, standardized templates, and structured batch records to keep operations consistent across cycles. This allows teams to trace issues to specific stages and respond early before risks escalate.
See how structured workflows and real-time visibility can reduce mold risk across cycles. Schedule a free call today.
Frequently Asked Questions
1. What kills mold on cannabis?
Mold cannot be safely removed from contaminated cannabis. In commercial settings, affected material is discarded, and environmental conditions are corrected to prevent further spread.
2. How can you identify mold early on cannabis plants?
Early detection relies on recognizing subtle visual cues. Reviewing cannabis mold pictures helps teams compare patterns and identify contamination before it becomes widespread.
3. What does mold on weed look like?
A typical mold on weed picture shows fuzzy, powdery, or discolored patches on buds or leaves, often appearing white, gray, or green depending on the mold type.
4. What does white mold on cannabis buds indicate?
White mold on buds pictures usually show early-stage fungal growth such as powdery mildew or fuzzy mold, often linked to high humidity and poor airflow conditions.
5. Can mold spread during drying and curing?
Yes, mold commonly spreads during drying and curing if humidity and airflow are not controlled, making post-harvest environments a critical risk stage for contamination.