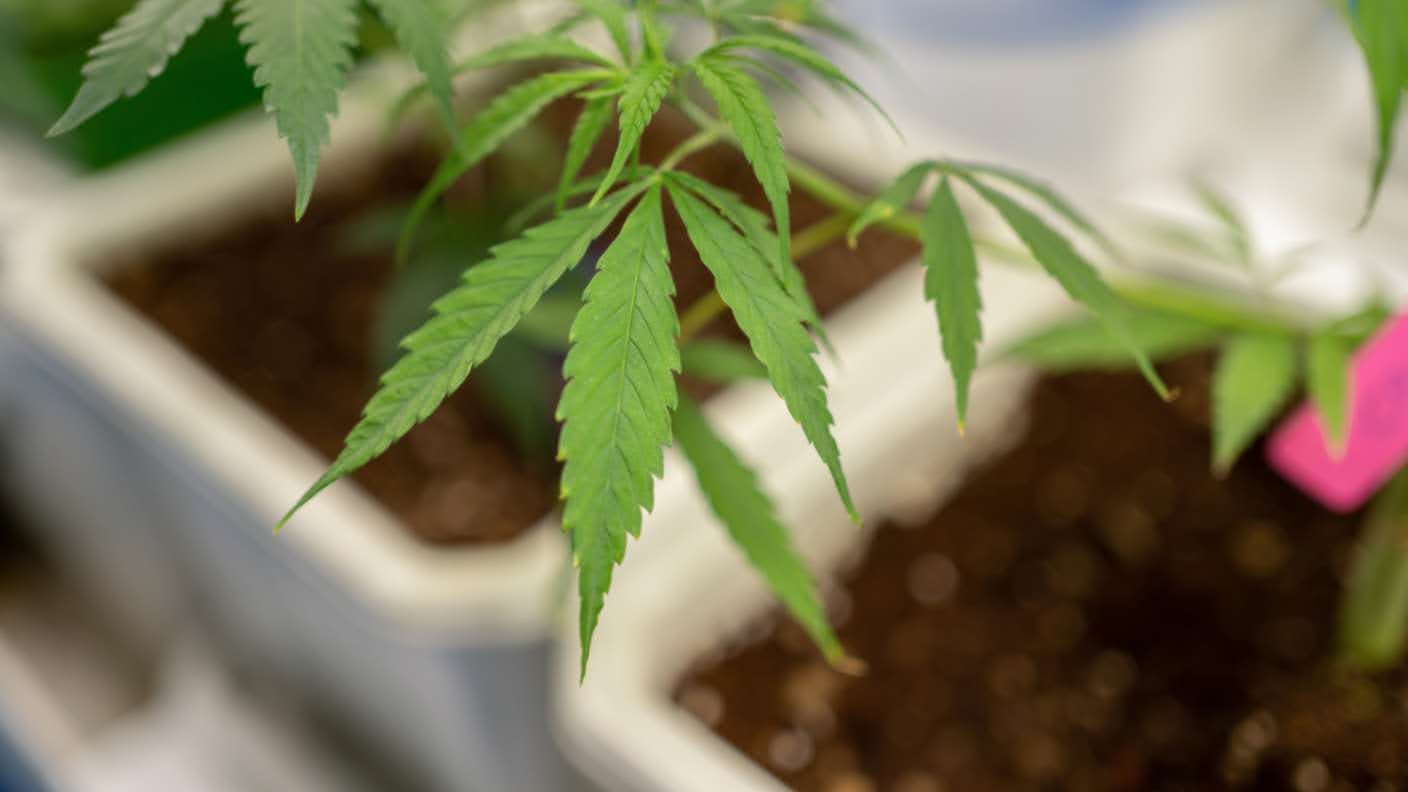
Spent months growing your cannabis plants only to end up with harsh smoke or weak effects? You are not alone. Many growers invest weeks or even months nurturing their plants with the perfect balance of nutrients, light, and care. But once harvest time arrives, they often overlook the final step that can make or break the entire crop.
Curing is not just an afterthought. It is the stage where the true quality and market value of your cannabis take shape. If curing is rushed or handled poorly, you risk losing potency, terpenes, and shelf stability. Worse, improper curing creates the perfect conditions for mold growth and pest issues like spider mites.
For commercial growers, this can result in failed lab tests, rejected batches, and substantial financial losses. Buds that develop mold during curing cannot be sold in regulated markets. Even a slight contamination can ruin an entire harvest and damage your reputation.
A controlled curing process protects your product, maintains compliance with quality standards, and ensures you deliver a safe, effective product to the medical market.
Mastering how to cure marijuana plants can transform your harvest into top-shelf cannabis. Here is how to do it the right way and make all that effort worthwhile.
TL;DR
- Curing is a slow process after drying that breaks down chlorophyll, enhances terpene and cannabinoid profiles, and improves flavor and aroma.
- It locks in potency, preserves terpenes, prevents mold, improves bud structure, extends shelf life, and brings out the full character of the strain.
- How to Cure Marijuana Plants to Prevent Mold and Mites
- Common causes for mold and mites: high humidity, poor airflow, overcrowded plants, weak plant health, and unclean grow spaces.
- Curing is the step that turns decent weed into top-shelf quality. Tools like PlanaCan help automate and monitor curing tasks for consistent, high-quality results.
What is Cannabis Curing
Curing cannabis is a slow, controlled process you manage after the initial drying phase. It is not just another step in the post-harvest process. It is what elevates your crop from good to top shelf. During curing, your buds continue breaking down chlorophyll and unwanted compounds that can cause harsh flavors or grassy aromas. At the same time, cannabinoids and terpenes mature, locking in potency, smell, and smoothness.
Think of curing like aging fine wine. With the right approach, you can turn a well-grown harvest into premium-grade buds that burn clean and deliver the full expression of your hard work. Without this process, even an expertly cultivated flower can fall short. With proper curing, you preserve quality, enhance potency, and ensure your harvest stands out from the rest.
So, why is cannabis curing essential? Let us understand below.
Why is Cannabis Curing Essential
You have put months into growing healthy plants. But your work does not end at harvest. If you skip or rush the curing stage, you risk degrading the quality of your yield. Curing is just as critical as any other step in your grow process. Here is why:
1. Preserves Cannabinoid Potency: Curing helps cannabinoids, such as THC and CBD, stabilize within your buds. Without it, cannabinoids can degrade quickly, especially if the buds dry too fast or unevenly. A proper cure locks in potency and protects the value of your harvest.
2. Protects the Terpene Profile: Your plants produce terpenes throughout the flowering stage, giving each strain its distinct aroma. Without curing, excess chlorophyll and sugars will overpower those aromas. A good cure allows plant material to break down naturally so terpenes can shine.
3. Prevents Mold and Bud Rot: Curing controls moisture content gradually. If buds retain excess internal moisture after drying, they are prone to mold and bud rot. These problems can significantly reduce your yield. Curing helps you avoid these risks and preserve your harvest.
4. Improves Bud Structure and Appearance: During curing, chlorophyll and sugars degrade, and moisture distributes evenly through each bud. This prevents brittle or overly dry flowers and helps maintain a tight, well-formed structure that will retain its shape during storage.
5. Extends Shelf Stability: A fully cured harvest retains its quality over time. Curing prepares buds for long-term storage without risking terpene loss or degradation of cannabinoids. You will be able to hold inventory between grows without sacrificing quality.
6. Delivers the Strain’s Full Potential: Each strain has a specific balance of cannabinoids and terpenes. Curing allows those compounds to mature together, so your final product reflects the actual characteristics of the strain you worked hard to grow.
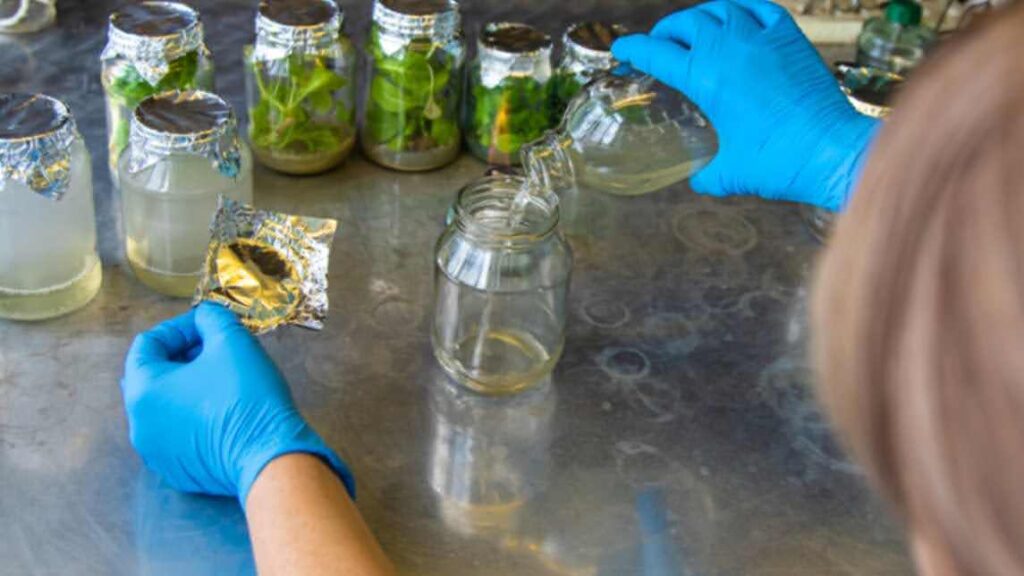
With tools like PlanaCan, you can simplify this process by defining and automating each step using customizable templates. From initial planting to final cure, you can outline tasks for specific strains or harvest cycles and schedule them onto a calendar in just a few clicks. This keeps your workflow consistent and reduces the chance of missing critical steps like proper curing.
Now, let us discuss how to cure your cannabis plant step by step and prevent mold and mites in the process.
How to Cure Marijuana Plants to Prevent Mold and Mites
Many growers rush the cure or skip necessary steps, only to find mold in their jars or mites infesting their harvest. Curing is not just about improving flavor. It is the key to preserving potency, keeping your buds fresh, and protecting them from mold and pests.
Here is how to cure your marijuana plants the right way, step by step, with tips to prevent mold and mites at every stage.
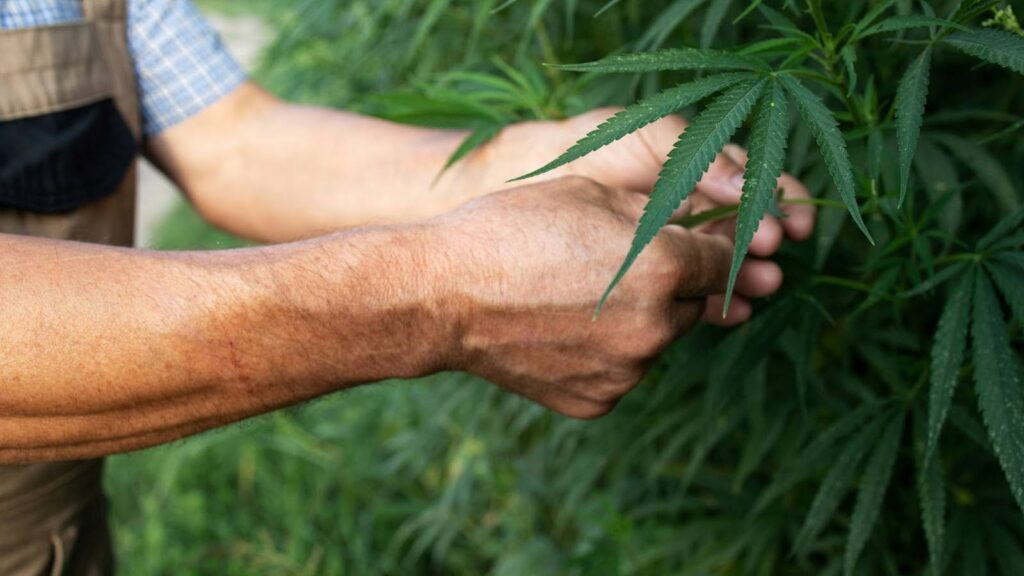
1. Trim Your Buds
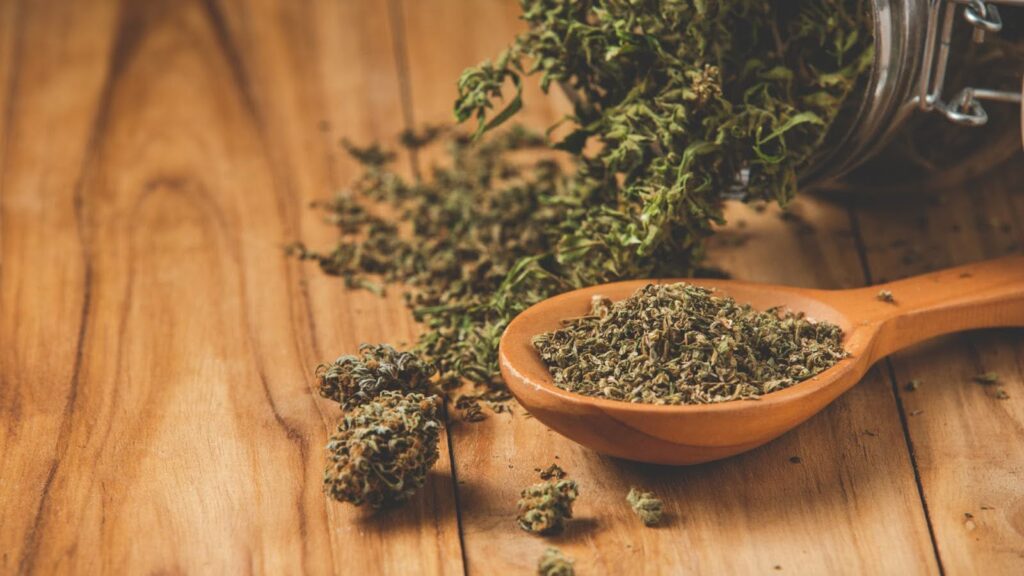
After harvest, begin by trimming away excess leaves from your buds. You can do this while the plant is fresh (wet trim) or after it has dried for a few days (dry trim). A clean trim helps the buds dry more evenly and reduces the risk of trapped moisture. Uneven drying creates an environment that allows mold to grow.
Tips to Prevent Mold and Mites:
Sanitize your scissors and tools before trimming to prevent the spread of germs. Sticky tools can attract bacteria and spores. Wipe them clean often. Keep your workspace free of plant waste and clutter to discourage pests.
2. Dry Your Buds Slowly
Hang the trimmed buds upside down in a cool, dark, and well-ventilated room. Maintain a temperature between 18 and 22 degrees Celsius, with a relative humidity of 50-60 percent. Drying should take about 7 to 14 days. The goal is to dry the buds slowly, without rushing the process. Fast drying can trap chlorophyll and ruin the flavor, while a slow, even drying process helps preserve terpenes and aroma.
Tips to Prevent Mold and Mites:
Monitor humidity often. If it goes above 60 percent, lower it with a dehumidifier. Keep the drying room clean. Remove any standing water or dust that could harbor pests. If you notice signs of bugs or mold, take action quickly to prevent it from spreading.
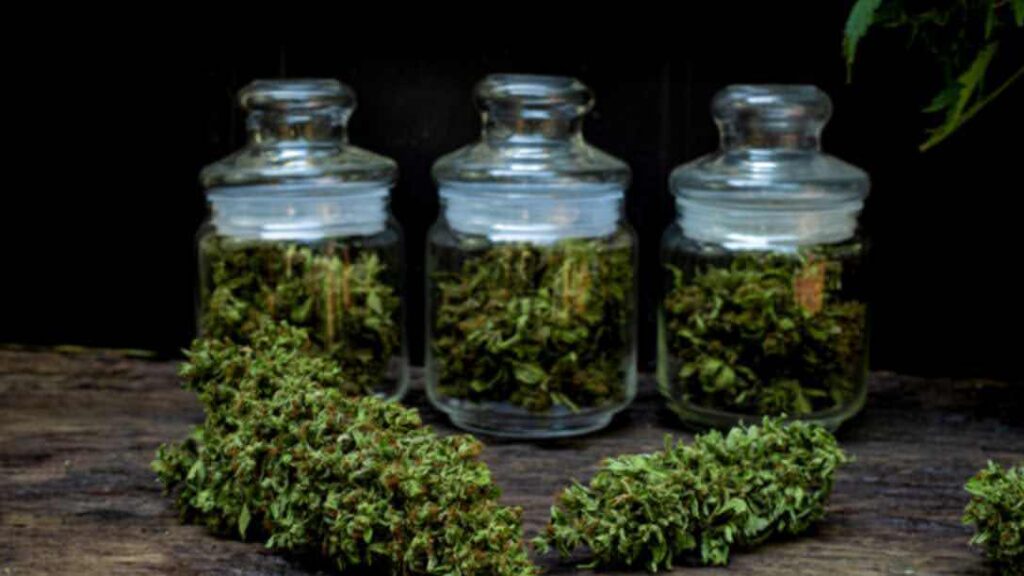
3. Transfer to Jars
Once the buds feel dry on the outside and stems snap rather than bend, it is time to cure them. Place the buds into clean, airtight glass jars, filling each jar about three-quarters full. This allows room for air circulation. Glass jars work best because they do not absorb odors or chemicals. Inspect every bud before placing it in the jar. Look for signs of mold, such as white fuzz or discoloration, and check for mites or webbing. Only healthy buds should be stored.
Tips to Prevent Mold and Mites:
Sterilize jars before use. Use a small hygrometer in each jar to monitor humidity levels. If the reading climbs above 62 percent, open the jar for a few hours or return the buds to the drying room. Store jars in a cool, dark space away from heat or light.
4. Burp the Jars
For the first two weeks, open the jars once or twice daily for 10-15 minutes. This allows excess moisture to escape and fresh air to enter. If you notice condensation inside the jar, leave it open longer or return the buds to the drying room. The target humidity inside the jar should be maintained between 58% and 62%. Smell the buds each time you burp the jar. A musty or sour odor could signal early mold growth.
Tips to Prevent Mold and Mites:
Wash your hands or wear gloves before handling buds. Open jars in a clean space. If you detect any mold, remove the affected buds immediately. If you spot mites, isolate that jar and freeze it for 48 hours to stop the infestation.
5. Monitor for Mold and Mites
Throughout curing, keep checking the buds. Mold usually starts inside dense buds where moisture can linger. Look for fuzzy white, gray, or green growth and inspect for fine webbing or crawling pests. Handle buds carefully during inspections to avoid damaging the trichomes. If you find mold, remove the affected buds immediately and inspect the rest of the jar.
Tips to Prevent Mold and Mites:
Maintain a stable, cool storage temperature between 15 °C and 20 °C. Maintain a clean environment and avoid temperature fluctuations. Even after the initial curing phase, check the jars every few days to catch problems early.
6. Continue Curing
After the first two weeks, you can burp the jars less often, about every few days. Many growers continue to cure for four to eight weeks or longer to achieve peak quality. Store the jars in a dark, cool location and maintain a humidity level between 58% and 62%. The longer the cure, the better the results, as long as the conditions remain stable.
Tips to Prevent Mold and Mites:
Continue to monitor the jar's humidity with a hygrometer. Rotate buds in the jars occasionally to ensure even curing. Store jars away from heat and light, as these conditions can promote mold growth and attract pests.
Reasons for Frequent Mold and Mites on Cannabis
Many growers deal with repeat infestations without understanding why. To prevent this, you need to know the conditions that allow mold and mites to thrive and how to correct them. Here are the key reasons and simple tips to keep your grow clean and healthy:
1. High Humidity Levels: Excess moisture in the air creates the perfect environment for mold and mites.
2. Poor Air Circulation: Stagnant air allows mold spores and pests to settle on the plant.
3. Overcrowded Plants: Dense canopies trap humidity and limit airflow.
4. Weak Plant Immunity: Stress from poor nutrition or improper care makes plants more vulnerable.
5. Contaminated Grow Space: Unclean equipment and surroundings can introduce and spread mold and mites.
General Tips and Tricks for Future Prevention
- Quarantine new plants before adding them to your grow.
- Use natural predators such as ladybugs or predatory mites for biological control.
- Avoid overwatering and remove dead leaves promptly
- Defoliate dense areas to improve light penetration and airflow
- Keep your grow environment tidy and well-maintained year-round
- Rotate crops and take regular breaks between cycles to reset the space
Tracking how these curing steps affect your final product is key. PlanaCan helps by recording every detail from each harvest, so you can see what worked and what didn’t. Over time, these insights make it easier to fine-tune your process and steadily improve both yield and quality.
Conclusion
Curing is not just the final step, it is what makes the entire grow worth it. You have spent weeks nurturing your plants, adjusting light, nutrients, and airflow. If you skip or rush the curing process, you risk losing aroma, potency, and smoothness. Proper drying and slow, steady curing transform decent weed into top-shelf quality.
However, managing curing alongside other tasks, such as monitoring jar humidity, preventing mold, and timing burps, can be overwhelming. This is where PlanaCan helps. It allows you to track each curing batch, set reminders for daily tasks, and monitor environmental conditions, ensuring consistency. The platform offers real-time alerts, task automation, and collaboration tools to keep your curing process as precise as your grow.
Ready to simplify your entire post-harvest process? Schedule a free call today to see how PlanaCan can support you through curing and beyond.


