Are you ready to finally master growing marijuana from seed, but feel overwhelmed by all the conflicting advice out there? When you first start your cannabis journey, it can feel confusing and frustrating without a clear roadmap to guide you. You might see a dozen different methods, hear endless tips from growers with various styles, and wonder which approach will actually work best for you.
But here’s the good news: once you understand the basic stages of cannabis growth and follow a straightforward, easy-to-follow process, you’ll gain confidence and watch your plant thrive like never before. Growing from seed isn’t as complicated as it seems; you just need the right guidance.
Let’s break down exactly how to grow cannabis from seed in a way anyone can follow. You’ll get to know the key growth stages so you know what your plant needs at every step. Plus, you’ll receive clear, step-by-step instructions designed to help your plant reach its full potential from germination all the way to harvest.
What Are the Stages of Cannabis Growth?

When you decide to grow cannabis, understanding its growth stages is key to nurturing healthy plants and maximizing your yield. Cannabis doesn’t grow randomly; it moves through distinct phases, each requiring specific care from you. Here’s a breakdown of the main stages so you can manage your crop confidently from seed to harvest.
- Germination: Your cannabis journey starts at germination. This is when you take a seed and encourage it to sprout. You must provide the proper moisture, warmth, and darkness for the seed to crack open and send out its first root, called the taproot. Germination typically occurs within 24 hours to 7 days. Keep the seed moist but not soaked, and be patient as life begins.
- Seedling Stage: Once your seed sprouts, it enters the seedling stage. Your plant starts developing its first sets of leaves, and the iconic cannabis “fan leaves” will appear. Now, provide plenty of light, usually 18 to 24 hours a day, and keep a warm environment with moderate humidity. Be careful with watering; seedlings are delicate and can easily be overwatered.
- Vegetative Stage: As your plant grows, it moves into the vegetative stage. Here, it builds strong roots, stems, and leaves to capture light efficiently. You’ll notice rapid growth and need to supply ample nutrients, especially nitrogen. Lighting usually stays around 18 hours on and 6 hours off. This phase lasts a few weeks to a couple of months, depending on your goals and strain.
- Flowering Stage: When you switch lighting to about 12 hours of light and 12 hours of darkness, your plant enters flowering. It starts producing buds, the part you want. During flowering, your cannabis needs different nutrients focused on phosphorus and potassium, and you must monitor humidity to avoid mold. Flowering lasts 6 to 12 weeks, depending on the strain. You’ll see pistils emerge, and buds swell and develop resin.
- Harvesting: After flowering, your plant is ready to harvest. Look for trichomes, which are resin glands, changing from clear to milky or amber, and pistils turning brown or red. Harvesting at the right time affects potency, flavor, and effects. Cut buds carefully, then dry and cure them to preserve quality.
Here’s a table summarizing the stages of cannabis growth:
Stage
What Happens
Duration
Germination
Seed sprouts
1–7 days
Seedling
First leaves appear
2–3 weeks
Vegetative
Rapid growth
Weeks to months
Flowering
Buds form
6–12 weeks
Harvest
Buds mature
Days to weeks
So, how do you grow your cannabis from seed, and what should you do at every step to ensure its proper growth? Let us understand that in detail below.
Step-by-Step to Grow Cannabis From Seed
Growing cannabis from seed can be rewarding but requires careful attention to detail at every stage. Follow these steps closely to set yourself up for success:
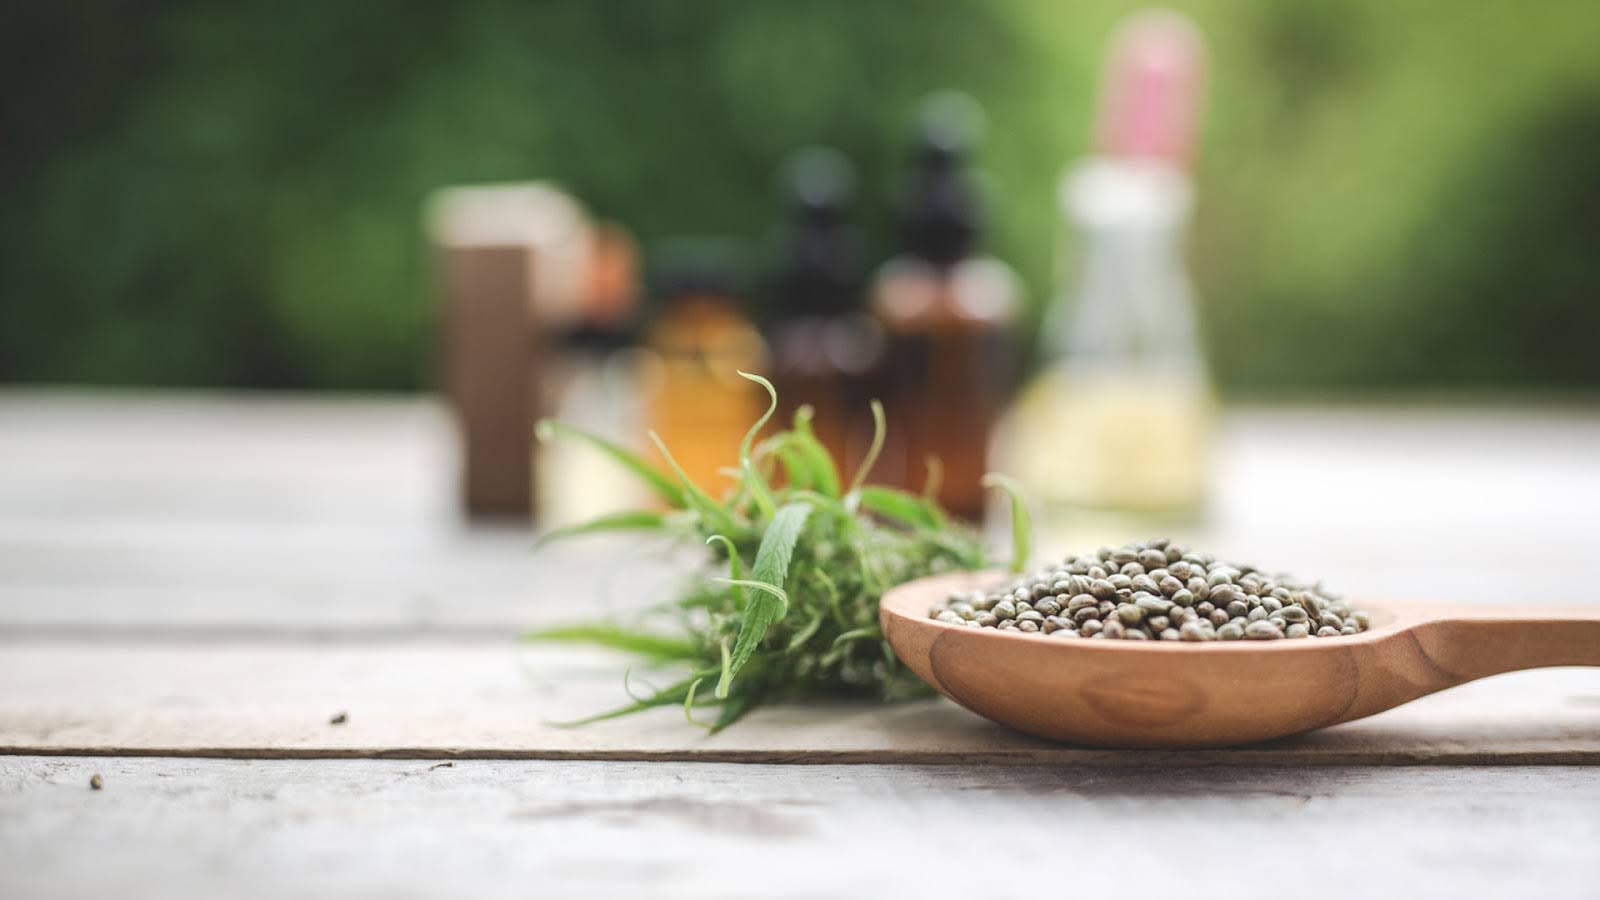
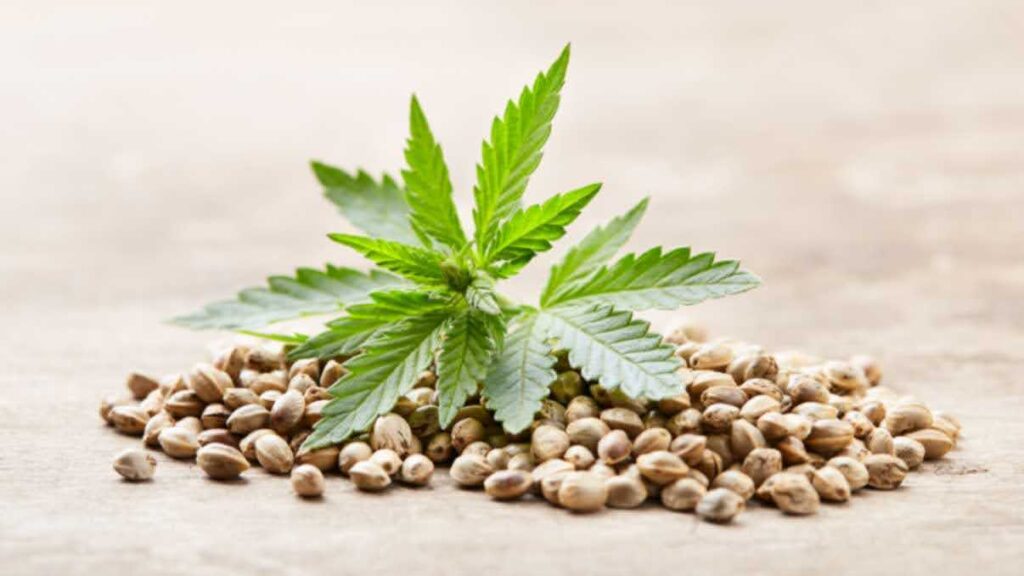
1. Choose Your Seeds Carefully
Start strong by selecting the right seeds for your grow.
- Source Quality Seeds: Purchase from reputable breeders or seed banks that offer verified genetics and consistently high germination rates.
- Feminized vs. Regular Seeds: Feminized seeds guarantee female plants, which produce the buds you’re after. Regular seeds offer a 50/50 chance of producing male or female plants, which can be useful for breeding but may not be ideal for beginners.
- Select Your Strain: Indica strains tend to be short and bushy, offering relaxing effects. Sativas grow taller and offer an energizing high. Hybrids offer a mix of traits. Choose based on desired effects, space, and growth time.
- Match Your Environment: Some strains are better suited for indoor grows, while others excel in outdoor conditions or high humidity. Check the strain’s resistance to pests, mold, and environmental stress.
2. Prepare Your Germination Setup
This stage wakes up your seeds and gives them the green light to sprout.
- Paper Towel Method: Use two clean paper towels and moisten them with distilled or filtered water. Avoid using tap water unless it's been left out overnight to release chlorine.
- Seed Placement: Lay the seeds on a towel, spacing them at least 1 to 2 inches apart to prevent the roots from tangling.
- Create a Humid Environment: Cover the seeds with the second towel, then sandwich them between two plates or place them in a plastic container with a lid.
- Maintain Temperature: Place the setup in a dark, warm area, such as a cupboard or closet, ideally between 70°F and 85°F (21 °C to 29°C).
- Monitor Moisture: Check the towels twice daily to ensure they remain moist, but not soaking wet or completely dry.
PlanaCan makes managing tasks like this simple by providing a clear timeline to plan months in advance and stay on top of daily work. Its calendar lets you tweak things as needed and keeps everyone in the loop, so nothing gets forgotten.
- Wait for Taproots: In 1 to 3 days, you’ll see small white taproots sprouting. Some slower strains may take up to 5 days, so be patient.
3. Plant the Germinated Seeds
Once the taproot appears, it's time to move the seed to a grow medium.
- Prepare Planting Medium: Use starter pots, peat pellets, or solo cups filled with light, well-aerated soil or a seed-starting mix. Avoid using nutrient-rich soil at this stage since it can burn young roots.
- Create Planting Hole: Poke a small hole about 0.25 to 0.5 inches deep in the center.
- Handle Seed Carefully: Use tweezers or gloved fingers to avoid damaging the taproot.
- Place Seed Taproot-Down: Gently lower the seed into the hole with the root pointing down.
- Cover Gently: Fill the hole loosely with soil and press lightly to secure it in place without compacting.
- Water Lightly: Mist the surface using a spray bottle to moisten the top layer.
- Provide Proper Environment: Place pots in a warm area with indirect sunlight or under a seedling light.
- Maintain Humidity: Use a humidity dome or cover with plastic wrap to retain moisture if needed.
4. Provide Optimal Light and Temperature
Your seedlings need the right environment to develop strong roots and leaves.
- Use Soft Light: Choose LED or fluorescent grow lights with low intensity for the first week or two. Keep lights 2 to 4 inches above the seedlings to prevent stretching or burning.
- Light Schedule: Maintain 18 to 24 hours of light per day. Consistency is key to avoiding stress.
- Temperature Control: Aim for 70 to 85°F (21 to 29°C). Avoid cold drafts or heat spikes.
- Avoid Stress: Keep seedlings away from windowsills, heaters, or vents.
- Watch for Signs: Pale or drooping leaves may indicate overwatering or low light. Stretching means the lights are too far away.
5. Watering Young Plants

Getting the watering right prevents root problems and helps early growth.
- Check Soil Moisture: Stick your finger 1 inch into the soil. If it feels dry, it’s time to water.
- Water Quality: Use pH-balanced water, ideally between 6.0 and 6.5, for soil growth. Test your water if you’re unsure.
- Avoid Saturation: Don’t flood the soil. Roots need oxygen, and soggy soil prevents proper airflow.
6. Feeding Your Seedlings
Nutrients support healthy development, but less is more at this stage.
- Rely on Soil Nutrients: Good starter soil has enough nutrition for the first 2 weeks.
- Dilute Nutrients if Needed: If using hydroponics or inert media such as coco coir, feed with a light seedling formula at 25 percent strength.
- Avoid Overfeeding: Look for signs of nutrient burn, such as brown tips or curling leaves. Reduce feeding if needed.
7. Transplant When Ready
Give your plants more room once they outgrow their starter pots.
- Look for Signs: Roots poking out of the bottom holes or plants becoming top-heavy signal that it’s time to transplant.
- Choose Larger Pots: Move up to 1 to 3 gallon pots for the vegetative stage. Use containers with drainage holes to prevent root rot.
- Prepare New Soil: Use a quality soil mix with added perlite for aeration and slow-release nutrients.
- Handle Roots Gently: Slide the seedling out carefully, holding the soil around the roots instead of the stem.
8. Vegetative Growth Stage
Your plant now focuses on growing strong branches, stems, and foliage.
- Light Exposure: Keep lights on for 18 to 24 hours daily using full-spectrum grow lights.
- Temperature and Humidity: Maintain 70 to 85°F with 40 to 70 percent humidity. Use fans to circulate air and reduce hot spots.
- Watering: Water thoroughly, then let the top inch or two of soil dry before watering again.
- Nutrient Schedule: Use a grow-stage fertilizer high in nitrogen, moderate in phosphorus, and moderate in potassium.
- Plant Training: Begin topping, low-stress training (LST), or pruning to shape your plant and promote even canopy growth.
9. Flowering Stage
This is when your plant begins to produce buds.
- Light Cycle Change: Switch to 12 hours of light and 12 hours of complete darkness each day.
- Temperature and Humidity: Maintain lower temperatures between 65°F and 80°F, and humidity levels between 40% and 50% to reduce the risk of mold.
- Nutrient Adjustment: Use bloom nutrients with higher phosphorus and potassium and reduced nitrogen.
- Remove Males: If growing from regular seeds, check for pollen sacs and remove male plants early to avoid pollination.
10. Harvesting
Timing is everything when it comes to harvesting.
- Check Trichomes: Use a magnifying glass or jeweler’s loupe to inspect trichomes. Clear trichomes indicate immaturity, milky ones show peak potency, and amber ones suggest more sedative effects.
- Harvest Timing: Cut early for more energetic effects, or later for more relaxing results.
- Drying Setup: Hang whole plants or trimmed branches in a dark room with good airflow, maintaining temperatures between 60°F and 70°F (15 °C to 21°C) and humidity levels of 50% to 60%. Dry for 7 to 10 days.
PlanaCan makes it easy to see and plan all your cultivation tasks in one place. You can map out work months ahead while keeping track of day-to-day activities. The calendar lets you adjust tasks on the fly to match changing needs. Since all the info is shared, everyone knows what to do and nothing slips through the cracks.
11. Curing Your Buds
Curing smooths the flavor and enhances potency.
- Jar Storage: Once stems snap instead of bending, place buds loosely in airtight glass jars.
- Burp Jars Daily: Open the jars for 10 to 15 minutes once or twice daily to release moisture and bring in fresh air.
Now, let us discuss some of the common mistakes that you might encounter while growing cannabis from seed and remedies to fix them.
Common Mistakes to Avoid and How to Fix Them

Even with the best intentions, it’s easy to make missteps when growing cannabis from seed. The good news is that every mistake is a learning opportunity. Most issues can be fixed if you catch them early. Below are some of the most common pitfalls you might face, along with how to avoid or correct them.
1. Overwatering or Underwatering: You might think you're helping your plant thrive by watering it frequently. But cannabis roots need oxygen just as much as they need moisture. Overwatering can drown the roots and lead to root rot. Underwatering stresses your plant, slows growth, and can cause wilting.
How to Fix It: Get in the habit of checking the soil with your finger. If the top inch feels dry, it's time to water. Use pots with drainage holes and avoid letting water pool at the bottom. Water until you see runoff, then let the soil dry out before watering again. If you've already overwatered, stop watering for a few days and ensure there's airflow around the roots.
2. Using Poor-Quality Soil or the Wrong Growing Medium: Grabbing any random soil from your backyard or garden center might seem like a shortcut. But cannabis requires a well-aerated, nutrient-rich medium. Dense or poorly draining soil can suffocate roots and stunt growth.
How to Fix It: Use a cannabis-friendly mix with a light, fluffy texture. A typical blend includes peat moss, perlite, and compost. If you’re growing in coco coir or a hydroponic system, ensure you’re supplying all essential nutrients, as these mediums contain no natural food for the plant.
3. Incorrect pH Levels: You may be providing your plant with the right nutrients. But if the pH level of your water or soil is off, your plant won’t absorb them. This leads to deficiencies even when nutrients are present.
How to Fix It: Test your water and soil pH regularly. Cannabis prefers a pH between 6.0 and 7.0 for soil, and 5.5 to 6.5 for hydroponics. Use pH-up or pH-down solutions to make adjustments. A digital pH meter is more accurate than paper strips and worth the investment.
4. Starting Seeds in Large Pots: Dropping your seeds directly into a large pot seems convenient, but it makes it harder to control moisture around the seedling. This can lead to damping off or slow root development.
How to Fix It: Start seeds in small containers, such as peat pellets, rockwool cubes, or solo cups. Transplant once the root system develops and the first few sets of true leaves appear. This provides better moisture control and promotes strong early growth.
5. Overfeeding Nutrients (Nutrient Burn): You may think feeding more nutrients will boost growth. But cannabis is sensitive to overfeeding. Too much causes nutrient burn, which shows up as brown or yellow leaf tips.
How to Fix It: Start with half the recommended nutrient dose and watch your plant’s response. If you notice signs of burn, flush the soil with pH-balanced water to remove excess salts. Resume feeding at a reduced strength.
6. Wrong Light Type or Light Distance: Using the wrong type of light or placing it too close or too far can cause stretching, light burn, or weak growth. Each light type behaves differently and affects your plant’s development.
How to Fix It: Choose lighting that fits your grow space and plant stage. For seedlings, use low-intensity light sources, such as CFLs or dimmable LEDs, placed 12 to 24 inches above the canopy. As the plant grows, adjust the light distance based on the manufacturer's guidelines. Watch for stress signs like leaf curling or fading.
7. Not Controlling Temperature and Humidity: Cannabis is sensitive to its environment. High humidity during flowering can cause mold. Cold temperatures slow growth. Sudden fluctuations cause stress.
How to Fix It: Maintain grow room temperatures between 70 and 85°F (20 to 30°C) during the day. Let it drop slightly at night. Use a hygrometer to track humidity. Aim for 60 to 70 percent in the seedling stage, 40 to 60 percent in the vegetative stage, and 40 to 50 percent during flowering. Use dehumidifiers, fans, or an open window to balance the climate.
8. Ignoring the Signs Your Plant is Giving You: Leaves turning yellow, tips curling, or growth stalling are all red flags. Many new growers ignore these early signs, hoping the plant will recover on its own.
How to Fix It: Observe your plant closely. Keep a daily log of watering, feeding, and changes in appearance. If you notice anything unusual, research the symptoms and adjust your care routine accordingly. Early action makes a big difference.
Conclusion
Starting cannabis cultivation from seed doesn’t have to be overwhelming. Understanding each growth stage and following a clear, step-by-step process speeds up your path to success. Choosing quality seeds, providing the right light and nutrients, and maintaining consistent care will help your plants thrive from seedling through harvest.
Managing all these details alone can quickly become stressful. That’s where PlanaCan comes in. PlanaCan simplifies your entire growing process by automating schedules, tracking nutrient levels in real-time, and monitoring plant health throughout every growth stage. With built-in task reminders and collaboration tools, it ensures you never miss a crucial step, keeping your cultivation workflow smooth and efficient.
Ready to grow with confidence and ease? Schedule a free call today and see how it can support your journey from seed to harvest.


