Are you frustrated with long curing times and harsh smoke that kills the vibe? Perhaps you prefer a smoother, cleaner hit without the strong, lingering scent that draws unwanted attention. Water curing weed could be the solution you didn’t know you needed.
Instead of waiting weeks for air curing or dealing with a harsh burn, water curing cannabis gives you a faster, more discreet option. By submerging your buds in water for a few days, you can strip away the impurities that cause rough smoke and strong odors. Sure, you lose a bit of flavor, but what you gain in smoothness and stealth is worth it for many growers.
In this guide, you’ll learn what water curing is, how it compares to traditional methods, its pros and cons, and a step-by-step process to follow. We’ll also cover how to dry your buds afterwards and help you decide if this method fits your goals.
What is Water Curing?
Water curing is a method where you soak your cannabis buds in water to flush out unwanted compounds like chlorophyll, residual sugars, and excess nutrients. If you've ever dealt with harsh-tasting or overly "green" weed, those are usually the culprits. This technique provides a faster and more aggressive approach to curing compared to the traditional air-drying method.
Instead of hanging your buds to dry over a couple of weeks in a carefully controlled environment, you submerge them in clean water for several days. You change the water daily, and as the process continues, those harsh compounds leach out and dissolve. What you’re left with is a cleaner, smoother smoke with less odor and a milder taste, but potentially higher potency because of the removal of non-cannabinoid material.
Water curing isn’t about drying slowly. It’s about purification. You’re not just waiting for moisture to evaporate. You’re actively stripping away anything that might interfere with the bud’s flavor or overall experience. Once the water curing is done, you still need to dry your buds, but the overall curing timeline shrinks considerably. It’s a great option when discretion or time is limited, or if you’re aiming for a smoother, cleaner final product.
How It Compares to Traditional Air Curing
You’re likely familiar with air curing, where you hang trimmed or whole plants in a dark, ventilated room for 10 to 14 days. This slow drying process retains the plant’s terpene profile and enhances aroma and flavor.
Here’s how water curing measures up against air curing:
Factor
Water Curing
Air Curing
Curing Time
7 to 10 days total
2 to 4 weeks
Labor
Daily water changes
Minimal after setup
Flavor Retention
Low (terpenes leach out)
High
Smoothness
Very smooth
Moderately smooth
Appearance
Darker, duller buds
Brighter, higher shelf appeal
Odor Control
Minimal smell during curing
Strong, lingering odor
Discretion
High
Low
Potency
No major loss
No major loss
As a cannabis grower, how you cure your harvest directly affects product quality, smoothness, and overall shelf appeal. While most growers rely on air curing, water curing offers a fast and discreet alternative, especially when your priority is removing impurities over preserving flavor.
So, what are the benefits of water curing your weed plant? Let us understand below.
Benefits of Water Curing Weed
Water curing is a lesser-known but effective post-harvest technique that offers several unique advantages for cannabis growers aiming to optimize bud quality. Unlike traditional air curing, which relies on time and airflow to remove impurities, water curing uses water to flush out excess chlorophyll, sugars, and other unwanted compounds from harvested buds. Here’s how growers benefit from this method:
1. Faster Curing Process: Water curing can significantly reduce curing time. While air curing typically takes 2–4 weeks, water curing finishes in as little as 5–7 days. This makes it a practical option for growers who need a quicker turnaround without sacrificing cannabinoid potency.
2. Improved Flavor (After Proper Drying): Although water curing removes much of the terpenes responsible for aroma, many growers appreciate the neutral, cleaner taste it delivers, especially for patients who are sensitive to strong flavors or consume edibles or tinctures.
3. Higher Potency-to-Weight Ratio: Water-cured buds may weigh less due to the loss of non-essential plant material, but the cannabinoid content remains intact. This means a higher concentration of THC or CBD per gram, which can be a selling point in potency-focused markets.
4. Stealth and Discretion: Since water curing removes much of the cannabis smell during the process, it’s ideal for growers operating in urban or shared environments where odor control is critical.
5. Mold and Mildew Prevention: If done correctly, water curing can help reduce the risk of mold by removing sugars and other organic matter that mold feeds on. However, it's crucial to dry buds thoroughly after water curing to avoid moisture-related issues.
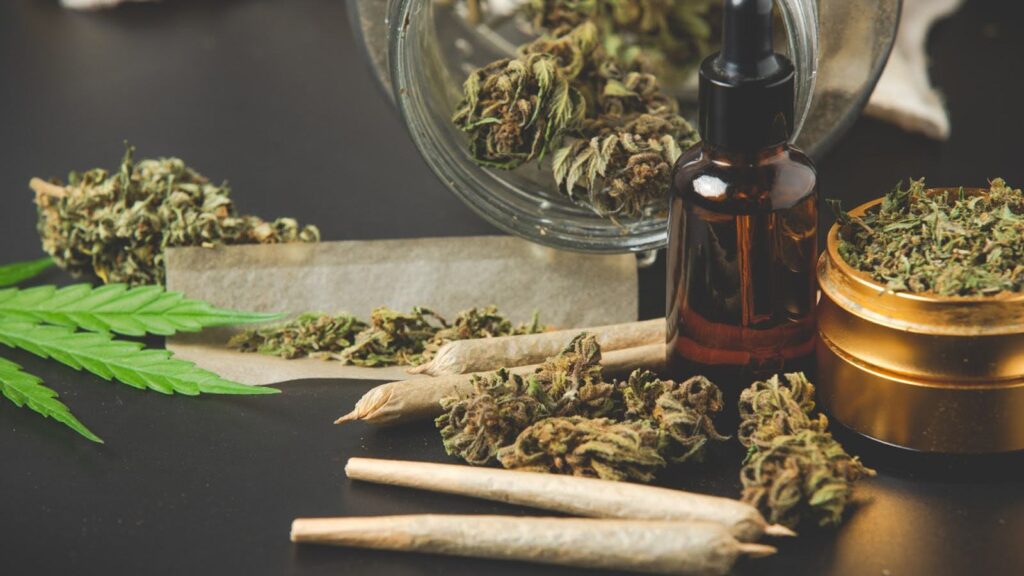
6. Ideal for Edibles and Extracts: Because the process strips out impurities while preserving cannabinoids, water-cured weed is an excellent base for making edibles, oils, and concentrates. The lack of residual flavor or smell means cleaner infusions with better control over taste profiles.
Now, let's discuss the drawbacks of water curing weed below.
Drawbacks of Water Curing Weed
While water curing weed can speed up the curing process and reduce harsh flavors, it comes with several downsides that cannabis growers should consider.
1. Loss of Terpenes and Flavor: Water curing strips away not only chlorophyll and residual nutrients but also many of the volatile terpenes responsible for aroma and flavor. This can leave the final product smelling bland and tasting flat, especially for growers focused on craft cannabis or terpene-rich strains.
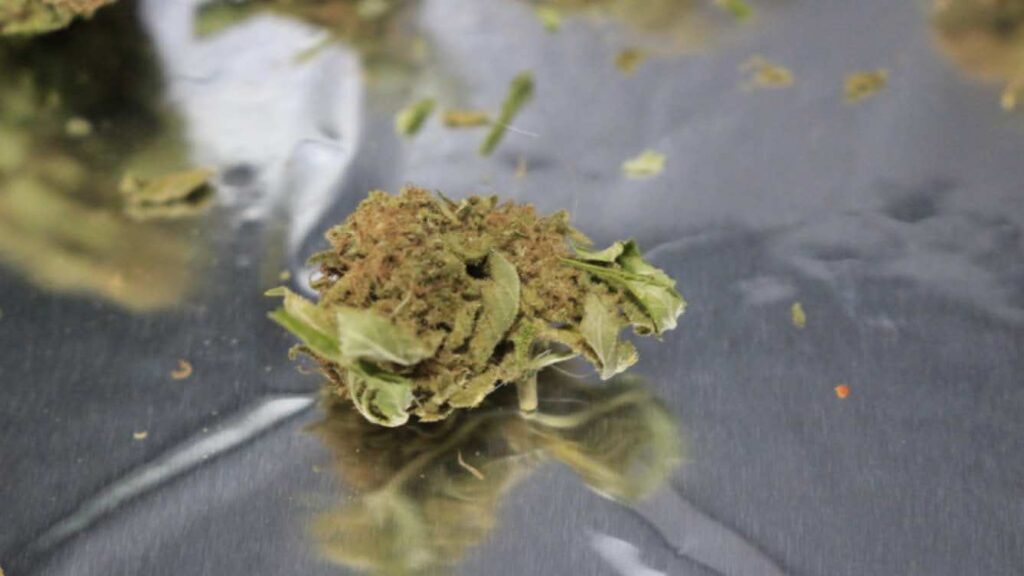
2. Reduced Bag Appeal: Buds cured in water often look dull, dark, and less frosty compared to those cured traditionally. The visual quality suffers, which can be a dealbreaker in retail or dispensary markets where appearance drives customer perception and price points.
3. Lower Market Value: Water-cured weed usually sells for less because it loses much of its flavor and visual appeal. For growers selling to dispensaries, distributors, or directly to consumers, this reduced value can affect margins, particularly if the brand is positioned around premium flower.
4. Inconsistent Results: Water curing lacks the control that traditional drying and curing offer. Factors like water quality, temperature, and submersion time can all affect the outcome. For growers managing scale or aiming for consistency, this method introduces unnecessary variability.
5. Risk of Mold and Contamination: Improper technique, such as using unclean containers or failing to change water daily, can invite mold or bacterial growth. This threatens both yield and compliance, especially in regulated markets where lab testing is mandatory.
6. Limited Suitability for Concentrate Production: Water curing can wash away trichomes and degrade terpenes, which reduces the potency and flavor profile needed for making high-quality extracts or concentrates. Growers targeting hash, rosin, or vape oil production will get better results from traditional curing.
Now, let us discuss how to water cure your cannabis plant in detail below.
Step-by-Step Guide to Water Curing Weed
Water curing your cannabis can be a game-changer when you want to remove harshness and reduce chlorophyll taste. Unlike traditional dry curing, water curing accelerates the process and can result in a cleaner-tasting product. Here’s exactly how you do it:
Step 1: Harvest and Trim Your Buds Properly
Harvest your plants when trichomes reach your preferred maturity (mostly cloudy with some amber). Cut branches and remove large fan leaves, but keep most sugar leaves intact since they protect resinous trichomes, crucial for potency and flavor. Your buds should be dried enough to handle without feeling wet or overly crispy dry. Too wet buds risk mold; too dry buds won’t absorb water well during curing.
Tip: Trim before water curing to protect fragile trichomes on sugar leaves. Handle buds gently with clean hands or gloves to avoid contamination or damage.
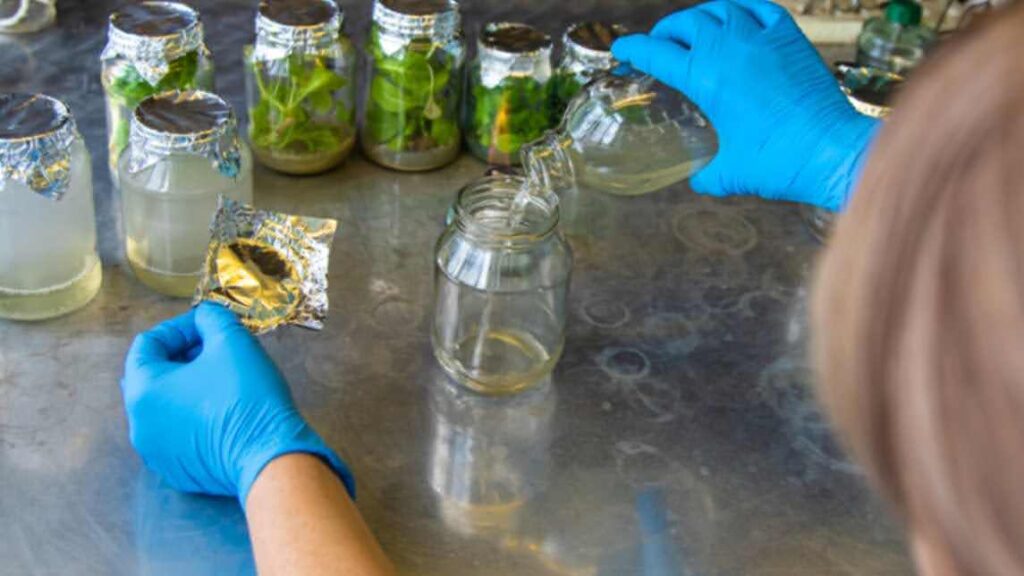
Step 2: Prepare Clean, Pure Water
Fill a food-grade container with distilled or spring water. Avoid tap water, which contains chlorine and minerals that harm flavor and curing. If you only have tap water, let it sit uncovered for 24 hours to allow chlorine to dissipate. Use containers made of glass, stainless steel, or food-safe plastic to prevent chemical interactions.
Tip: Using cold or ice water during curing can help preserve terpenes and cannabinoids better, but it may slow chlorophyll extraction and extend curing time slightly.
Step 3: Submerge the Buds Completely
Gently place the trimmed buds into the water, ensuring that every part is fully submerged. Buds tend to float, so press them down gently by hand or use a fine mesh bag or strainer to keep them underwater. Avoid overpacking; leave space so water can circulate freely and pull chlorophyll evenly.
Tip: Use mesh bags or nylon stockings to make water changes easier and reduce handling that can knock off delicate trichomes.
Step 4: Gently Agitate Buds During Water Changes
Change the water every 12 to 24 hours to remove chlorophyll and impurities. When adding fresh water, gently swirl or stir the buds to loosen trapped chlorophyll. Handle the plant slowly and carefully. Rough handling can cause trichome loss, which reduces potency and aroma.
Tip: Use a large spoon or gloved hand to stir with slow, controlled movements, protecting the buds’ resin glands.
Step 5: Repeat Water Changes Over Several Days
Perform at least 3 to 5 water changes over 3 to 5 days. The water will darken as chlorophyll breaks down and leaches out. When the water stays mostly clear and odorless after a change, the buds are ready for drying. Avoid exceeding 7 days to prevent terpene degradation.
Tip: Track water color and smell during each change to optimize curing time. Using cold water may require extending the curing process by one to two days.
Step 6: Inspect Buds Daily for Mold and Quality
Because the buds stay moist, mold is a risk. Check buds daily for fuzzy white, gray, or black patches and sour smells. Remove any moldy buds immediately to protect the batch. Use a magnifying glass in a clean, well-lit area for better inspection.
Tip: Keep your curing environment clean and handle buds with sanitized tools or gloves to reduce contamination risks.
Step 7: Drain and Dry Buds Carefully
After the last water change, drain excess water by gently pressing buds or placing them in a mesh colander. Lay the buds out on drying racks or put them on clean paper towels in a cool, dark room with good airflow. Maintain a temperature of 65-70°F (18-21°C) and a humidity level of 50-60%. Avoid fans blowing directly on buds to prevent overdrying and trichome damage.
Tip: Use a hygrometer to monitor humidity and temperature. Stable conditions help prevent mold and preserve flavor and potency.
Step 8: Optional Secondary Cure to Restore Flavor
Water curing reduces harshness but also some terpene profiles. To reintroduce complexity, place the dried buds in airtight jars for 1-2 weeks. “Burp” jars daily for 5-10 minutes to release moisture and gases, preventing mold and allowing aromas to develop.
Tip: Include humidity packs (~62% RH) in jars to maintain ideal moisture and prevent overdrying during secondary curing.
Step 9: Store Your Finished Buds Properly
Store your cured buds in airtight glass jars with humidity packs to maintain freshness, potency, and smoothness. Store jars in a cool, dark place, away from heat and light, as these conditions can degrade cannabinoids and terpenes. Avoid plastic bags or containers, which create static and damage trichomes.
Tip: Label jars clearly with strain, harvest date, and curing info to keep your stash organized and track quality over time.
Step 10: Document Your Process and Observations
Maintain detailed notes on strain, harvest date, curing start and end dates, number of water changes, drying environment, and final taste, aroma, and potency impressions. Photos and tasting notes can help refine your process with every batch.
Tip: Keep your notes consistent to build a useful database for improving water curing outcomes across different strains and harvests.
With PlanaCan, you can track every decision from seed to cure and see how it affects your final yield. It organizes everything in one place, so spotting patterns and learning from past grows becomes second nature. The more you use it, the easier it becomes to fine-tune your process and continually improve your results.
After you water cure your cannabis, let's discuss how to dry your cannabis properly.
Drying Weed After Water Curing
Once you finish water curing your cannabis, drying it correctly is just as important. You’ve already removed a lot of chlorophyll, sugars, and impurities. Now it’s time to bring your buds to the perfect dryness without losing potency or risking mold.
Water-cured buds come out extremely wet. They feel heavier, softer, and more saturated than freshly harvested weed. Since you’ve already stripped out many of the harsh compounds, you won’t need to cure your buds traditionally. But drying is still essential to prevent spoilage and prepare the weed for smooth smoking or vaping.
Here’s how to do it right.
1. Create the Right Drying Environment: Choose a space that’s dark, clean, and has steady airflow. Keep the temperature between 60 to 70°F (15 to 21°C) and relative humidity between 50 to 60%. If the room is too humid, your buds may develop mold. If it’s too dry, you’ll lose terpenes and risk brittle flowers.
Tip: Hang the buds or spread them out on a drying rack with plenty of room between them. Use a fan to circulate air gently, but avoid pointing it directly at the buds.
2. Let Them Dry Slowly and Evenly: Drying water-cured cannabis takes longer because of the extra moisture. Allow 7 to 14 days for processing. Check the buds daily. They should feel dry on the outside but still a bit sticky inside. When the smaller stems snap instead of bend, you’ve reached the right level of dryness.
3. Trim After Drying for Best Results: Water-cured buds can be fragile while wet. It’s better to wait until they’re dry to trim off the sugar leaves. This also helps you handle the buds less while they’re delicate and saturated.
4. Use a Hygrometer to Monitor Jar Humidity: Once your buds are dry, place them in airtight glass jars and drop in a small hygrometer. Aim for a relative humidity of 58 to 62%. If it rises higher, open the jars for a few minutes each day until the temperature stabilizes. This process is called burping, and it protects against mold during the first few days of storage.
5. Skip Traditional Curing: Since water curing already removes many of the compounds that traditional curing targets, you don’t need to cure your buds for weeks. Once they’re dry and your jars are stable, the weed is ready to use. Some people still let it rest for a few days to let the flavor settle, but this is optional.
6. Label and Track Your Batches: Keep a log of drying times, environmental conditions, and any tweaks you make to the process. This helps you repeat your best results, especially if you’re trying different strains or setups.
PlanaCan makes it simple by pulling all that info into clear, detailed harvest reports. You can see what you did, how it turned out, and spot patterns over time to dial in your process and get better results with each run.
Conclusion
Water curing weed offers a fast and effective way to reduce harshness and odor. It’s a great option for growers who want a smoother smoke in less time. While you give up some flavor and visual appeal, the result is cleaner and easier on the lungs.
Managing the water-curing process manually can be challenging. You need to time the soak, track progress, and ensure proper drying, all without missing a step. PlanaCan makes this easier. The platform helps you organize the process, schedule water changes, monitor conditions after curing, and track results over time. You can also collaborate with your team and apply what you learn to future harvests.
Want to make your post-harvest workflow more efficient? Schedule a free call today to see how PlanaCan can support your growth and help you deliver a smoother product.


