If you’ve ever lost a crop because the lights didn’t switch off, or found mold creeping in after a humid week, you already know this truth: manual growing doesn’t scale.
That’s where grow tent automation steps in. With the right setup, you can automate your lights, fans, temperature, humidity, and even watering, turning unpredictable harvests into repeatable success. Whether you’re a first-time hobby grower or managing several tents, automation helps you spend less time reacting and more time observing results.
This guide breaks down what to automate first, the safest way to wire everything, and how to scale your system as your garden or team grows.
TL;DR (Key Takeaways)
- Automate by priority: Lights → temperature → humidity → watering → alerts.
- Safety first: Always use GFCI outlets and drip loops to avoid electrical hazards.
- Aim for stability, not perfection: Consistent temp and humidity matter more than chasing “ideal” numbers.
- Start simple: Smart plugs and basic controllers beat full-DIY overkill for beginners.
What “Grow Tent Automation” Actually Means (and Your Goals)

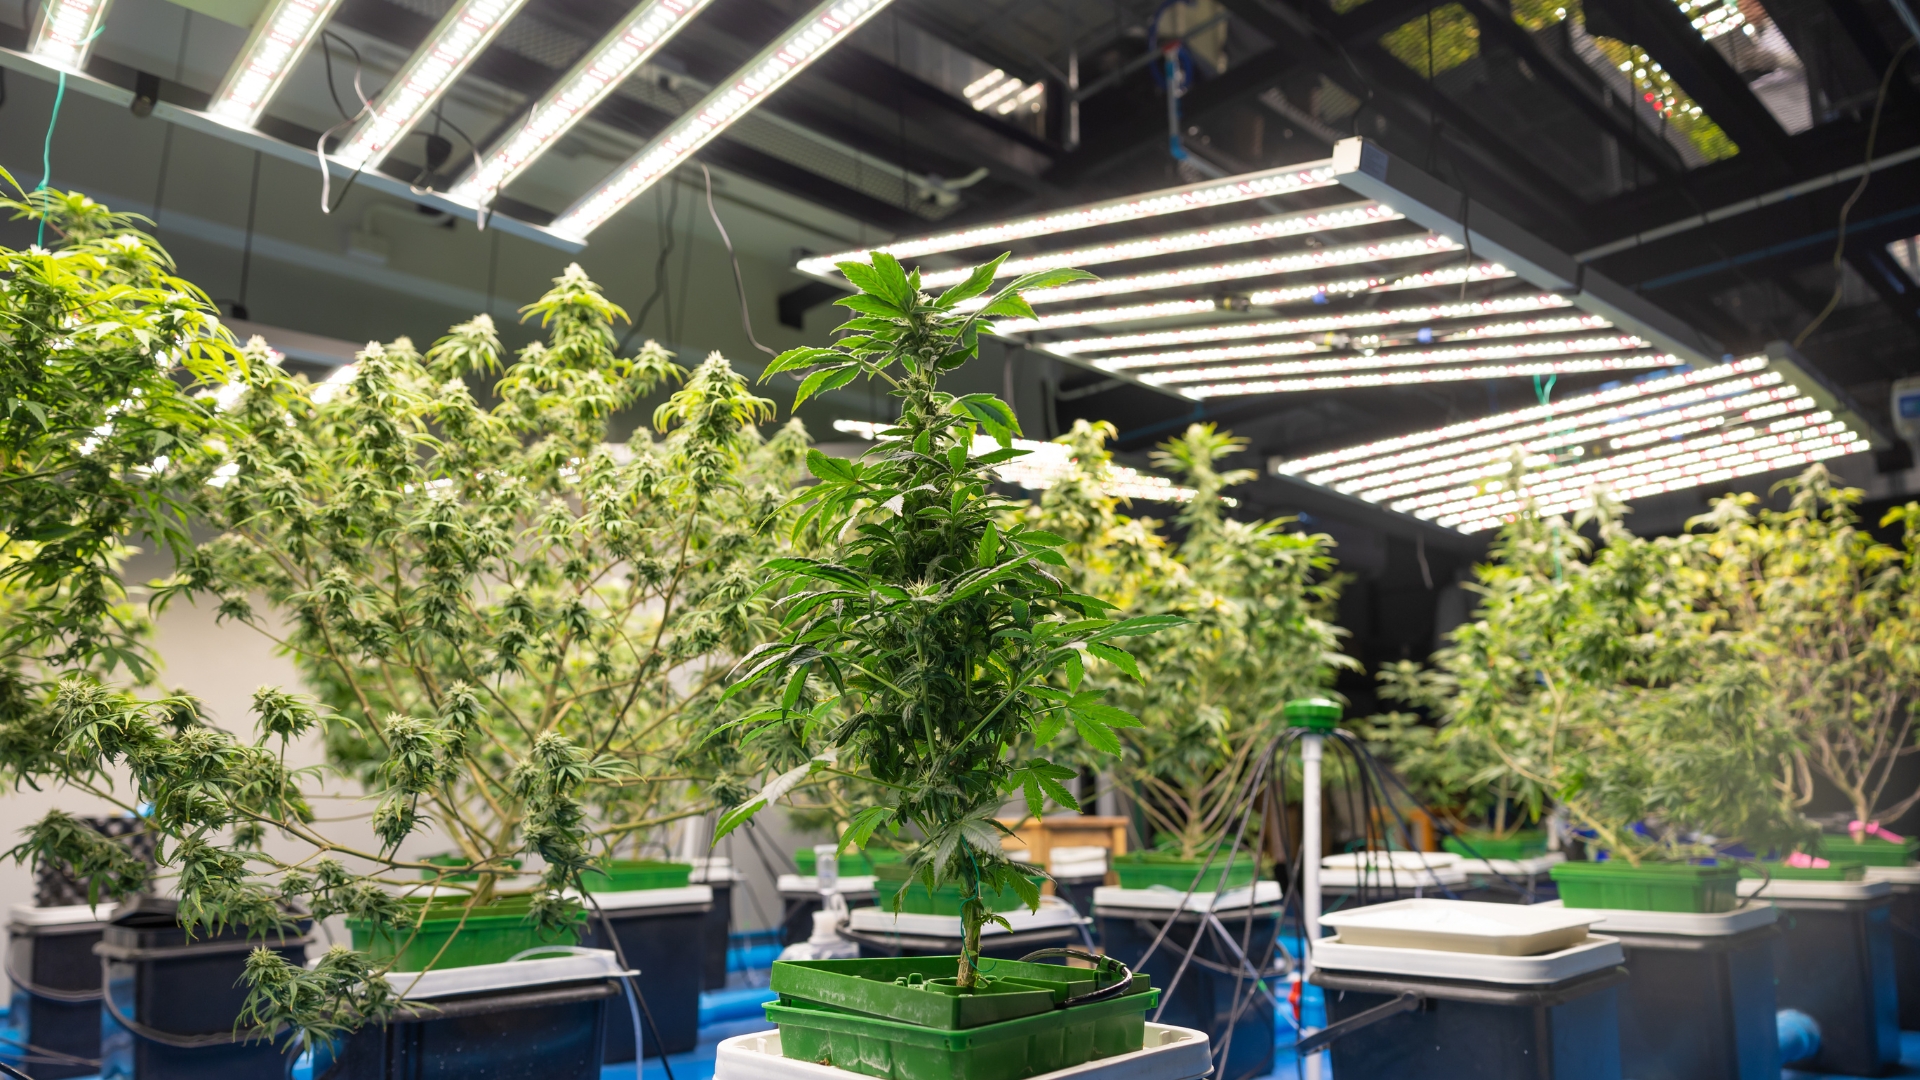
Grow tent automation simply means letting technology handle the repetitive, time-sensitive tasks that plants rely on, lighting cycles, airflow, temperature, humidity, and watering.
Think of it as building reliability into your environment. Instead of checking whether fans are on or if humidity has spiked overnight, your setup manages it automatically. You decide the rules; your controllers execute them consistently.
For a small 3×3 or 4×4 tent, automation might just mean:
- A timer for lights,
- A thermostat-controlled exhaust fan, and
- A humidifier on a hygrometer controller.
For larger or sealed tents, automation can go further:
- Dynamic fan speed adjustments based on temperature,
- Precise irrigation timing for each stage of growth,
- Smart alerts for high/low readings, and
- Remote access via Wi-Fi or app.
Ultimately, your goal isn’t to make the tent “futuristic.” It’s to make it boringly consistent. Automation doesn’t replace observation; it just makes your setup repeatable and less error-prone.
Safety First: Electricity and Water in Tight Spaces
Before any automation project, remember: you’re combining electricity, moisture, and heat, a dangerous mix if ignored. According to the U.S. Consumer Product Safety Commission (CPSC) and Occupational Safety and Health Administration (OSHA), GFCI-protected outlets are mandatory anywhere near water sources to prevent electric shock hazards.¹
Here’s your short safety checklist:
- Install GFCI outlets on every circuit that powers pumps, humidifiers, or lights near water.
- Keep all power strips above the floor, never touching wet surfaces.
- Use drip loops on every cable to stop water from running into plugs.
- Label cords and tie them neatly away from reservoirs and drainage trays.
- Check your amperage load; a single 15-amp circuit may not safely run multiple high-draw LEDs and fans.
If your setup uses more than two LED fixtures or multiple pumps, get an electrician to review your circuit design. It’s a one-time cost that prevents a lifetime of “what just tripped the breaker?” panic.
The Priority Roadmap: What to Automate (and When)

When you’re starting out, it’s tempting to automate everything. But the most efficient route is to build automation in layers.
1. Lighting Schedules, Your First Win
Lighting is the heartbeat of your grow. Automating it ensures your plants get precise photoperiods, 18/6 for veg, 12/12 for flower, with zero risk of “light leaks” or missed switches.
Start with:
- A mechanical or digital timer for basic setups.
- Smart plugs for Wi-Fi control (so you can adjust from anywhere).
- Or, if you’re running multiple fixtures, a controller that syncs all lights and ramps' brightness gradually (simulating sunrise and sunset).
According to the U.S. Department of Energy, switching from HID to automated LED systems can improve energy efficiency by up to 50% while reducing heat load and the need for constant cooling.² That means fewer burnt leaves and smaller electric bills.
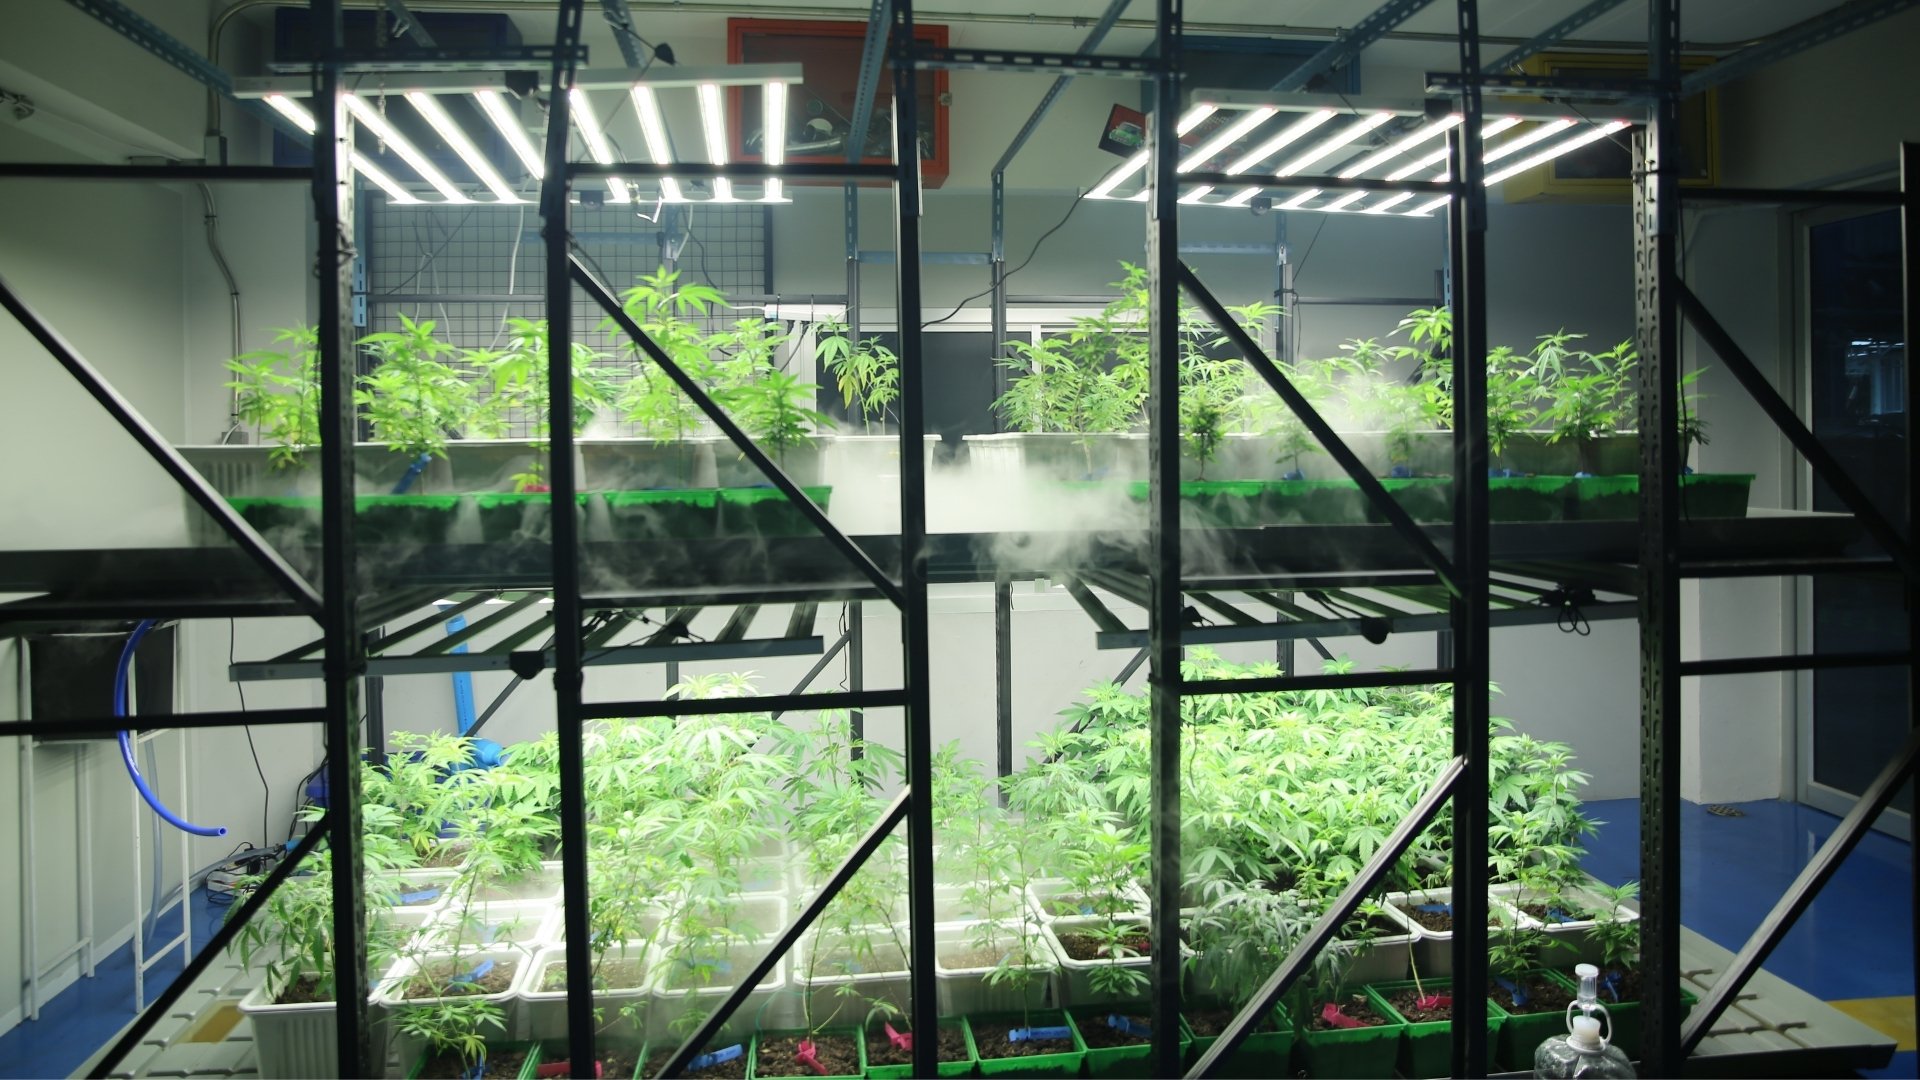
2. Airflow and Exhaust, Control the Heat First
Heat is the next silent killer of consistency. Automating airflow keeps your plants from baking under the lights. Start with:
- Inline fans controlled by thermostats or environmental controllers.
- Variable speed fans that ramp up as temperature rises instead of just on/off cycling.
- Exhaust timers set to run a few minutes every hour during lights off (to prevent stagnant air).
Ideal range:
- Veg stage: ~72–78°F
- Flower stage: ~68–76°F
A small temperature probe connected to your controller gives you live feedback, so fans kick in automatically when temps climb.
Need to manage multiple rooms or harvest cycles?
PlanaCan automates more than your equipment; it automates your workflows. Create repeatable templates, plan months ahead, and assign tasks to your team so nothing slips through the cracks. Schedule a free call today.
3. Humidity Management and VPD Basics
Humidity tends to spike the moment your lights go off, warm air cools, moisture condenses, and before you know it, you’re courting mold. Automated humidity control solves this.
Use:
- A humidifier/dehumidifier plugged into a hygrostat or smart environmental controller.
- Controllers that maintain target ranges automatically (turning devices on/off as needed).
- A small oscillating fan for circulation, it helps even out microclimates.
Target ranges:
- Veg: 50–60% RH
- Flower: 40–50% RH
- Always keep below ~65% RH (as ASHRAE guidelines note, this threshold reduces mold risk in humid environments).³
VPD (Vapor Pressure Deficit) charts can help fine-tune the relationship between temperature and humidity, but for beginners, consistency beats perfection.
4. Watering and Nutrient Automation
If you have ever lost plants because you watered too late or too much, automating irrigation is the most practical upgrade you can make. It not only saves time but also maintains consistent moisture levels that roots love.
Start simple:
- Use a digital timer to control a small pump that runs water from a reservoir into your pots.
- Add a drip irrigation manifold so each plant gets the same amount of water.
- Include an overflow tray under your tent and an anti-siphon valve to prevent backflow into the reservoir.
For hydroponic or coco systems, you can take automation a step further by:
- Installing float valves to keep reservoirs filled automatically.
- Adding pH and EC meters that trigger nutrient dosing pumps when values drift.
- Setting up moisture sensors that pause watering when the medium is still wet.
If you are new to hydro setups, begin with a timed watering cycle and observe plant response before adding sensors or dosing controls. Over-automation without monitoring can cause root rot or nutrient burn.
When your watering system runs smoothly, you will notice more stable growth, fewer drooping leaves, and a predictable feeding schedule.
5. Monitoring and Alerts
Even the most advanced systems can fail if you are unaware that something has gone wrong. Monitoring is your safety net.
Modern Wi-Fi sensors can track temperature, humidity, and power usage while sending notifications to your phone when readings go outside set limits. Many growers also install small cameras to check on their tents remotely.
A simple setup can include:
- One Wi-Fi thermometer-hygrometer that logs data continuously.
- An automation controller that triggers text or app alerts if conditions exceed thresholds.
- A smart power strip that cuts power to certain devices in case of overheating.
The goal is to create visibility, not just control. If a fan fails at night, an alert can save your harvest by prompting you to fix it before temperatures rise.
6. Optional: CO₂ in Sealed Tents
CO₂ enrichment can improve plant growth, but only if your tent is sealed and you can regulate the concentration safely. For small grow tents, it is usually unnecessary unless the space is fully enclosed with strong environmental control.
If you do plan to automate CO₂:
- Use a CO₂ controller with a built-in sensor and solenoid valve.
- Keep levels within safe ranges, typically 1000–1200 ppm for plants.
- Ventilate periodically to refresh air and avoid buildup.
Never add CO₂ without confirming your tent is well sealed and equipped with proper safety features.
Parts and Controllers: From Simple to Smart
Automation technology can be scaled according to your experience and budget. The key is to select reliable components that match your tent size and the number of devices you need to control.
Advanced growers sometimes build their own systems using Raspberry Pi or Arduino boards, connecting relays and sensors through custom scripts. While these DIY setups allow fine control, they require technical knowledge and are best suited for hobbyists who enjoy programming.
If you are outgrowing simple controllers and juggling several tents or rooms, PlanaCan helps you centralize operations. You can plan schedules, assign tasks, and analyze harvest data in one platform. Schedule a free call today.
Baseline Setpoints and Schedules
You do not need to chase perfect numbers to grow healthy plants. Consistency matters more than precision. These baseline ranges work well for most indoor environments:
Humidity above 65 percent creates conditions favorable for mold, according to general indoor air quality guidance from ASHRAE. Keeping the tent slightly under this limit ensures better airflow and fewer disease issues.
Use these values as a starting point, not a rulebook. Each strain and medium behaves slightly differently. As you log data from your automation system, you will identify what conditions consistently produce the best results.
As you expand from one tent to multiple grow spaces, managing schedules and people becomes as important as managing humidity or lights. PlanaCan lets you automate repetitive work, monitor progress, and capture insights from every harvest. Schedule a free call today.
Wiring and Layout: Clean, Dry, and Serviceable

Automation will only be as reliable as your wiring setup. A clean and organized electrical layout is safer, easier to maintain, and much less prone to accidental disconnections or overloads.
Here are key principles for building a safe and efficient tent layout:
- Mount controllers and power strips high.
Keep all electrical connections at least several inches above the floor to avoid water exposure from spills or reservoir leaks. - Use a drip loop for every cable.
Before a wire connects to an outlet or controller, allow it to dip slightly downward. This prevents any running water from entering the socket. - Group and label cables.
Use zip ties or cable sleeves to bundle cords by category (lighting, fans, irrigation). Label each plug to simplify troubleshooting later. - Add strain reliefs for heavy cords.
Large LED fixtures often have thick cables. Secure them to a frame support before the outlet to prevent weight from pulling on the sockets. - Plan maintenance access.
Place your controller board and power distribution panel so that you can reach every connection without moving pots or plants. This prevents accidental damage during inspections.
A simple schematic layout might place the controller board near the tent door, reservoir pumps on one side, and power routed through a GFCI extension box outside the tent. Keeping electrical hardware external to the tent, whenever possible, greatly reduces fire and shock risk.
Troubleshooting Matrix: Common Problems and Fixes
Automation reduces manual errors, but systems still require oversight. Use the table below to diagnose common symptoms and how automation can help prevent them.
This matrix should be part of your growth journal. Each time you adjust automation parameters, log the results to identify long-term patterns.
Budget Builds for 2025: What Each Tier Gets You
The cost of automation depends on how much control and data feedback you want. Below are realistic price ranges for building or upgrading your system this year.
Investing in automation equipment is not just about convenience. Over a full growth cycle, consistent conditions can improve yield quality and reduce crop loss, offsetting most initial costs.
Scaling from Tent to Multi-Room Operations

Automation at the tent level teaches you the fundamentals of consistency, monitoring, and corrective adjustments. But when you scale to multiple rooms or facilities, the real challenge becomes coordination.
Here is what changes when you grow beyond one tent:
- More circuits and devices to track.
- Multiple staff members are handling different cultivation stages.
- Overlapping harvest schedules require careful timing.
- Data fragmentation, where different rooms run separate logs.
At this stage, individual timers and controllers are not enough. You need centralized planning software that ensures every task and environmental check happens on schedule.
This is where PlanaCan fits in. Instead of manually entering data or updating whiteboards, you can use PlanaCan’s interactive calendar and mobile tools to:
- Build standardized templates for each strain or grow cycle.
- Assign daily and weekly tasks to your cultivation team.
- Record harvest metrics and identify which processes yield the best results.
The result is a unified, data-driven operation that scales from a single tent to multi-room or even multi-site facilities.
Conclusion
Automation does not need to be complicated. The best systems focus on stability, safety, and visibility. By automating lighting, airflow, humidity, and irrigation, you can eliminate guesswork and create an environment where plants thrive predictably.
As your garden scales, consistency becomes your biggest advantage. PlanaCan extends that consistency to your daily operations, allowing you to standardize cultivation processes, manage team tasks, and analyze performance from seed to harvest.
Ready to grow smarter and scale confidently?
Get Started today and see how PlanaCan can help you plan, track, and optimize every grow cycle.
FAQs: Common Questions About Grow Tent Automation
1. What should I automate first in a grow tent?
Start with lights, then temperature, followed by humidity. These three factors affect plant growth the most. Once those are stable, move to watering and monitoring systems.
2. Do I need a full controller, or can I use smart plugs?
Smart plugs are a good starting point. For larger or more sensitive grows, environmental controllers provide better precision and safety.
3. Can I automate watering in soil or coco safely?
Yes, but include safeguards like moisture sensors and overflow trays to prevent overwatering or leaks.
4. Is CO₂ automation worth it in a tent?
Only if the tent is fully sealed and you already have stable temperature and humidity control. For most small tents, it is optional.
5. How do I prevent mold in my grow tent?
Keep relative humidity under 65 percent, maintain constant air circulation, and automate dehumidifiers during the lights-off cycle.
6. Can I build my own automation system with a Raspberry Pi?
Yes, but it requires programming skills and electrical safety awareness. For beginners, ready-made controllers are more reliable.


