
Building your own indoor cannabis grow room setup can be exciting, but it is not as simple as setting up a few lights and pots. A poorly planned grow space can lead to wasted energy, unhealthy plants, and disappointing harvests.
This guide walks you through the essentials of building and maintaining a successful indoor cannabis grow room step by step.
Brief look:
- To create a grow room, you need to install lighting, ventilation, and monitoring systems, arrange plants for optimal airflow, and test all equipment before introducing plants.
- Knowing these steps prevents mistakes that can stress plants, reduce yields, or cause costly damage.
- Monitor temperature, humidity, airflow, and nutrient schedules consistently to support growth and avoid common cultivation issues.
- Use training techniques, prune strategically, rotate plants for light exposure, and track microclimates to maximize potency and yield.
Benefits of Growing Cannabis Indoors
Growing cannabis indoors offers a level of control and consistency that outdoor environments simply cannot match. You can fine-tune nearly every factor for healthier plants and better harvests.
Here are some key benefits:
- Environmental Control: Adjust temperature, humidity, and airflow to match the plant’s needs at every stage.
- Year-Round Cultivation: Grow multiple harvests per year without being limited by seasons.
- Reduced Pest and Disease Risks: Minimize exposure to outdoor insects, mold, and environmental stressors.
- Improved Yield and Quality: Fine-tuned conditions lead to denser buds, higher potency, and consistent results.
- Discretion and Security: Indoor setups provide more privacy and safety compared to outdoor grows.
With these benefits in mind, the next step is to start planning your indoor cannabis grow room setup because success begins with preparation, not just equipment.
Planning Your Indoor Cannabis Grow Room

A well-thought-out plan ensures you optimize space, manage costs, and avoid issues that could affect plant growth. Think of this stage as laying the foundation for everything that follows.
These are a few things you need to consider:
1. Space and Location
The first decision is where you will set up your grow room. Basements, spare rooms, and even tents can work, but you need to consider access to power, ventilation, and water. Choose a spot that is discreet, easy to clean, and large enough to allow plants to grow without overcrowding.
2. Layout and Design
A good layout is about more than just fitting equipment into a room. Think about how you will move around, access your plants, and manage airflow. Mark out designated areas for lighting, ventilation, and nutrients, ensuring there is enough clearance between the canopy and grow lights.
3. Budgeting and Cost Planning
Indoor cultivation can be expensive if not managed wisely. Costs range from lights and fans to nutrients and ongoing electricity bills. Start by setting a budget and prioritizing essentials over add-ons so you do not overspend before the project gets off the ground.
4. Compliance and Safety
Growing cannabis legally means ensuring your setup complies with local laws. You also need to think about safety Wiring should be properly installed, humidity should be managed to avoid mold, and equipment should not pose fire risks.
You should utilize technology from the very beginning. PlanaCan is a SaaS platform designed to help cannabis growers organize, schedule, and track every step of cultivation. By setting up workflows early, you can automate operations and avoid costly mistakes.
Once you have planned your space, budget, and setup, it is time to look into the specific equipment you will need to bring your grow room to life.
Suggested Read: Understanding Soil Compaction Problems in Cannabis Cultivation
Essential Equipment for a Grow Room
Setting up your grow room requires investing in the right tools and equipment to create a controlled environment where cannabis can thrive. Each piece plays a specific role in ensuring plants receive the right balance of light, air, and nutrients.
Skimping on essentials often leads to issues later, so it is better to get these basics right from the start. These are a few basic things to get started:
- Grow Lights: Provide the artificial sunlight your plants need to photosynthesize and develop healthy buds. Options include LEDs, HPS, and fluorescent lights.
- Ventilation System: Keeps air moving, removes excess heat, and ensures plants get enough carbon dioxide. Inline fans and carbon filters are must-haves.
- Grow Tents or Enclosures: Help maintain controlled environments, keeping temperature, humidity, and light levels consistent.
- Timers and Controllers: Automate lighting and airflow schedules, reducing human error while maintaining consistency.
- Watering and Nutrient System: Can be simple hand-watering or advanced hydroponics; either way, a reliable system prevents underfeeding or overfeeding.
- Monitoring Tools: Thermometers, hygrometers, and pH meters ensure your environment stays within the ideal ranges for cannabis growth.
With your equipment list in hand, the next step is to put everything together in a functional layout that supports plant health and simplifies daily workflows.
Step-by-Step Setup for Your Grow Room
A methodical approach ensures that everything functions smoothly and that your grow room is both efficient and safe. Think of this as building the foundation for consistent harvests.
Steps for an ideal grow room setup are:
Step 1: Preparing the Space
The foundation of a successful grow starts with cleanliness and organization. A clean, sealed environment minimizes risks from pests, mold, and external contaminants while ensuring you can maintain control over every aspect of the grow room.
Here are the basic steps for preparation:
- Sanitize Surfaces: Wipe walls, floors, and equipment with a mild disinfectant.
- Seal the Room: Close cracks or openings to prevent light leaks and pest entry.
- Set Utilities: Make sure electricity and water are easily accessible and safe.
Step 2: Setting Up Lighting
Light is the most critical factor in indoor cannabis cultivation, as it directly impacts photosynthesis and bud development. Installing lights correctly will help maximize plant growth while preventing stress and light burn.
Key things to keep in mind include:
- Hanging Fixtures: Use adjustable ratchets to raise or lower lights as plants grow.
- Testing Heights: Experiment with distances to prevent light stress.
- Timers: Automate on/off cycles to mimic natural sunlight patterns.
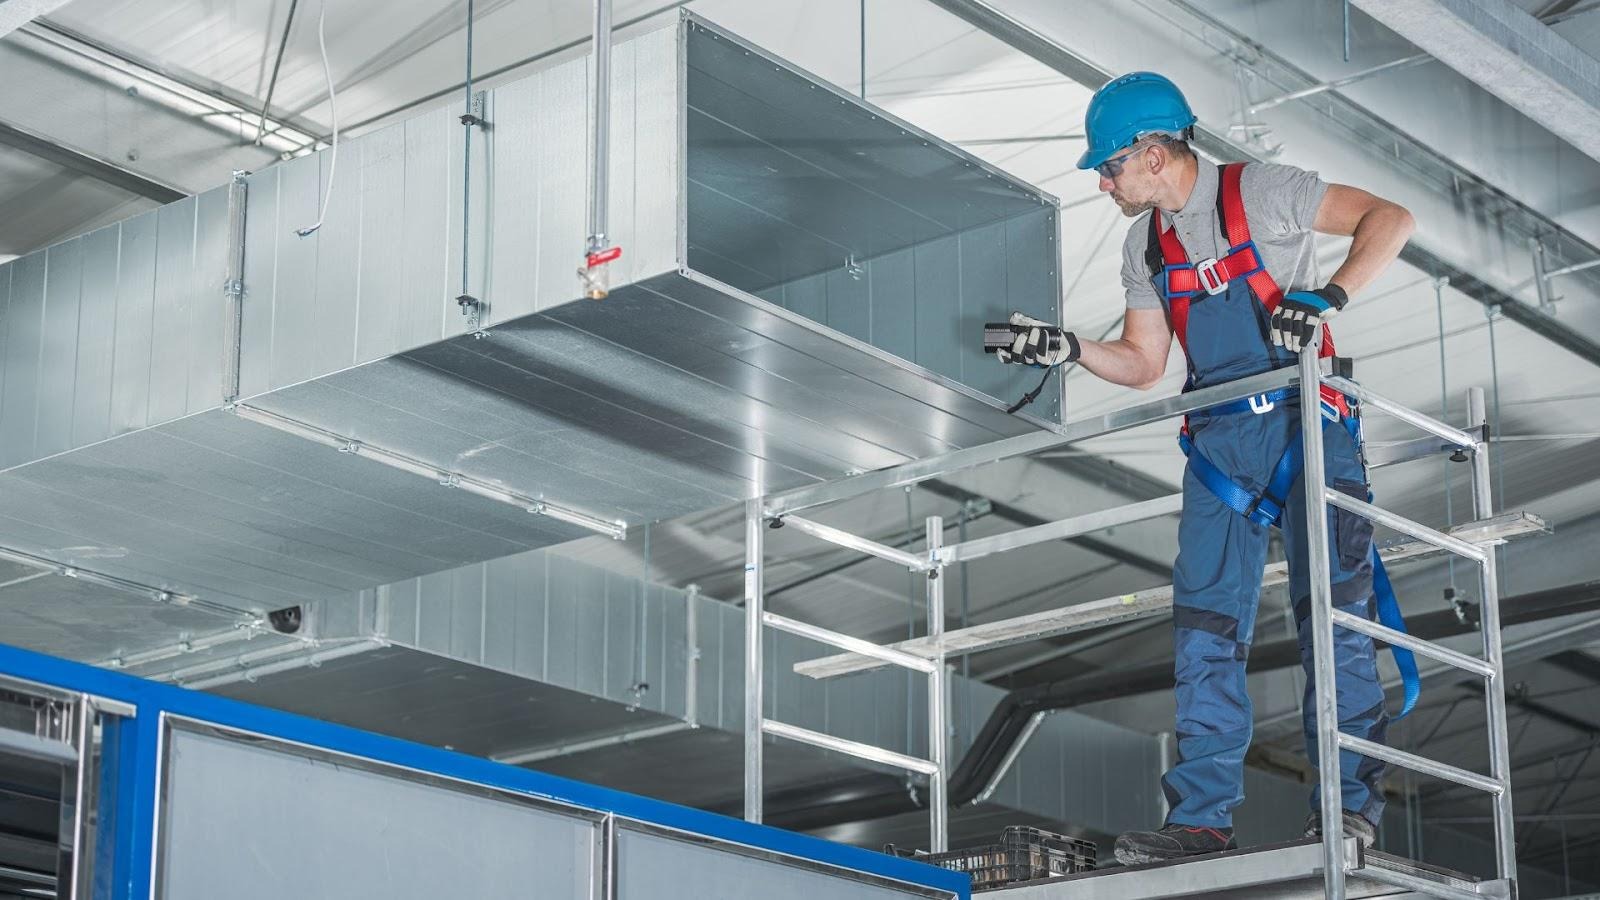
Step 3: Installing Ventilation
Without proper airflow, heat and humidity quickly build up, creating an environment ripe for disease and poor growth. Ventilation ensures plants receive the oxygen and CO₂ they need while regulating temperature.
Consider these essentials for airflow:
- Inline Fans: Place at the top of the room to push out hot air.
- Intake Vents: Allow cooler air to enter near the floor.
- Carbon Filters: Reduce strong cannabis odors and improve air quality.
Step 4: Organizing the Grow Area
The way you arrange your grow room determines how efficiently you can care for plants and how well they develop. A cluttered setup can block airflow and light penetration, which reduces yields.
To organize effectively:
- Plant Spacing: Leave room between pots to avoid overcrowding.
- Zoning: Separate areas for equipment, nutrients, and storage.
- Vertical Options: Add shelving or racks if running multiple growth stages.
Step 5: Testing Systems Before Planting
The final step before adding plants is to test all systems under live conditions. This helps identify problems early and ensures your environment is optimized before seedlings or clones are introduced.
Run these checks carefully:
- System Test: Operate lights, fans, and timers for a full 24 hours.
- Environmental Readings: Record temperature, humidity, and pH stability.
- Adjustments: Make corrections before introducing plants to avoid stress.
The next challenge is keeping the environment stable so your plants can thrive through each stage of growth.
Suggested Read: Using yeast for high-quality cannabis production
Managing the Grow Room Environment for a Healthy Yield
The tiniest fluctuations in temperature, humidity, or airflow can stress your plants, reduce yields, or increase the risk of mold and pests. Careful monitoring and adjustments are the key to ensuring consistency throughout the growth cycle.
Here are the main factors you need to keep under control:
- Temperature Control: Maintain an optimal range (70–85°F during the day, slightly cooler at night) for steady growth.
- Humidity Management: Adjust relative humidity based on growth stages; higher for seedlings, lower during flowering.
- Air Circulation: Keep fans running to distribute air evenly and prevent hotspots or stagnant zones.
- Light Cycles: Ensure precise on/off schedules to avoid plant stress and unwanted flowering.
- Water Quality and pH: Monitor pH levels (around 6.0–6.5 in soil) to support proper nutrient absorption.
PlanaCan allows you to schedule key tasks, track nutrient workflows, and maintain records so nothing falls through the cracks. With its structured templates, you can create repeatable systems that ensure consistency across multiple growth cycles.
In the next section, we list some of the most common pitfalls many first-time growers face.
Common Mistakes to Avoid in DIY Grow Rooms
Even with the best planning, beginner growers often run into problems that can harm yields or even ruin an entire crop. By being aware of the most common mistakes, you can avoid unnecessary setbacks and protect your investment of time and money.
- Overwatering or Underwatering: Too much or too little water can stress roots and stunt growth.
- Ignoring Ventilation Needs: Poor airflow creates hotspots, encourages pests, and raises humidity to dangerous levels.
- Using the Wrong Light Distance: Lights that are too close burn plants, while lights that are too far reduce potency and yield.
- Skipping Regular Monitoring: Small issues with pH, pests, or temperature quickly become bigger problems if not checked daily.
- Overloading the Space: Squeezing in too many plants creates competition and increases the chance of disease spread.
PlanaCan provides hobbyists with free and easy tools to organize their grow cycles, track nutrients, and monitor schedules free of cost. It is designed to help the at-home grower, whether you have a tent in your basement or a greenhouse in your backyard, stay consistent and avoid costly errors.
By steering clear of these mistakes and adopting simple digital support, your grow room can stay healthy and efficient. Next, let us go beyond the basics and look at professional tips that can take your buds from good to exceptional.
Insider Tips for the Best Buds
Experienced growers know that maximizing yields is about timing, observation, and consistency. These insider tips help you fine-tune your grow for the best buds possible.
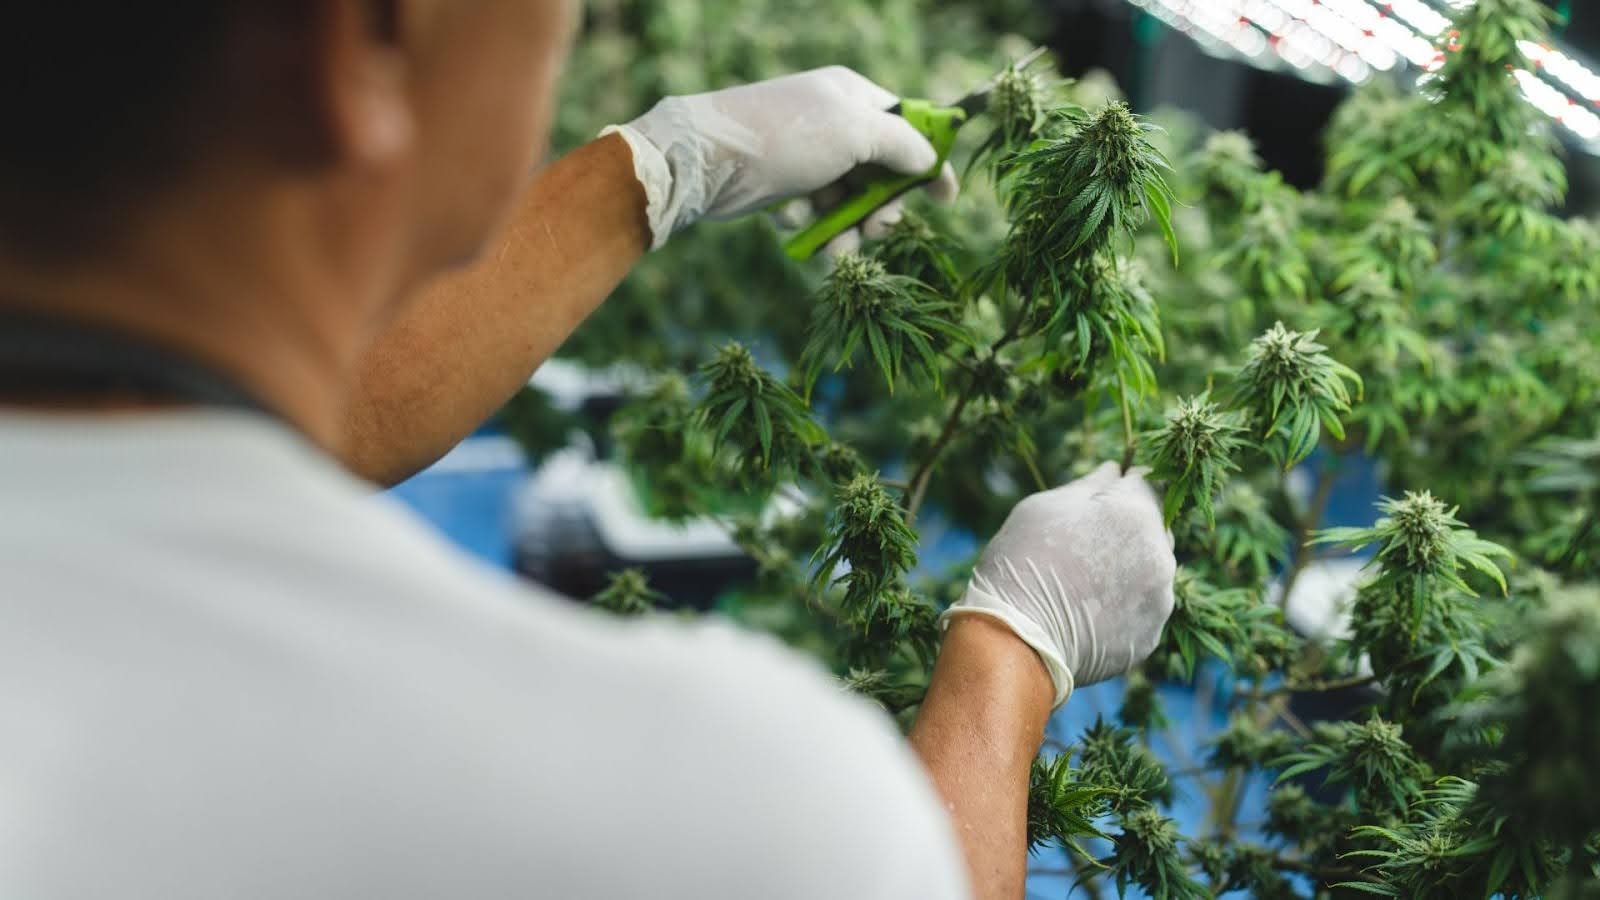
- Prune Strategically: Remove lower leaves and small branches to improve airflow and light penetration.
- Train Your Plants: Techniques like low-stress training (LST) or topping encourage more bud sites and even canopy development.
- Monitor Microclimates: Keep an eye on temperature and humidity in different areas of the room to avoid hotspots or damp zones.
- Rotate Plants: Slight adjustments in plant positioning can help all buds receive optimal light exposure.
- Nutrient Timing: Feed plants according to growth stage, avoiding over-fertilization that can burn leaves or reduce potency.
By applying these practices consistently, you can elevate your harvest from merely good to truly exceptional. Smart planning and daily attention are key to getting there, and technology can make that process even easier.
Next, let’s explore why commercial cultivators rely on tools like PlanaCan to maintain consistency across their indoor grow rooms.
Suggested Read: How to Calculate and Measure Vapor Pressure Deficit (VPD)
Why Do Commercial Cultivators Trust PlanaCan for their Indoor Grow Rooms?
Managing a commercial cannabis grow room is far more complex than a home setup. PlanaCan provides a centralized solution to keep every aspect of a grow room organized, efficient, and repeatable.
1. Workflow Automation and Task Scheduling
PlanaCan allows commercial growers to create custom workflows for every stage of plant growth. By automating routine tasks, the platform ensures that nothing is missed, from watering schedules to pruning and lighting adjustments. This reduces human error and allows staff to focus on higher-value tasks.
2. Nutrient Tracking and Analytics
With PlanaCan, every nutrient application is recorded, and analytics help identify trends in plant performance. You can monitor which formulas and schedules deliver the best yields and make data-driven adjustments in real time. Over time, this builds a database for optimizing crop quality and consistency.
3. Interactive Calendar
Tasks such as watering, pruning, feeding, and harvesting can be scheduled in advance, ensuring nothing is missed. This feature keeps teams coordinated, improves efficiency, and allows managers to visualize workload and deadlines at a glance.
4. Strain-Specific Templates
Different cannabis strains have unique requirements for light, nutrients, and growth patterns. PlanaCan provides customizable templates tailored to individual strains, ensuring that each plant receives care designed for its specific needs. This improves both yield and potency while minimizing stress on the plants.
5. iOS and Android App
PlanaCan’s mobile apps allow growers to monitor and adjust their operations on the go. Notifications and dashboards keep the team updated on key metrics and upcoming tasks, ensuring seamless coordination even when away from the grow room.
PlanaCan helps commercial growers maintain high-quality operations while minimizing errors and labor overhead. For any grow room aiming for consistent, high-grade cannabis, this platform is a trusted tool in the cultivation process.
Conclusion
Indoor cannabis cultivation offers a level of control that outdoor growing cannot match. From regulating light cycles and temperature to managing humidity and protecting plants from pests, indoor setups allow for consistent, high-quality yields year-round.
Using PlanaCan, both commercial and home growers can optimize their operations, monitor nutrients, plan tasks, and observe plant health throughout the growth cycle. With features like workflow automation, strain-specific templates, and an interactive calendar, you can get the best yield from your grow room setup.
Start optimizing your grow room today and take the guesswork out of cultivation. Schedule a free call.
Frequently Asked Questions
1. How to make a room into a grow room?
Convert a spare room by cleaning it, adding reflective walls, setting up grow lights, ventilation, and monitoring tools, then organize space for plants, ensuring access to electricity and water.
2. How to set up a grow room ventilation?
Install intake vents at the bottom and exhaust fans at the top, add carbon filters to reduce odor, and use oscillating fans to circulate air evenly across plants for proper airflow and temperature control.
3. What is the ideal temperature for an indoor cannabis grow room?
Maintain 70–85°F during the day and slightly cooler at night to ensure optimal growth and prevent stress or mold.
4. How far should lights be from cannabis plants?
Keep lights at a height that prevents burn yet provides adequate intensity; distance depends on light type, wattage, and plant stage.
5. How often should I water indoor cannabis plants?
Water when the top inch of soil feels dry, adjusting frequency based on plant size, growth stage, and environmental conditions like temperature and humidity.


