Are you losing sleep over the quality of your cannabis after harvest? You have invested weeks, even months, nurturing your plants to full maturity. Each stage of growth has required attention and care to bring out the best in your crop. But now comes the most overlooked yet crucial part of the process. If you rush or mishandle it, you can ruin the quality you worked so hard to achieve.
This is why you need to equip yourself with the right marijuana curing supplies and know exactly what steps to follow. Without them, even the finest harvest can fall short of its potential.
In this guide, you will learn everything you need to do after harvest. You will understand when to cut your plants, how to trim and dry them with care, how to cure them the right way, and how to store them to preserve their quality. Let us walk through each step so you can enjoy smooth, potent, and flavorful cannabis every time.
When to Harvest Cannabis Plants
Timing is everything when it comes to harvesting cannabis. Most strains are ready to harvest 8 to 12 weeks after the start of flowering. But you cannot rely on the calendar alone. Harvest too early, and your buds will not develop their full potency or flavor. Wait too long, and THC will begin to degrade, resulting in weaker effects.
So, how do you know exactly when to harvest? You need to look at what your plant is telling you.
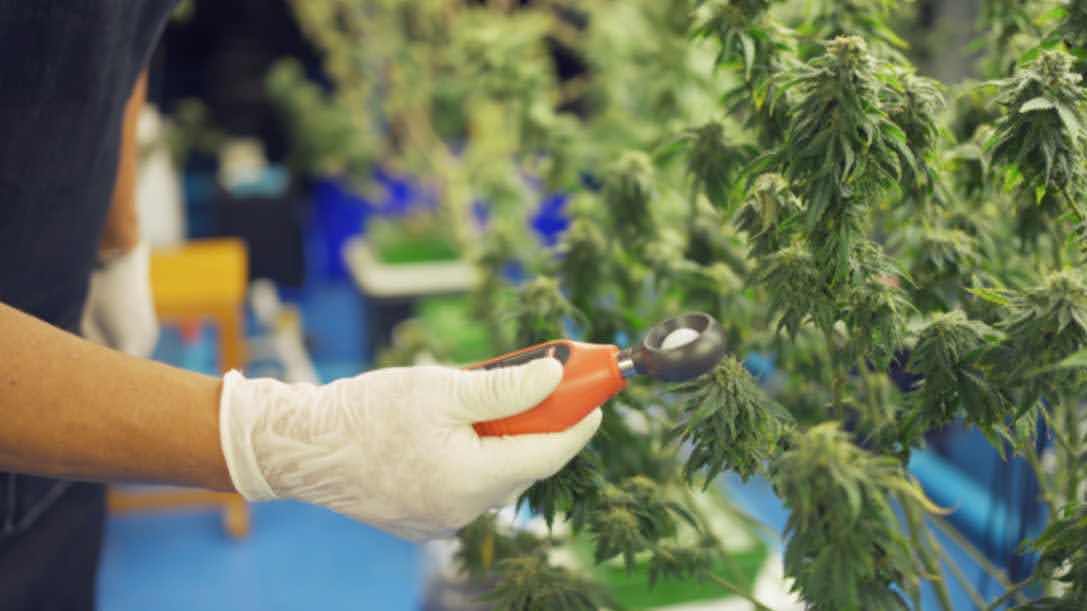
1. Monitor Trichomes Closely: The best way to judge ripeness is by checking the trichomes. These are the tiny, crystal-like glands covering your buds and sugar leaves. Use a magnifying glass or microscope:
- Clear trichomes mean the plant is not ready. Cannabinoid levels are still building.
- Cloudy or milky trichomes signal peak THC potency and the strongest psychoactive effects.
- Amber trichomes indicate that some THC has degraded into CBN, producing more relaxing, sedative effects.
For most growers, the ideal harvest window comes when about 70 to 90 percent of trichomes appear cloudy, with a few turning amber. This gives a good balance of potency, flavor, and overall effect.
2. Watch the Pistils: Pistils also provide important clues:
- In early flowering, pistils are white and stick out straight from the buds.
- As the plant matures, it starts to darken, turn reddish-brown or orange, and curl inward.
- When 75 percent or more of the pistils have darkened and curled in, the plant is getting close to harvest time.
Once your plants show these signs, it is time to act. The harvest window can be short, sometimes just a week. Be prepared to harvest at the right moment. Your work is not done yet. The trimming, drying, and curing stages that follow are just as important for preserving potency, flavor, and smoothness.
How to Trim Cannabis
Trimming cannabis is more than cleaning up the buds. It helps improve flavor, smoothness, and quality. Whether you are preparing for curing or just tidying up your harvest, follow these steps to trim your buds properly.
Step 1: Choose Between Wet and Dry Trimming
Before you start, decide whether you will trim your buds wet (immediately after harvest) or dry (after drying the whole plant).
- Wet trimming is faster and easier. The leaves are soft and pliable, so trimming goes quicker. It also helps speed up drying because the leaves are not holding in moisture.
- Dry trimming takes longer, but many growers prefer it. The buds shrink slightly during drying, making them tighter and more compact. This method also helps preserve aroma and flavor.
Step 2: Gather Your Tools
Having the right tools makes trimming easier and cleaner. You will need:
- Sharp trimming scissors or shears
- Nitrile gloves to keep your hands clean and resin-free
- A trim tray or clean table to catch trimmings and kief
- Isopropyl alcohol and paper towels to clean sticky scissors
Tip: Keep two pairs of scissors on hand. You can switch when one pair gets too sticky.
Step 3: Cut the Branches Into Manageable Sections
Using garden shears, snip the harvested branches into smaller sections you can hold easily. One cola or bud cluster per section works best. This gives you better control while trimming.
Tip: If you are dry trimming, leave a bit more stem attached. It helps with hanging the branches during the drying process.
Step 4: Remove Fan Leaves
Start by pulling off the large fan leaves. These are the bigger leaves that do not have much resin. You can usually remove them by hand. This clears the way for more detailed trimming.
Tip: Remove fan leaves soon after harvest if you are wet trimming. They will be easier to pull off while still soft.
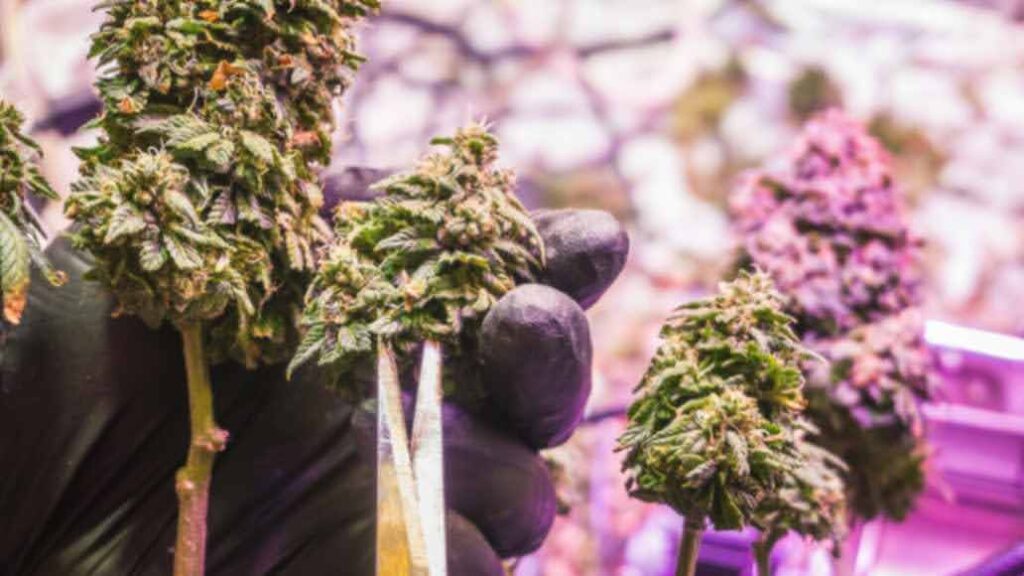
Step 5: Trim the Sugar Leaves
Focus on the sugar leaves, which are small, resin-covered leaves close to the bud.
- For wet trimming, these will still be soft and easy to snip. Trim them close to the bud, following its natural shape.
- For dry trimming, the sugar leaves will be crisp. Trim carefully to avoid damaging the buds.
Tip: Rotate the bud as you trim to keep an even shape and avoid leaving leafy spots.
Step 6: Collect the Trim
Trimmed sugar leaves contain trichomes and can be used for making edibles, hash, or tinctures. Collect them instead of tossing them away. A trim tray helps catch kief as well.
Tip: Store your trim in airtight containers. Keep it in a cool, dark place to preserve potency.
Step 7: Inspect and Touch Up
Give each bud a final look. Remove any leftover leaves or uneven spots. Aim for a clean, well-shaped bud. This helps with even drying and makes the buds look more appealing.
Tip: Do not over-trim. Leave a light layer of trichomes on the surface to preserve flavor and potency.
Step 8: Move to Drying or Curing
Once your buds are trimmed, place them on drying racks (if wet trimming) or move them into glass jars for curing (if dry trimming).
How to Dry Cannabis
Drying your cannabis is not just a step. It sets the foundation for a successful cure. If you rush this stage, you risk losing aroma, flavor, and potency. Here is how you can do it right.
1. Prepare the Drying Space
Begin by selecting a dark area with good air circulation. A closet, grow tent, or spare room can work. Hang your trimmed branches upside down, or place individual buds on drying racks. Make sure the buds do not touch each other to prevent mold.
2. Control Temperature and Humidity
Aim to keep the temperature between 18 °C and 21°C, with humidity between 50% and 60%. Use a hygrometer to closely monitor these conditions.
To maintain steady airflow, place small oscillating fans in the room. Position them so they circulate the air without blowing directly on the buds. Direct airflow can dry buds unevenly or degrade their quality.
3. Monitor the Drying Progress
Drying typically takes seven to ten days. Patience matters here. Each day, check your buds:
- The outsides should feel dry to the touch.
- The small stems should snap cleanly when bent, rather than bend or feel rubbery.
Once your buds meet these signs, it is time to move to the curing stage. A good dry locks in the qualities you have worked hard to grow and gets your harvest ready for long-term storage.
With PlanaCan, staying on top of this process is simple. You can map out every step, from planting to harvest, with customizable templates. Just a few clicks and your tasks are on the calendar, keeping your workflow smooth and consistent all the way through.
How to Cure Cannabis
Curing is where good weed becomes great weed. You may have grown dense, resin-packed buds, but curing brings out their full potential.
Here’s how to cure your cannabis properly:
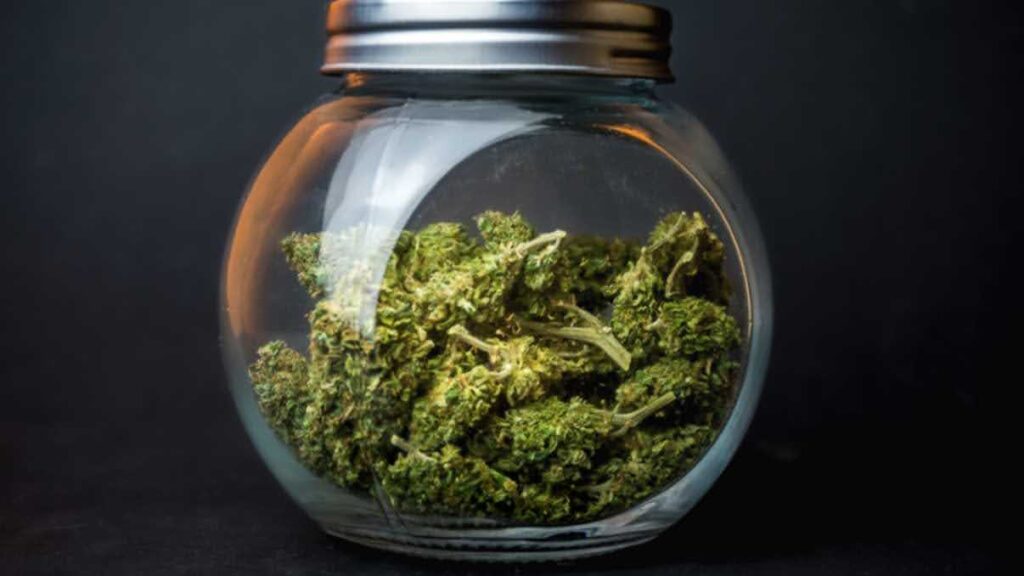
1. Pack Your Buds Into Jars
Once your buds have dried, place them in airtight glass jars. Mason jars work perfectly for this. Fill each jar about three-quarters full. This leaves space for air circulation, which is key during curing.
Tip: Avoid overpacking. If buds are pressed together, they can trap moisture and lead to mold. If they rattle around too much, they may dry out too quickly.
2. Store in a Cool, Dark Place
Keep your jars in a cool, dark place. Light and heat can degrade cannabinoids and terpenes, so avoid bright spots or warm areas.
Tip: A cabinet, closet, or drawer away from direct sunlight works well. Aim for room temperatures around 60 to 70°F (15 to 21°C).
3. Burp the Jars Daily
For the first two weeks, open the jars once a day for about 10 to 15 minutes. This "burping" process lets excess moisture escape and allows fresh air in.
- Monitor the smell. If it smells grassy or ammonia-like, the buds may still be too wet.
- Leave the lids off longer or burp more frequently.
- If the buds feel crisp on the outside but spongy inside, you’re on the right track.
Tip: Shake the jars gently after each burp. This helps expose all surfaces of the buds to air and prevents moisture pockets from forming.
4. Use a Hygrometer
Place a small hygrometer inside each jar to track humidity. You want to maintain humidity levels between 55% and 62%.
- If humidity rises above this range, leave the jar open longer or use moisture-control packs to bring it down.
- If humidity falls too low, add a small piece of fresh cannabis leaf for a day to restore balance.
Tip: Digital mini-hygrometers are inexpensive and easy to use. They give you a much better idea of what's happening inside the jar compared to guessing by feel or smell alone.
5. Keep Curing
Curing can last anywhere from two weeks to several months. The longer you cure (within reason), the smoother and more flavorful your cannabis will be.
Tip: After the first month, you can reduce burping to once every few days. Some growers continue curing for two to three months for maximum terpene expression. Just remember: be patient. Curing is not the step to rush.
PlanaCan helps you stay on top of it all with a clear, easy-to-follow timeline. You can plan ahead, tweak tasks as needed, and keep everything in one place so the whole team stays on the same page.
After everything is done, the most important part is to store the buds to ensure their potency. Let us discuss how to store the cannabis buds properly.
Storing Cannabis After Curing
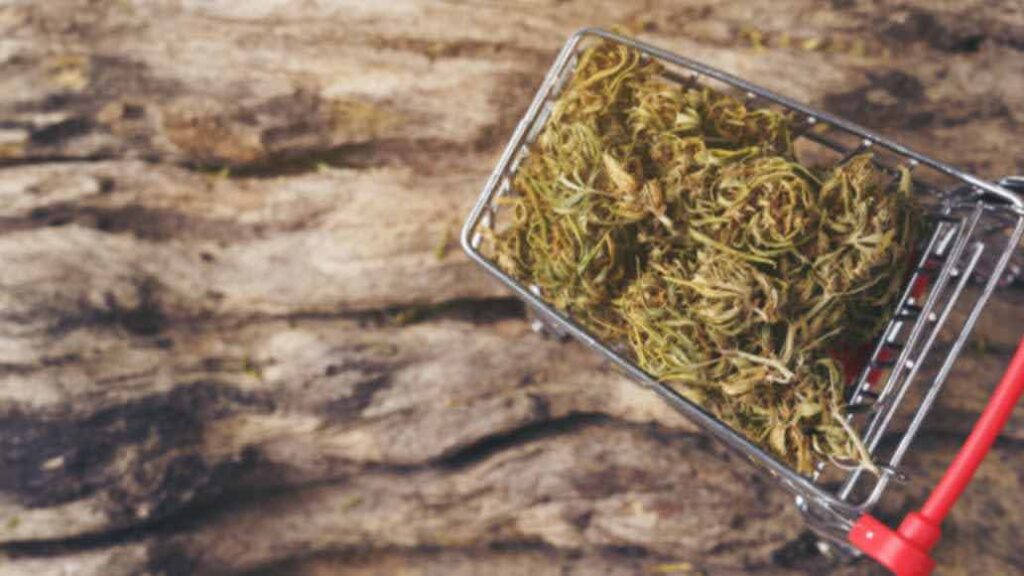
You have put in the effort to grow, dry, and cure your cannabis. The next step is to store it properly so that your harvest holds its quality over time. Poor storage can undo months of hard work by causing mold, terpene loss, or cannabinoid degradation. Follow these guidelines to protect your product.
1. Use Airtight Glass Jars: Transfer your cured buds into airtight containers. Glass jars with a proper seal work best. These prevent air from damaging the buds and protect the trichomes. Avoid plastic bags or containers. They cause static that strips trichomes and do not preserve aroma or potency well.
2. Keep It Cool and Dark: Store jars in a cool, dark environment. Excess heat and light degrade THC and other cannabinoids while breaking down terpenes. Target a temperature range of 15 to 21 degrees Celsius (60 to 70 degrees Fahrenheit). Keep jars away from light sources, appliances, or any areas that warm up.
3. Maintain Proper Humidity: Add humidity control packs to each jar to regulate moisture levels. Aim for a relative humidity of 55% to 62%. These packs prevent the buds from drying out too much or absorbing excess moisture, which helps protect against mold and degradation.
4. Limit Jar Opening: Once curing is complete, minimize how often you open the jars. Frequent exposure to air impacts the internal environment and can shorten shelf life. If you need to pull product for use or sale, set aside a smaller portion in a separate container to avoid opening the main storage jars repeatedly.
5. Store Away from Strong Odors and Airflow: Keep jars away from chemicals, cleaners, and other strong-smelling items. Cannabis can absorb odors from the surrounding environment. Also, avoid areas with constant airflow, which can accelerate drying and lead to a harsher product.
When stored under these conditions, your cannabis can maintain optimal aroma, flavor, and potency for six months to a year or more. Regularly inspect jars for any signs of mold or excessive dryness to ensure ongoing quality.
Conclusion
Drying, trimming, and curing are not just routine tasks for growers. These stages define the final quality of your cannabis. Every small decision, from how you dry the buds to how you trim and store them, shapes the aroma, flavor, potency, and shelf life of your harvest.
But tracking every detail of the curing process manually can quickly become overwhelming. That is why PlanaCan helps growers streamline and manage this critical phase. With customizable task templates, automated reminders, and real-time tracking, PlanaCan ensures that no step is missed. You can monitor curing progress for each batch, collaborate with your team, and maintain consistent quality across harvests.
Want to take the guesswork out of curing? Schedule a free call today to see how PlanaCan can help you produce top-quality cannabis, every time.


