
As a commercial cannabis grower, you know that maintaining consistency is key to maximizing your yields and profitability. But are you really using the best water for your autoflowers? With tight timelines and fast-moving cycles, even small shifts in water quality can impact feeding, root performance, and overall plant health.
Even with clear routines, differences in pots, rooms, or team handling can cause variability. Some growers even wonder whether switching to something cleaner, like distilled water for autoflower, could reduce inconsistencies.
In this blog, you’ll get a clear breakdown of each water type and how they compare in real grow-room conditions. This way, you can choose the right source for your setup and keep every cycle on track.
Key Highlights:
- Choose the right water type from distilled, tap, rain, bottled, or well, based on your grow setup and needs.
- Watch for drooping leaves, discoloration, slow growth, and inconsistent soil moisture as signs of watering issues.
- Improve water quality by checking pH, filtering, softening hard water, and adding nutrients when needed.
- Follow best practices like monitoring soil moisture, ensuring drainage, and adjusting watering by growth stage consistently.
- Avoid common mistakes like overwatering, underwatering, sudden routine changes, and misreading plant stress signals.
What Are The Best Water Types For Autoflower Plants?
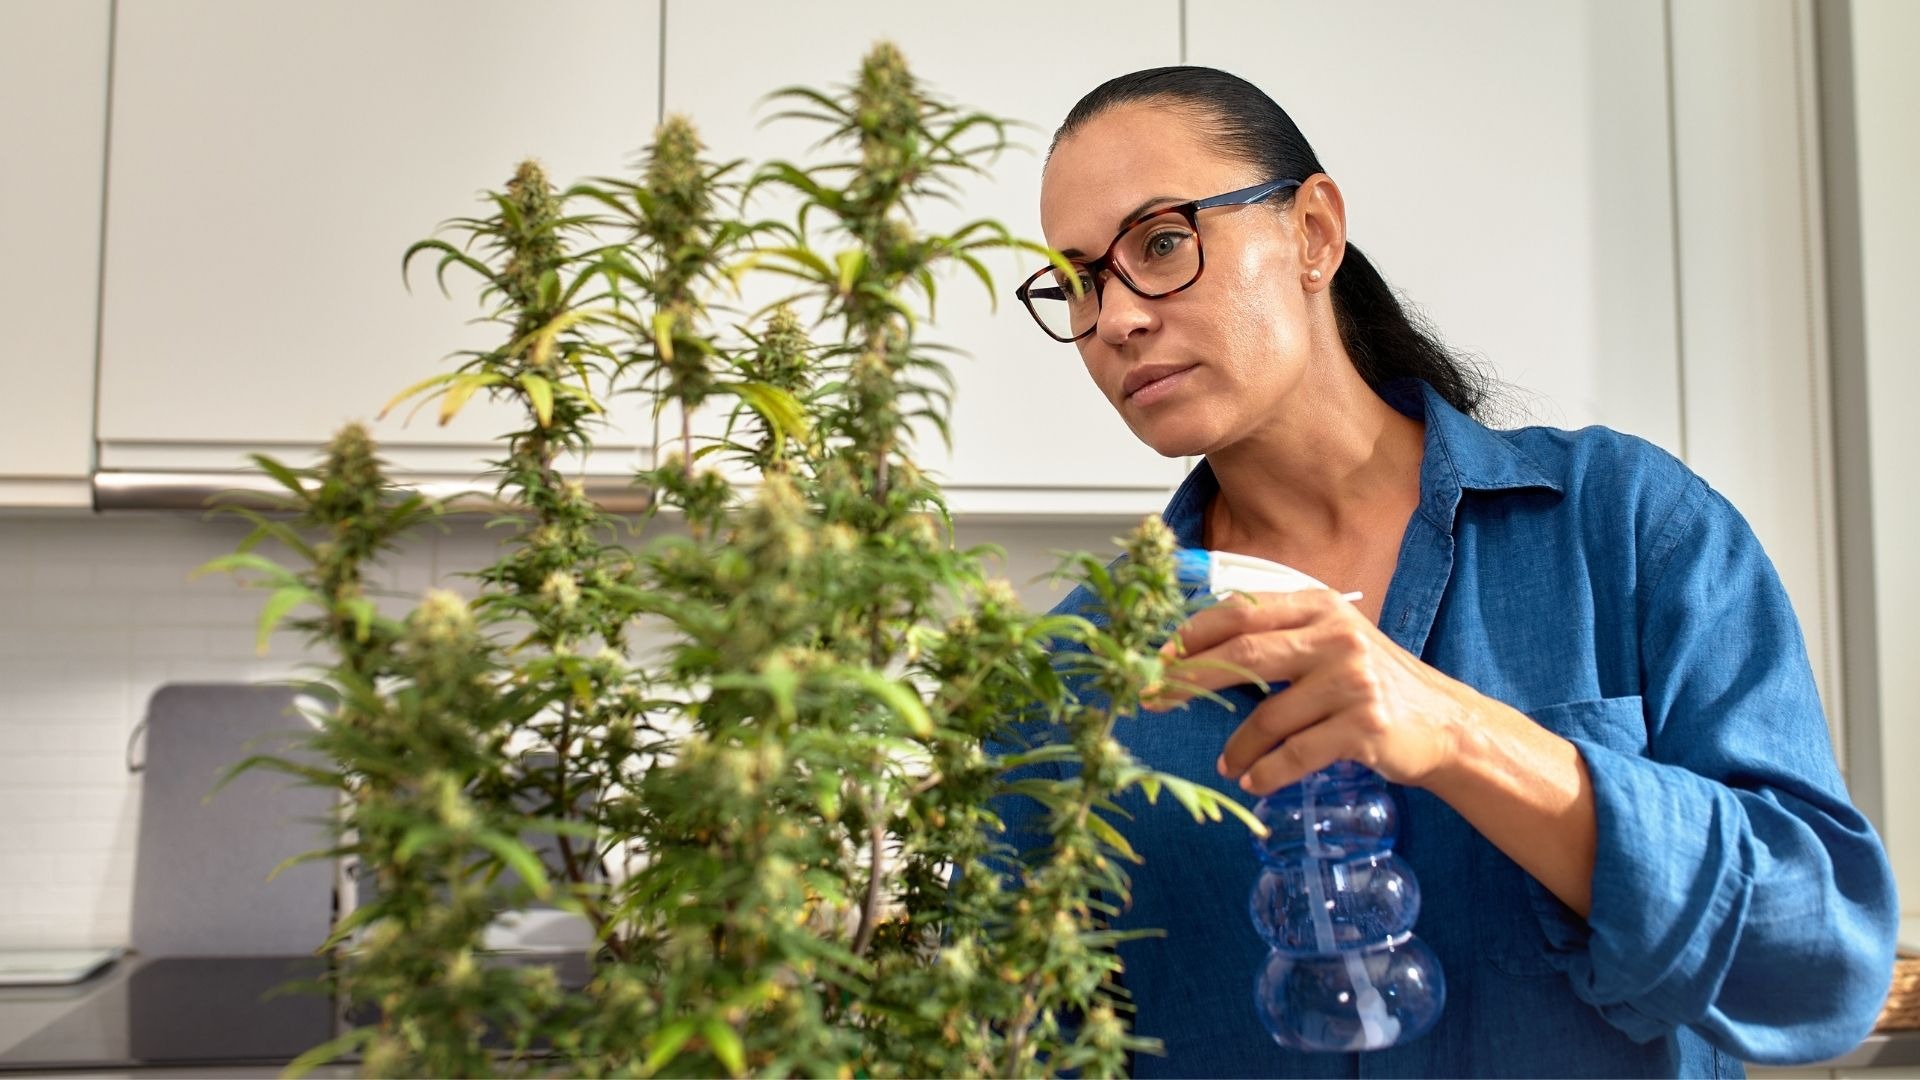
When you run a cannabis grow, you quickly learn that water is never “just water.” The quality of your source affects feeding, root strength, and how predictable your cycles feel. Let’s look at some options you can rely on in a commercial setup and see how each one fits into your workflow:
Quick Comparison:
Now, let's dig deeper into each option:
1. Distilled Water
Distilled water for autoflower gives you complete control because it starts at zero minerals. It works well when you need precision, especially in hydro setups. Many growers use it when feeding routines must stay consistent.
How to prepare distilled water:
- Test pH before mixing any nutrients.
- Add calcium and magnesium to reach a workable EC.
- Mix nutrients slowly to prevent sudden pH shifts.
- Store in clean, sealed containers.
2. Tap Water
Tap water is common across the U.S. and often works well for soil rooms. Microbial activity helps buffer shifts in pH and minerals. Quality depends on your location, so testing is essential.
How to prepare tap water:
- Check pH and adjust toward your target range.
- Let the chlorinated water rest for 24 hours.
- Test EC for hydro systems.
- Filter if the hardness levels stay high.
3. Rainwater
Rainwater is gentle on roots and friendly to soil biology when collected safely. It supports organic growing styles and offers clean hydration with fewer additives. Supplies vary by region and season.
How to prepare rainwater:
- Use simple filters to remove debris.
- Test pH before every feed cycle.
- Store in covered containers.
- Avoid long storage to maintain freshness.
4. Bottled Water
Bottled water offers predictable quality but is not practical at scale. Many growers keep it as a backup during repairs or temporary issues. It still needs testing because mineral levels differ by brand.
How to prepare bottled water:
- Test pH for consistency across batches.
- Check EC to avoid unexpected mineral loads.
- Mix nutrients in small amounts at first.
- Record brand changes during the cycle.
5. Well and Spring Water
Well or spring water can support healthy growth when the mineral profile aligns with your nutrient plan. It is accessible and abundant for rural growers, but quality varies widely, so regular testing is required.
How to prepare spring water:
- Test pH weekly, especially during seasonal shifts.
- Measure hardness and mineral content.
- Filter out sediment before use.
- Adjust feeding plans to match mineral levels.
Once your water source is set, your next step is making sure each autoflower receives the right amount.
Also Read: Watering in Veg Stage for Cannabis Plants
How Much Should You Water Autoflowers By Pot Size?
Watering routines can feel simple until you compare plants in different container sizes. When you dial in the right amount for each container, your plants stay balanced, and your team avoids guesswork. Here is a clear breakdown to help you plan consistent watering across your rooms:
Three-Gallon Pots
Smaller pots dry out faster and need careful monitoring:
- Use about 0.5 to 1 liter each session.
- Water every two to three days.
- Check soil moisture by testing the top inch.
Five-Gallon Pots
Plants in five-gallon pots enjoy a more stable schedule:
- Use 1 to 1.5 liters per session.
- Water every three to four days.
- Watch for light leaf droop before each cycle.
Ten-Gallon Pots
Larger pots hold moisture longer, so timing becomes important:
- Use 2 to 2.5 liters each time.
- Water every four to five days.
- Test the moisture two inches deep before adding more.
Fifteen-Gallon Pots
These pots create steady hydration when watered slowly and evenly:
- Use about 3 to 3.5 liters per session.
- Water once a week or when the top two inches are dry.
- Let water soak gradually so roots get air and moisture together.
With your pot-size schedule dialed in, keep an eye out for the early signs that your autoflowers need a correction.
Also Read: Optimal Water Temperature for Cannabis Plants
Signs Your Cannabis Has Watering Problems
Even experienced growers see watering issues pop up from time to time, especially with autoflowers that move through stages quickly. Fortunately, these plants show early signals when something feels off.
Watch for these indicators:
- Drooping leaves that feel heavy or overly soft.
- Leaf discoloration that starts near the base.
- Slow growth or weak branching during early weeks.
- Soil that stays wet for long periods.
- Soil that dries out so fast you lose consistency.
- Nutrient problems, linked to unstable pH or mineral levels.
A quick response to these early signs helps you protect root strength and keep your cycle on schedule. But how do you fix it? Let’s see.
Struggling to catch stress signs before they spread through a room? PlanaCan organizes every irrigation task, schedule, and note so your team stays aligned and problems surface earlier. With everything in one system, you can act faster and protect plant health.
How Can You Improve Water Quality For Autoflowers?
Getting your water right is one of the easiest ways to keep autoflowers healthy and consistent. Small adjustments to pH or filtration can make a big difference. Below are the practical steps you can take to get cleaner, more reliable water for your plants:
Check and Adjust pH
pH controls how well your plant can absorb nutrients. For most autoflowers, water around 6.0 ensures maximum uptake.
- Test pH before every feed cycle.
- Use pH up or down solutions if the water is too acidic or alkaline.
- Keep a record to monitor seasonal or municipal fluctuations.
Filtration Systems
Filtering water removes unwanted salts and chlorine while giving you a stable base. Reverse osmosis (RO) units are popular for precise control.
- Small-scale RO systems are easy to install near your grow.
- Clean the membranes regularly to maintain efficiency.
- Balance costs and water consumption when scaling for multiple rooms.
Natural Methods: Meltwater and Rain
For smaller grows or specialty setups, meltwater and rainwater can work. They often contain fewer dissolved salts than tap water.
- Collect and filter rainwater to remove debris.
- For meltwater, drain unfrozen water, then thaw ice slowly.
- Test pH before using to ensure stability.
Softening Water
Hard water can stress roots and reduce nutrient uptake. Several natural solutions can soften and acidify water:
- 0.1–0.2 g oxalic acid per liter of water.
- 2–3 drops of 9% acetic acid per liter.
- 10–20 g of peat soaked for 12–24 hours in water.
- Small additions of lemon juice or citric acid.
Once your water is stable, how you apply it becomes just as important. Here’s how to make every drop count for healthier autoflowers.
Best Watering Practices For Autoflower Plants
Even with perfect water, how you apply it matters equally. Autoflowers respond quickly to overwatering, underwatering, and inconsistent schedules. Following these practices keeps the roots healthy and growth steady:
Check Soil Moisture Before Watering
- Stick your finger an inch into the soil. Dry? Time to water.
- Use a moisture meter for larger operations, but the finger test is quick and reliable.
- Drooping leaves often signal your plant needs hydration.
Ensure Proper Drainage
- Pots should have multiple drainage holes.
- Let water run through the soil completely; avoid pooling at the surface.
- Overwatering leads to root rot and nutrient issues.
Watering By Growth Stage
Tip: Always adjust based on soil moisture, not a fixed schedule. Even during flowering, avoid soaking the soil to maintain oxygen for roots.
Good practices help your team stay ahead, but mistakes can still happen nonetheless. Check out the common issues so you can avoid repeating them in future cycles.
Also Read: Monitoring and Understanding Water pH and EC for Cannabis Cultivation
Common Watering Mistakes (and How You Can Avoid Them)

Small watering errors can create bigger setbacks if they go unnoticed. Below are the mistakes that show up most often and the simple fixes that keep your autoflowers on track:
Misreading Plant Signals
It’s easy to confuse one stress sign for another, especially when leaves droop, curl, or change color. Many growers react too quickly, assuming the plant needs more or less water without checking the full picture.
- How To Fix: Always pair visual symptoms with soil checks and recent watering history before making adjustments. With PlanaCan’s harvest analysis and reporting, you can quickly compare symptoms against past actions and avoid guesswork in your watering decisions.
Overlooking Water Quality Changes
Water sources can fluctuate more often than growers expect, and those shifts affect how your plants behave. When quality drops, the plant’s response can look like a watering problem, even when the schedule is fine.
- How To Fix: Test your water regularly. Filter or soften if necessary, and always adjust pH to around 6.0 for optimal absorption.
Using Pure Water Without Extra Support
Growers sometimes rely on very pure sources like distilled water for autoflower, thinking it keeps things simple. But pure water holds no minerals, which can leave your plants under-supported unless your feeding plan accounts for it.
- How To Fix: Start with a diluted mix and increase gradually if needed. Monitor leaves for any signs of stress before adding more nutrients.
Changing Your Watering Routine Too Quickly
Autoflowers react fast, and rapid changes in watering can cause uneven growth or stress. Many growers overcorrect after a small issue and end up creating a new one in the process.
- How To Fix: Make small adjustments, give the plant time to respond, and track those changes so your routine stays consistent. PlanaCan’s automated work scheduling helps you maintain steady, repeatable watering routines so you can avoid overcorrections and keep growth on track.
Keep Autoflower Watering On Track With PlanaCan

Keeping autoflower watering consistent is tough, especially when teams juggle multiple rooms, shifting schedules, and tasks that change week to week. Missed watering, uneven feeding, and poor communication can stack up fast and quietly hurt your yield.
That’s where PlanaCan comes in to help. Our cultivation management platform gives commercial growers a structured, automated way to keep every watering task on time and every team member in sync.
How we strengthen your watering routines:
- Automated Work Scheduling: Create and automate watering templates so the right tasks fire at the right time, without any missed days.
- Interactive Planning Calendar: Map out entire cycles, adjust irrigation tasks instantly, and keep long-term and daily watering needs visible in one place.
- Team Management Tools: Give staff clear, mobile-friendly instructions so everyone waters consistently, even across shifts.
- Harvest Analysis & Reporting: Track how watering patterns affect yield, spot trends, and refine your strategy each cycle.
With PlanaCan, your watering routine becomes predictable, data-backed, and easier for your whole team to execute.
Final Thoughts
Keeping autoflowers healthy comes down to steady watering habits, clean water sources, and catching early stress signals before they spread. When you understand how each pot size holds moisture and use distilled water for autoflower, you create a more predictable path toward stronger plants and better yields.
But sometimes even with the right techniques, consistency can still slip when your team is busy, or communication breaks down. That’s where PlanaCan becomes a real advantage. It helps you organize watering schedules, standardize processes, and give your team clear direction throughout the cycle.
If you want watering to feel consistent, repeatable, and stress-free for your entire team, PlanaCan brings everything into one clear workflow. Schedule a free call today and see how streamlined cultivation can look in your facility.
FAQ’s
Q. Is distilled water good for cannabis plants?
Yes, distilled water works well for cannabis because it starts clean and free of minerals. You can control pH and add nutrients with precision. Just remember that plants still need minerals, so supplementation is required.
Q. How do I make distilled water for my plants?
You can make distilled water by boiling water and capturing the steam as it condenses into a clean container. This process removes minerals and impurities. It’s simple, but it can be time-consuming if you need large amounts.
Q. How much water for a 2-week-old autoflower?
A 2-week-old autoflower only needs light watering. Aim for small amounts around the root zone, just enough to keep the top layer slightly moist. Overwatering at this stage can easily slow growth.
Q. How does distilled water affect autoflower nutrient uptake?
Distilled water has no minerals, so plants rely entirely on the nutrients you add. This gives you control but also leaves less room for error. Stable feeding and pH management become more important to prevent deficiencies.