
Micro grow yield refers to the amount of cannabis harvested from small-scale setups. These are typically grown in closets, cabinets, tents, or other space-limited environments. They operate on a compact footprint but can still produce impressive results when managed with care.
Understanding what influences harvest is necessary for optimizing output. In this blog, we define micro grow yield, explore the factors that shape it, and share actionable tips to help growers maximize yield without expanding their footprint.
Quick overview:
- A successful micro grow requires careful planning, optimized lighting, compact strains, and efficient space utilization to maximize plant health and yield in small cultivation setups.
- Following these practices is crucial because even minor mistakes with watering, nutrients, or light can drastically reduce yield and plant quality.
- Choose the right strain for your space, such as compact indica-dominants or autoflowers, to make the most of limited room and resources.
- Use training techniques like LST, SCROG, and topping to maximize canopy coverage and ensure even light distribution for healthier, more productive plants.
- Monitor environmental factors such as temperature, humidity, and airflow closely, and adjust nutrient and watering schedules according to plant stage for consistent growth and harvest quality.
What is Micro Growing?
Micro growing is the practice of cultivating cannabis in very small, controlled environments. It often involves grow tents under 3x3 feet, repurposed cabinets, or even desktop-sized setups.
Unlike large-scale or traditional home grows, micro grows emphasize discretion, efficiency, and creative use of limited space. This method focuses on producing quality cannabis from a small footprint while maintaining control over key growing conditions.
Pros of Micro Growing
- Discreet and Low-Profile: Small setups blend into home environments without drawing attention.
- Cost-Effective: Requires less investment in lights, nutrients, and equipment.
- Beginner-Friendly: Great for new growers experimenting before scaling up.
- Energy Efficient: Lower energy use compared to larger grow rooms.
Cons of Micro Growing
- Limited Yield: Smaller plants naturally produce fewer buds per harvest.
- Tight Space Challenges: Air circulation, humidity, and temperature are harder to manage.
- High Maintenance: Frequent monitoring is necessary to avoid overcrowding and stress.
- Fewer Plants: Restricts growers from experimenting with multiple strains at once.
While it comes with trade-offs, micro growing can be rewarding for those who prioritize discretion, efficiency, and personal use over bulk production.
Next, let’s look at how to set up your micro growing space so that every inch is used wisely.
Suggested Read: Causes and Fixes for Slow Cannabis Plant Growth
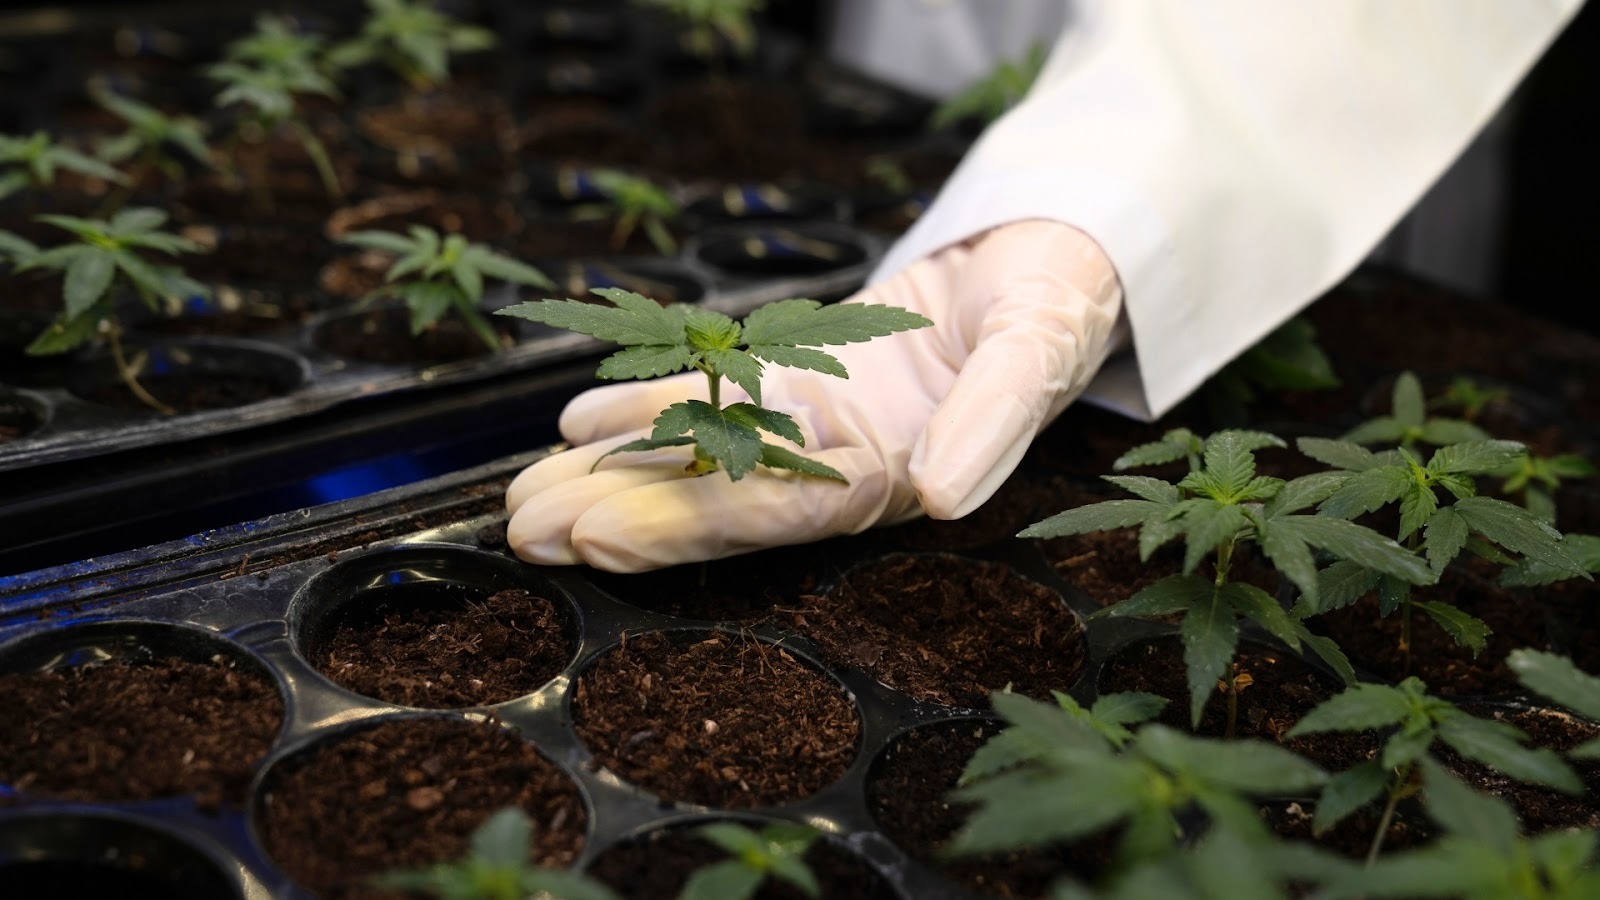
How to Set Up Your Micro Growing Space?
Alt text:How to Set Up Your Micro Growing Space?
Setting up a micro grow is about making the most of tight quarters while still providing your plants with everything they need. Success lies in careful planning, selecting the right equipment, and creating an environment where cannabis can thrive without wasted space.
Here are the key steps to get started:
- Choose the Right Container: A small grow tent, cabinet, or even a bucket-sized container works well, as long as it is lightproof.
- Pick Compact Strains: Autoflowers and Indicas are ideal for high micro grow yields. They remain short and bushy compared to tall Sativas.
- Lighting Setup: Use low-heat, energy-efficient LEDs or CFLs placed close to plants without causing burns.
- Ventilation: Install a small exhaust fan and intake vents to maintain airflow and reduce humidity buildup.
- Reflective Surfaces: Line walls with reflective material (like Mylar) to maximize light coverage in small spaces.
- Pot and Soil Choice: Use smaller pots (1–3 gallons) with well-draining soil to avoid root crowding.
When each step is dialed in, even a tiny setup can produce surprisingly healthy plants. Now that the space is ready, it is time to set expectations.
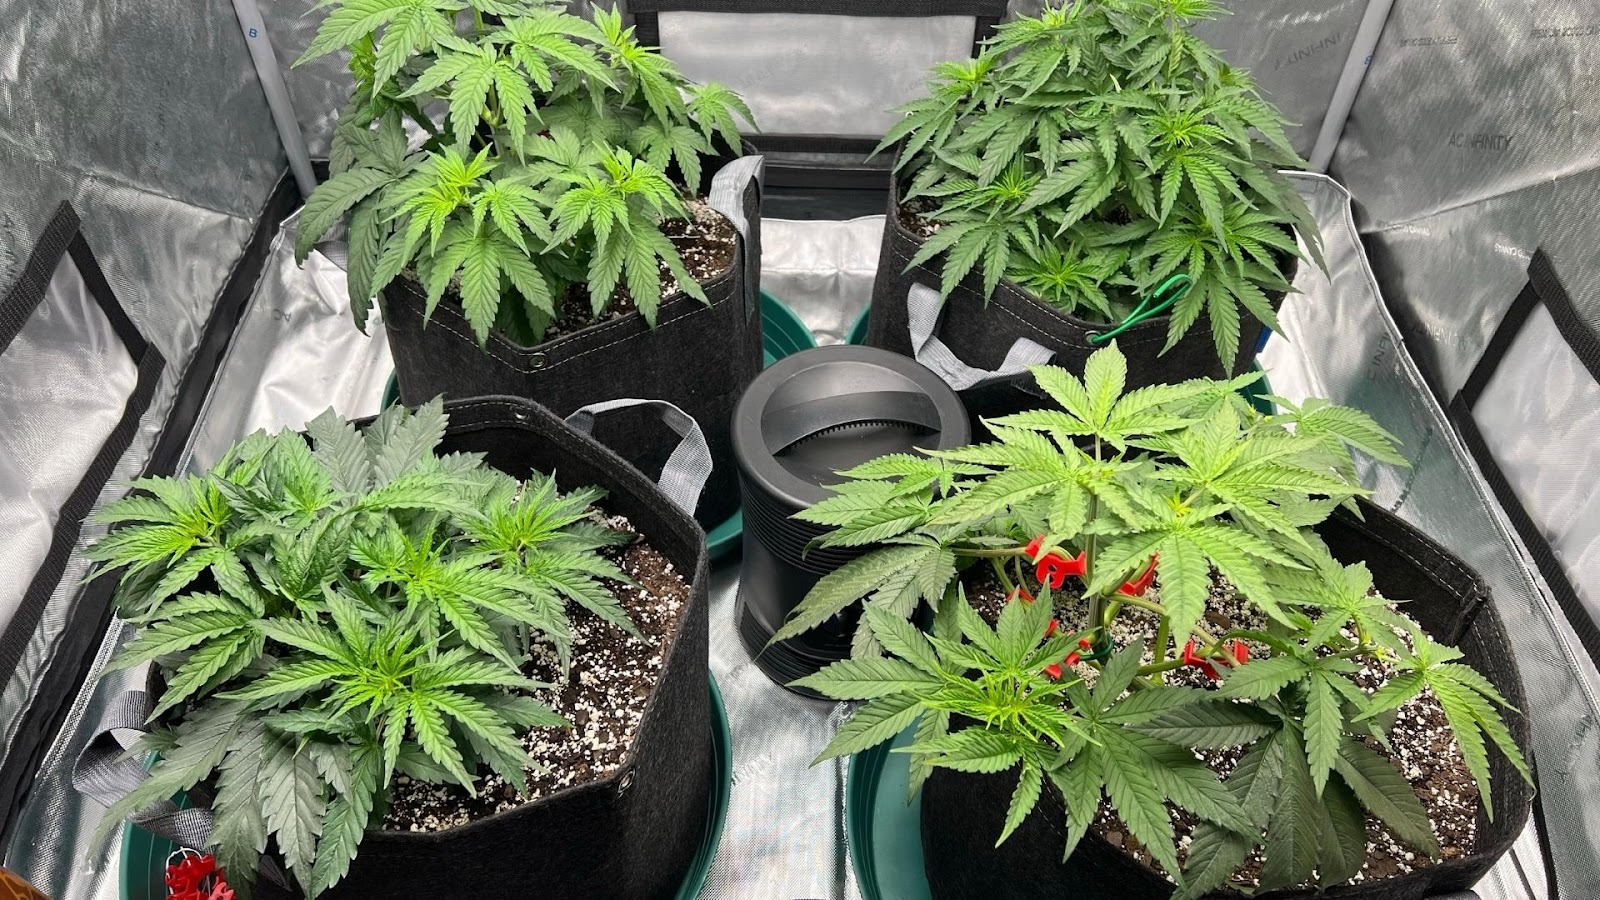
Expected Harvest from Small Weed Plants
Micro grows are not about massive harvests but rather maximizing yield relative to limited space. While large setups can produce ounces per plant, micro-grown cannabis typically delivers 10–50 grams per plant, depending on strain, setup, and care.
With proper management, even small plants can produce potent, high-quality buds that rival larger harvests in strength.
Measuring Micro Grow Yield
Yield is usually expressed as grams per watt (g/W) or grams per square foot (g/ft²). For micro grows, tracking efficiency is crucial:
- Dry Weight Measurement: Always weigh buds after drying, not fresh cut.
- Grams per Watt: Divide total dried weight by the wattage of your grow light.
- Grams per Square Foot: Useful for comparing setups with different container sizes.
- Consistency Tracking: Record yields over multiple grows to spot trends and improvements.
Factors Affecting Yield
Several elements determine how much you can expect from your micro grow:
- Strain Genetics: Autoflowers and Indicas tend to be more productive in compact spaces.
- Lighting Quality: Strong, efficient LEDs or CFLs directly influence bud density.
- Nutrients and Soil: Balanced feeding avoids stunted growth or nutrient burn.
- Training Techniques: Methods like Low-Stress Training (LST) improve canopy spread.
- Environmental Control: Proper ventilation, humidity, and temperature keep plants healthy.
PlanaCan helps you maximize every inch of your grow by providing real-time monitoring and smart alerts that keep plants thriving. Its effective tools ensure balanced light, nutrients, and airflow for stronger yields. With PlanaCan, even small spaces deliver big results. Schedule your free call today.
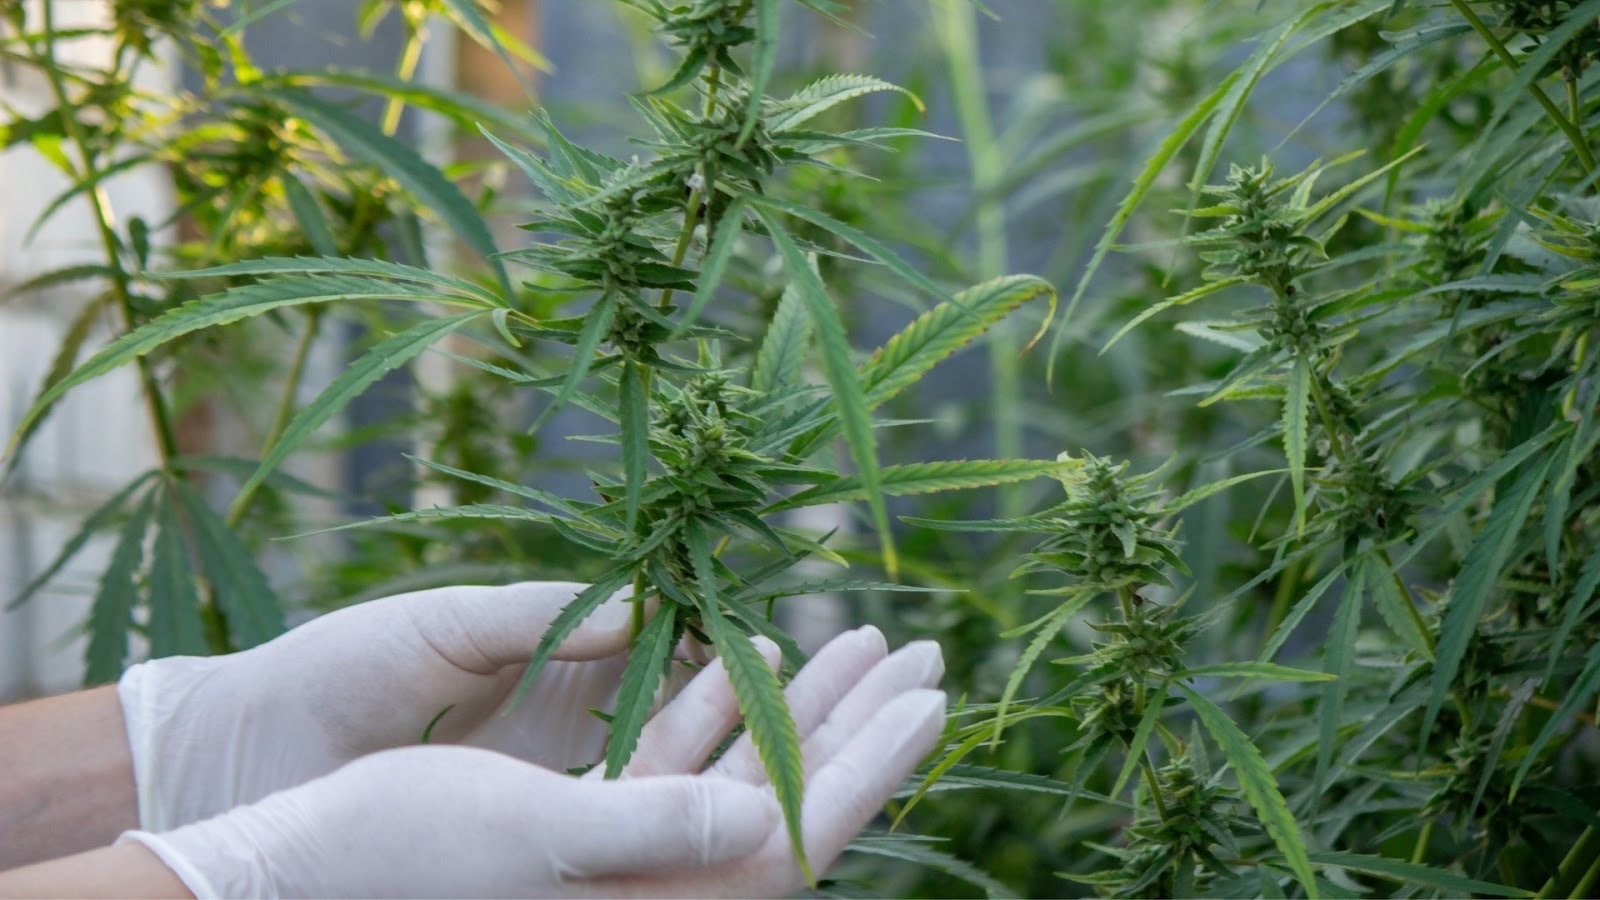
How to Get a Higher Yield from Micro Cultivation?

Alt text:How to Get a Higher Yield from Micro Cultivation?
Micro cannabis cultivation requires a strategic approach to make the most of limited space. Every decision directly impacts yield and plant quality.
You can maximize output without expanding your footprint with the following strategies:
Choose the Right Strain
Selecting the right genetics sets the foundation for a successful micro grow. Compact, high-yielding strains perform best in tight spaces and are easier to manage.
- Northern Lights (Indica)
These are short, bushy plants with dense buds, ideal for small tents or cabinets. They grow rapidly, are resilient to stress, and yield a high amount relative to their size.
- Blue Dream (Hybrid)
A versatile hybrid that balances height and structure, producing multiple colas suitable for micro setups while offering potent effects.
- Autoflower Strains (e.g., Gorilla Glue Autoflower)
These strains complete their life cycle quickly, remain compact, and thrive with minimal intervention, making them perfect for growers who need consistent cycles in small spaces.
Optimize Lighting
Lighting is crucial in micro grows because it directly affects photosynthesis, plant health, and bud development. Poor lighting can lead to stretching, uneven growth, or low yields.
- LED Grow Lights
Full-spectrum LEDs provide light similar to the sun while producing low heat, reducing the risk of light burn in tight spaces. They are energy-efficient and can be placed closer to plants for better penetration.
- Compact Fluorescent Lights (CFLs)
Ideal for seedlings and smaller plants, they provide gentle light to encourage early growth without overheating leaves.
- Distance and Light Cycles
Maintain 12–18 inches above the canopy, adjusting as plants grow. Use 18/6 for vegetative stages and 12/12 for flowering to optimize energy use and flowering potential.
Suggested Read: Tips for Controlling Humidity in Curing Jars for Cannabis
Maximize Space with Training Techniques
Training techniques allow growers to manipulate plant growth to maximize light exposure, airflow, and bud development in limited space.
- Low-Stress Training (LST)
Gently bend and tie stems to encourage horizontal growth. This exposes more bud sites to light, prevents shading, and improves overall yield without stressing the plant.
- Screen of Green (ScrOG)
Plants are guided through a horizontal screen, spreading the canopy evenly. This technique ensures light reaches all bud sites, creating uniform growth and maximizing space efficiency.
- Topping and Pruning
Removing the main shoot (topping) or selectively pruning leaves redirects energy to secondary branches, producing multiple colas. It enhances airflow, reduces overcrowding, and increases bud size across the plant.
Soil vs. Hydroponics in Micro Growing
The choice of medium affects growth rate, space efficiency, and yield potential.
- Soil
Offers natural buffering of nutrients, making it easier for beginners to manage. While slower to grow, well-amended soil can still produce dense buds and strong flavor.
- Hydroponics
Plants grow faster and often produce higher yields, as nutrients are delivered directly to roots. Systems like Deep Water Culture (DWC) or ebb-and-flow are space-efficient, though they require careful monitoring and maintenance.
Choosing between the two depends on space, experience, and desired output. Hydroponics suits ambitious micro growers seeking maximum yield.
Control Temperature and Humidity
Micro grow rooms are susceptible to environmental fluctuations. Proper temperature and humidity control can prevent stress, mold, and stunted growth.
- Temperature
Keep 70–80°F during vegetative stage and slightly cooler during flowering to optimize bud development and prevent heat stress.
- Humidity
Seedlings thrive at 65–70%, vegetative growth at 50–60%, and flowering at 40–50% to prevent mold. Fluctuations in micro spaces happen faster due to limited air volume.
- Airflow
Even small oscillating fans or micro-ventilation systems maintain consistent airflow, reduce hotspots, and support strong stem development.
Proper Nutrient Management
Balanced nutrition ensures sturdy growth without harming roots or leaves. Overfeeding or underfeeding can stunt micro plants more quickly than larger grows.
- Seedling Stage
Light feeding with a gentle nutrient solution supports root and leaf development without causing nutrient burn.
- Vegetative Stage
Higher nitrogen encourages leaf growth and strong stems, while moderate phosphorus and potassium support energy transfer and root health. Adjust per strain. For instance, Indicas need slightly less nitrogen than Sativas.
- Flowering Stage: Increase phosphorus and potassium to promote dense, resinous buds. Monitor plant response to fine-tune feeding schedules and avoid deficiencies that could reduce yield.
Implementing these strategies gives micro growers the tools to maximize output and quality in limited spaces.
Next, we will break down the essential nutrients needed in micro cannabis cultivation to push growth and yield even further.
Suggested Read: Identifying and Preventing Purple Bud Rot in Cannabis Plants
Nutrients Needed in Micro Cannabis Cultivation
Alt text:Nutrients Needed in Micro Cannabis Cultivation
Plants require a correct balance of macronutrients and micronutrients at each stage to achieve strong growth, healthy leaves, and dense buds. Maintaining a proper nutrient balance, while monitoring plant response, ensures healthy growth and maximizes yield in micro cultivation.
Table showing the correct range for micro cannabis nutrient management:
Tips for High Micro Grow Yield:
- Small pots concentrate nutrients quickly. Start at a lower ppm and adjust gradually.
- Monitor EC and pH regularly to avoid nutrient lockout.
- Adjust for light intensity. Weaker lighting may require slightly higher nitrogen and magnesium.
- Consider strain-specific needs. Indica-dominant strains tolerate slightly lower nitrogen. Sativa-dominant strains benefit from higher vegetative nitrogen.
PlanaCan helps you track nutrient levels easily. With interactive templates and real-time monitoring, you can adjust feeding schedules effortlessly. Get started today to optimize growth and maximize yield.
Next, we will discuss the right time to switch your plants to the bloom stage for optimal flowering and harvest potential.
Right Time to Switch to Bloom Stage
Switching too early can stunt growth, while waiting too long can reduce overall flowering potential. Generally, plants are ready once they have developed 4–6 sets of true leaves, a sturdy stem, and a well-established root system.
Signs your plant is ready for bloom:
- Leaf nodes are evenly spaced and healthy.
- Plant height has stabilized, showing minimal vertical stretching.
- Overall vigor indicates strong vegetative growth.
Timing the transition carefully ensures your plants enter flowering with optimal energy and nutrient reserves, setting the stage for dense, high-quality buds.
Next, we will cover common mistakes to avoid in micro grow setups to prevent nutrient, light, and environmental issues.
What Not to Do in a Micro Grow Setup?
Alt textWhat Not to Do in a Micro Grow Setup?
Even small errors in a micro grow setup can have outsized effects on plant health and yield. Micro spaces magnify problems such as overwatering, nutrient imbalances, or poor airflow. Avoiding these common mistakes ensures your plants grow strong, healthy, and productive.
Common micro-grow mistakes and their effects:
- Overwatering: Causes root rot and nutrient lockout, leading to stunted growth and yellowing leaves.
- Underwatering: Reduces nutrient uptake, causes wilting, and slows vegetative development.
- Improper Lighting: Light that is too close burns leaves. Light that is too far causes stretching and weak stems.
- Nutrient Imbalances: Overfeeding can cause toxicity; underfeeding leads to deficiencies, poor growth, and reduced yield.
- Poor Airflow: Increases risk of mold, mildew, and pest infestations.
- Ignoring Temperature and Humidity: Fluctuations stress plants, reduce photosynthesis efficiency, and may trigger hermaphroditism.
These pitfalls generally happen because managing even a small micro grow requires constant attention. In spaces cared for by just two or three people, it’s easy to overfeed, overwater, or misjudge light and humidity. These small mistakes can quickly snowball into stressed plants, reduced yields, and wasted resources.
With a dedicated workflow management system, you can track every task, monitor plant needs, and coordinate your team efficiently. PlanaCan provides exactly that. It helps you avoid costly errors and keep your micro grow running smoothly, from seedling to harvest.
Use PlanaCan to Maximize Your Small-Space Cultivation
Alt text:Use PlanaCan to Maximize Your Small-Space Cultivation
PlanaCan combines AI-driven planning with interactive tools to help small-scale growers track tasks, monitor plant health, and coordinate efforts efficiently. It serves as a comprehensive planning platform, allowing you to schedule tasks, log growth, and visualize your cultivation timeline.
These features ensure that nothing is overlooked and every plant receives the care it needs for a high micro grow yield:
1. Interactive Templates
PlanaCan provides customizable grow templates that simplify planning. Outline the growth cycle for each strain, track watering, feeding, and pruning schedules, and make real-time adjustments to ensure consistent progress.
2. Interactive Calendar
The visual calendar helps you organize all tasks and milestones. Plan watering, nutrient schedules, pruning, and light cycles weeks in advance, ensuring each plant is attended to on time.
3. Real-Time Monitoring and Updates
Track growth and task completion as it happens. Everyone on your team stays aligned, reducing human error and preventing overwatering, nutrient issues, or missed tasks.
4. Work Scheduling
For small-scale grows managed by 2–3 people, PlanaCan organizes responsibilities. Assign tasks, set deadlines, and track completion to maintain consistency and avoid neglecting any plant.
5. Harvest Analysis and Reporting
PlanaCan logs growth and harvest outcomes, giving insight into what worked best. Even in micro grows, this allows you to replicate successful methods and improve yields over time.
For hobbyists and home cultivators, PlanaCan Basic is free and will remain so. This option is ideal for basement tents or backyard greenhouses, giving small growers access to professional-grade planning tools at no cost.
If you want to explore advanced features for larger or commercial operations, there’s a 1-week free demo. Experience the full suite of AI-driven scheduling, task management, and growth tracking before committing. Get in touch today.
Conclusion
Improving micro grow yield is entirely achievable, but it takes consistent attention, accurate timing, and effective task management. Errors in watering, lighting, or pruning can reduce harvests, making a structured workflow essential for success.
PlanaCan optimizes these processes with features like strain-specific growth templates, nutrient tracking per plant, and detailed harvest analytics. Real-time updates and team coordination ensure every task is completed efficiently, keeping your micro grow on track from seedling to harvest.
Make your small-space cultivation more predictable, organized, and high-yielding. Schedule your free call today.
Frequently Asked Questions
1. Which strains work best for micro grows?
Compact, high-yielding strains such as Northern Lights, Blueberry, and autoflowers perform well in small spaces. Indica-dominant strains are easier to manage, while autoflowers offer faster harvest cycles.
2. How often should micro cannabis plants be watered?
Watering depends on pot size, soil type, and plant stage. Generally, seedlings need light daily watering, while vegetative and flowering plants require more substantial watering when the medium begins to dry.
3. Can PlanaCan help improve micro grow yields?
Yes. PlanaCan tracks growth stages, schedules watering, pruning, and feeding tasks, and logs harvest results. This workflow management prevents errors, optimizing plant health and final yield.
4. How important is airflow in a micro grow setup?
Air circulation prevents mold, mildew, and pests. Proper ventilation ensures even temperature and humidity, strengthens stems, and promotes healthy leaf development, which is critical for maximizing yield in confined spaces.
5. Can I switch strains mid-grow in a micro grow?
Switching strains mid-grow is not recommended. Different strains have unique nutrient, light, and growth requirements, which can lead to stress, uneven growth, and lower overall yield.
6. How can I prevent overfeeding or nutrient burn in small grows?
Carefully monitor nutrient concentration and frequency, tailor feedings to the plant stage, and adjust for limited light or small pot size. Logging and scheduling tools help maintain safe, consistent feeding.


