Drying is where many growers lose what they worked months to grow. Buds that looked perfect at harvest can come out muted, harsh, or weaker than expected simply because the drying process was rushed or poorly controlled.
According to research, the greatest increases in cannabidiol (CBD) and Δ9-tetrahydrocannabinol (THC) content in cannabis inflorescences occur during traditional drying.
Outdoor drying, when done correctly, can closely replicate these traditional conditions. In this guide, we break down how to dry weed outside safely, what conditions matter most, and how to protect cannabinoids and terpenes from avoidable loss.
Quick look:
- Outdoor drying works only with control. Cannabis can be dried outside successfully if plants are kept shaded, protected from weather, and exposed to steady, indirect airflow.
- Potency and flavor are most at risk during drying. Excess heat, light, or rapid moisture loss can degrade terpenes and cannabinoids even after a strong harvest.
- Timing and environment matter more than speed. Commercial outdoor drying typically takes 7–14 days, with slower, even drying producing better aroma and consistency.
- Preparation determines outcomes. Harvest timing, gentle handling, whole-plant or branch drying choices, and delayed trimming all directly affect final quality.
- Repeatability separates success from loss. The best results come when drying and post-harvest steps are planned, monitored, and executed consistently across harvests.
Can You Dry Weed Outside on a Commercial Scale?
Drying cannabis outdoors at a commercial scale is possible, but it requires far more control than small-batch or home drying. The challenge is not whether buds will dry, but whether they will dry consistently, safely, and without quality loss across large harvest volumes.
These are a few things to keep in mind:
- Weather Dependence: Sudden shifts in humidity, temperature, or rainfall can disrupt drying and introduce quality risks across an entire batch.
- Limited Environmental Control: Outdoor setups offer fewer tools to correct conditions in real time. This makes it harder to keep drying within narrow ranges that protect cannabinoids and terpenes.
- Scalability Challenges: As volume increases, maintaining uniform airflow and moisture removal becomes more difficult. Small inconsistencies can translate into uneven drying across lots.
- Contamination Risk: Outdoor environments increase exposure to dust, pests, and airborne contaminants. These risks grow as drying areas expand.
- Compliance and Traceability: Commercial operations must document post-harvest handling. Outdoor drying adds complexity when consistency and record-keeping are required.
For commercial cultivators, outdoor drying is less about exposure and more about control. Understanding the ideal environmental conditions is the next step in deciding whether outdoor drying can meet quality and compliance expectations at scale.
Suggested Read: Drying Cannabis in a Paper Bag: A Simple Method
Ideal Environmental Conditions for Outdoor Drying
Outdoor drying succeeds or fails based on environmental stability. Hitting the correct ranges helps slow moisture loss, preserve terpenes, and prevent mold or degradation.
These conditions will lead to the best terpene profiles in your weed:
- Temperature Range
Aim for temperatures between 60–70°F (15–21°C). Higher temperatures accelerate terpene evaporation and cannabinoid degradation, while cooler conditions slow drying and increase moisture retention. - Relative Humidity Range
Target 50–60% relative humidity to allow gradual moisture release. Humidity above this range raises mold risk, while lower humidity causes buds to dry too quickly and lose aroma. - Shade And Light Exposure
Dry cannabis in complete shade with no direct sunlight. UV light degrades cannabinoids rapidly and can flatten terpene profiles even during short exposure periods. - Airflow Quality
Use gentle, indirect airflow to prevent moisture pockets without blowing directly on buds. Strong airflow can dry outer surfaces too fast while trapping moisture inside. - Protection From Moisture
Shield drying plants from rain, dew, and condensation. Even brief moisture exposure can disrupt drying progress and increase microbial risk.
PlanaCan helps growers document drying environments, track timing, and standardize post-harvest workflows across harvests. By documenting which conditions were used and how they affected outcomes, teams can refine outdoor drying methods rather than repeating guesswork. Schedule a demo today.
Preparing Cannabis Plants for Outdoor Drying
Once plants are moved into an outdoor drying environment, opportunities to correct mistakes are limited. Thoughtful handling and preparation help slow moisture loss, protect trichomes, and reduce avoidable risks.
Tips to prepare your plants for outdoor drying:
- Harvest At The Right Time
Plants should be harvested at peak maturity and during dry conditions. Cutting after rain or heavy dew introduces excess surface moisture, which can prolong drying and increase the risk of mold. - Handle Plants Carefully
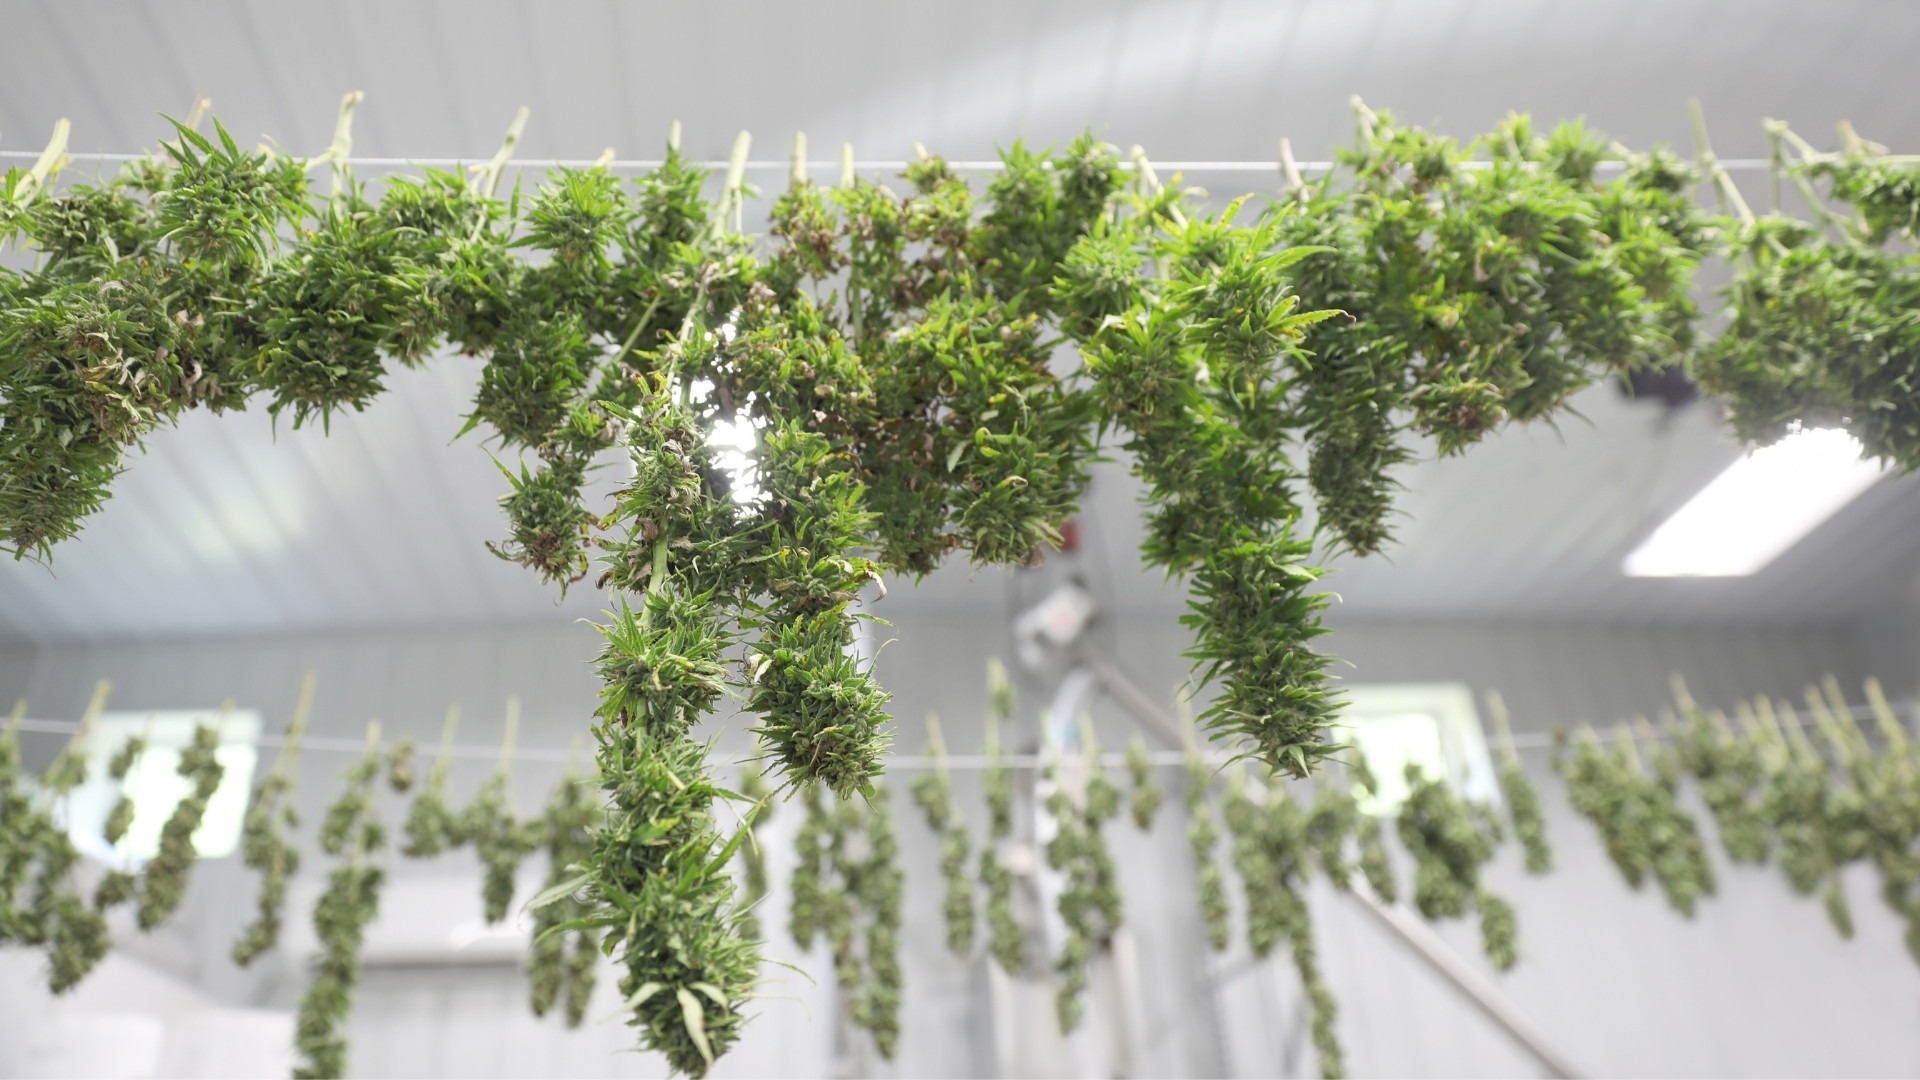
Freshly harvested plants should be handled by the main stem and kept from compression or stacking. Trichomes are especially fragile at this stage, and rough handling can reduce potency before drying begins. - Choose Whole Plant Or Branch Drying
Whole plant drying slows moisture loss and is often better suited to drier conditions. Branch drying accelerates drying and can be more practical when space is limited or the humidity is higher. - Delay Final Trimming
Leaving sugar leaves intact during drying helps regulate moisture loss and protect terpene content. Final trimming is best completed after drying to avoid over-drying exposed buds. - Remove Compromised Material Early
Any damaged, mold-affected, or pest-exposed material should be removed before drying. Addressing issues early helps prevent contamination during the drying process.
The next variable is how you arrange and protect your plants outdoors. The following section covers best outdoor drying setups designed to balance airflow, shade, and environmental stability.
Suggested Read: Understanding Why Buds Become Light and Fluffy After Drying
Best Outdoor Drying Setups for Cannabis

The right outdoor drying setup makes the difference between preserving terpenes and losing them to heat, light, or uneven airflow. The goal is to create a stable, shaded micro-environment that allows cannabis to dry slowly and evenly.
Table showing a brief comparison of different outdoor growing setups:
Each of these setups prioritizes maximum flavor and potency while managing outdoor risks differently. They are explained in detail below:
1. Covered Patio or Veranda Drying
Covered patios and verandas provide natural shade and protection while allowing airflow to pass through freely. This setup works well when the weather is stable, and the humidity stays within a moderate range. The structure helps buffer plants from direct sun and sudden exposure.
Key considerations for this setup include:
- Shade coverage throughout the day
- Consistent but indirect airflow
- Protection from rain and morning dew
- Enough vertical space for hanging plants
This setup is most useful for small to medium harvests in regions with predictable weather. It allows slow drying without introducing unnecessary complexity.
2. Shed or Outbuilding Drying
Sheds and enclosed outbuildings offer more control than open-air spaces while still qualifying as outdoor drying. They reduce exposure to light, wind shifts, and contaminants while maintaining passive airflow. When properly ventilated, they support slower moisture loss that protects terpene profiles.
Important factors for this setup include:
- Vent openings for passive airflow
- Darkness or low-light conditions
- Clean, dust-free interiors
- Controlled plant spacing
This approach works well when consistency matters more than speed. It is especially useful for growers managing larger batches who want fewer environmental swings.
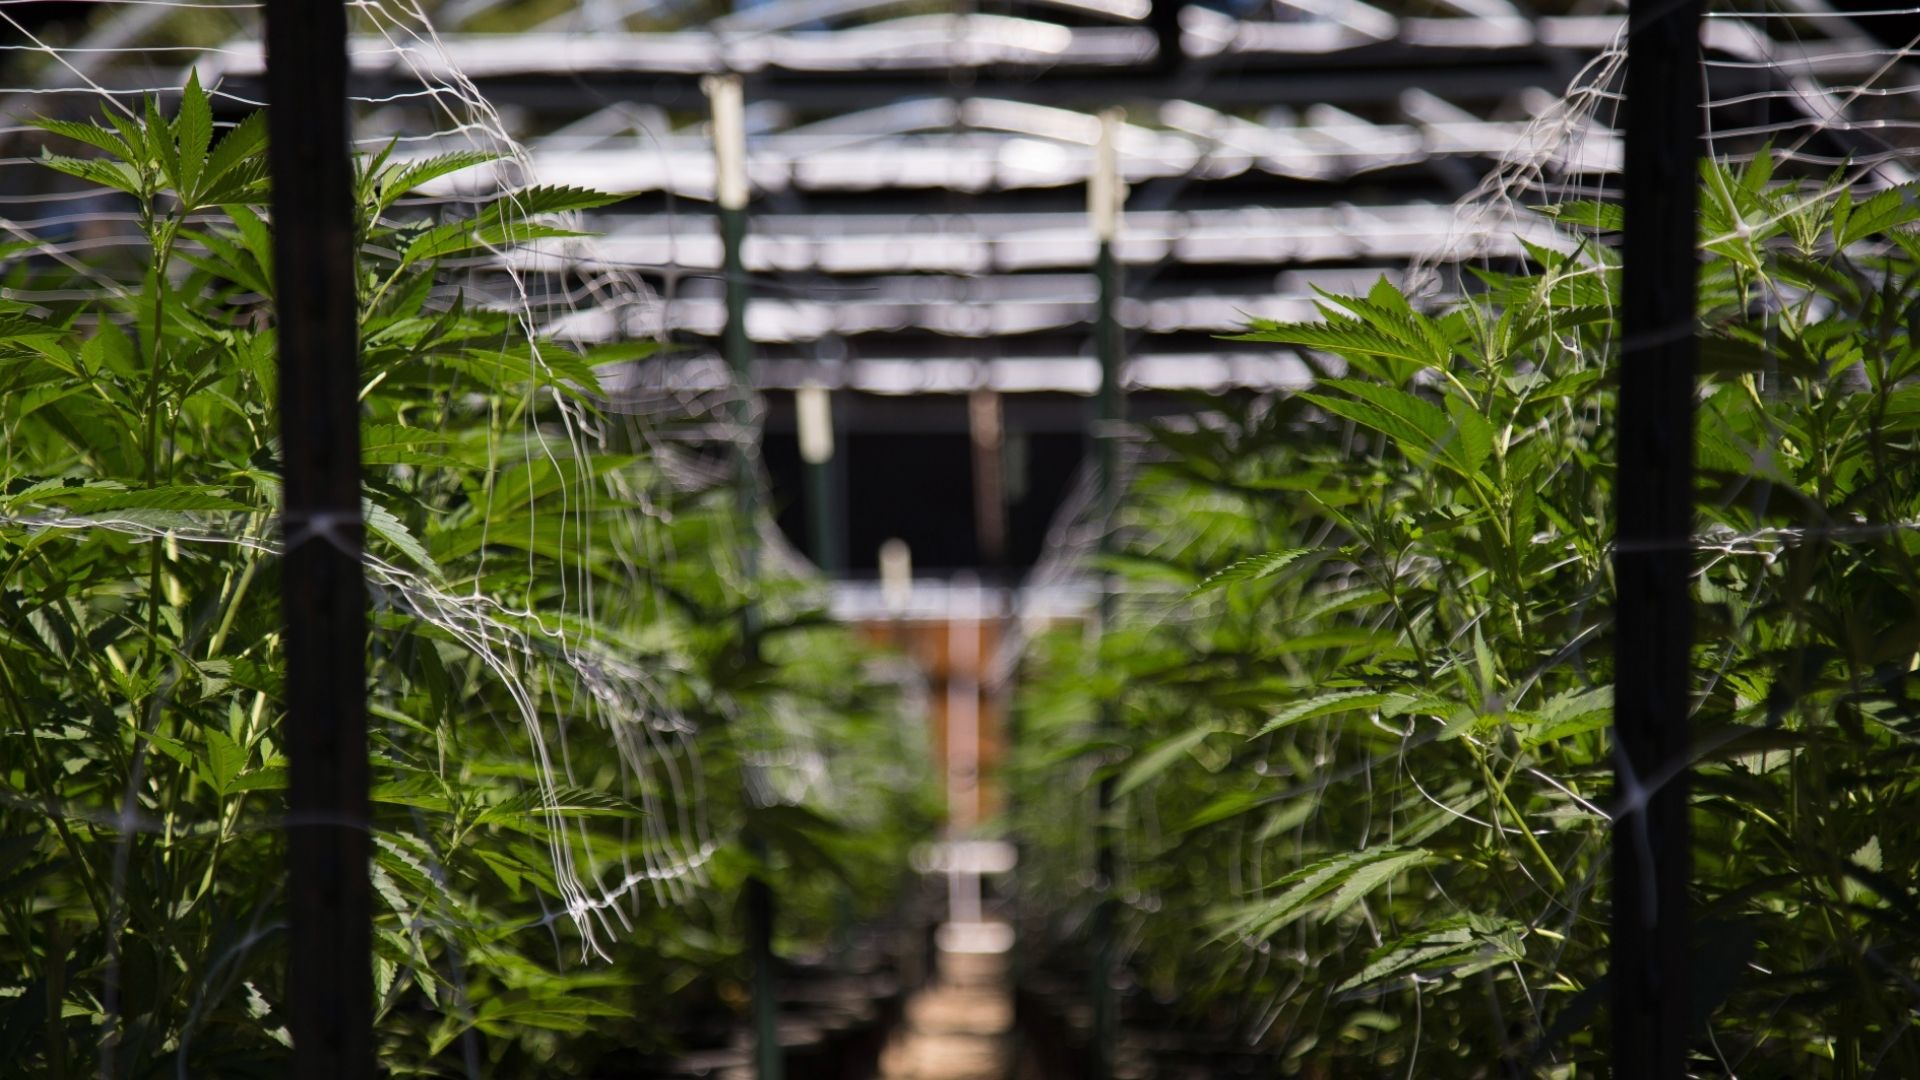
3. Greenhouse Drying With Light Control
Greenhouses can be adapted for drying if light exposure is carefully managed. While greenhouses naturally trap heat, shading and ventilation can turn them into effective drying environments. Without light control, however, potency and flavor can degrade quickly.
Critical elements to manage here are:
- Complete light blocking or blackout curtains
- Active ventilation to release trapped heat
- Temperature monitoring throughout the day
- Even airflow across hanging plants
This setup is useful in cooler climates or shoulder seasons when outdoor temperatures are otherwise too low. It requires more oversight but can deliver consistent results when dialed in.
4. Temporary Covered Structures
Temporary structures such as canopy tents or tarp-framed setups offer flexibility and rapid deployment. When designed correctly, they create shaded drying zones with adjustable airflow. The challenge is preventing moisture buildup while maintaining protection.
Areas to focus on for these setups include:
- Waterproof overhead coverage
- Open sides for airflow control
- Elevated hanging points
- Secure anchoring against wind
These setups are best for short drying windows or overflow harvests. They work well when permanent structures are unavailable but require close monitoring.
The next section explains how to recognize when buds are ready for the next stage without sacrificing flavor or potency.
Suggested Read: Simple DIY Cannabis Drying Rack Solutions
How Long Does It Take to Dry Commercial Cannabis Outside?
Drying commercial cannabis outdoors is a time-dependent process influenced by environment, plant structure, and setup choice. Unlike indoor drying, timelines are less predictable because conditions fluctuate throughout the day and night.
When estimating outdoor drying time, consider the following:
- Typical Drying Window: Most outdoor commercial dries take 7–14 days. Shorter timelines often indicate excessive heat or poor airflow, while longer timelines usually indicate high humidity or limited air exchange.
- Impact of Environmental Conditions: Warmer temperatures and lower humidity accelerate drying, sometimes too quickly. Cooler conditions with moderate humidity slow the process and better protect terpene profiles.
- Whole Plant vs Branch Drying: Whole plants dry more slowly and evenly, often extending timelines by several days. Branch drying reduces total drying time but requires closer monitoring to avoid uneven moisture loss.
- Daily and Nighttime Variability: Outdoor drying often progresses unevenly due to cooler, more humid nights. This variability makes maintaining consistency harder across large harvest volumes.
PlanaCan provides an interactive calendar that gives cultivators a clear view of when drying starts, how long each batch has been hanging, and when transitions should occur. By visualizing drying windows alongside other post-harvest activities, teams can coordinate decisions without rushing or missing critical timing. Try PlanaCan for free.
Risks of Drying Weed Outdoors
While outdoor drying can preserve flavor and potency when done correctly, unmanaged risks can quickly undermine quality. Understanding these risks is essential before relying on outdoor conditions for post-harvest processing.
Table showing common risks of drying cannabis outside:
Most outdoor drying failures stem from exposure rather than process. The goal is to reduce it through intentional setup and daily oversight.
To minimize these risks during outdoor drying:
- Avoid Direct Sunlight: UV exposure degrades cannabinoids and flattens terpene profiles.
- Monitor Humidity Closely: Elevated moisture levels increase microbial risk, especially overnight.
- Maintain Gentle Airflow: Indirect airflow helps moisture escape without overdrying buds.
- Protect from Weather Changes: Rain, dew, and sudden temperature drops can disrupt drying progress.
- Keep Drying Areas Clean: Clean surfaces and spacing reduce contamination and spread of mold.
Managing these risks well allows drying to progress predictably. The next section explains physical cues and timing indicators that signal when buds are ready for the next step.
Suggested Read: A Quick Guide to the 60/60 Drying Method for Cannabis
Signs Your Weed Is Drying Correctly
Visual cues, texture, and aroma provide better signals than the calendar alone. Recognizing these signs helps ensure drying is slow enough to preserve potency while preventing moisture-related issues.
These are a few indicators to look for:
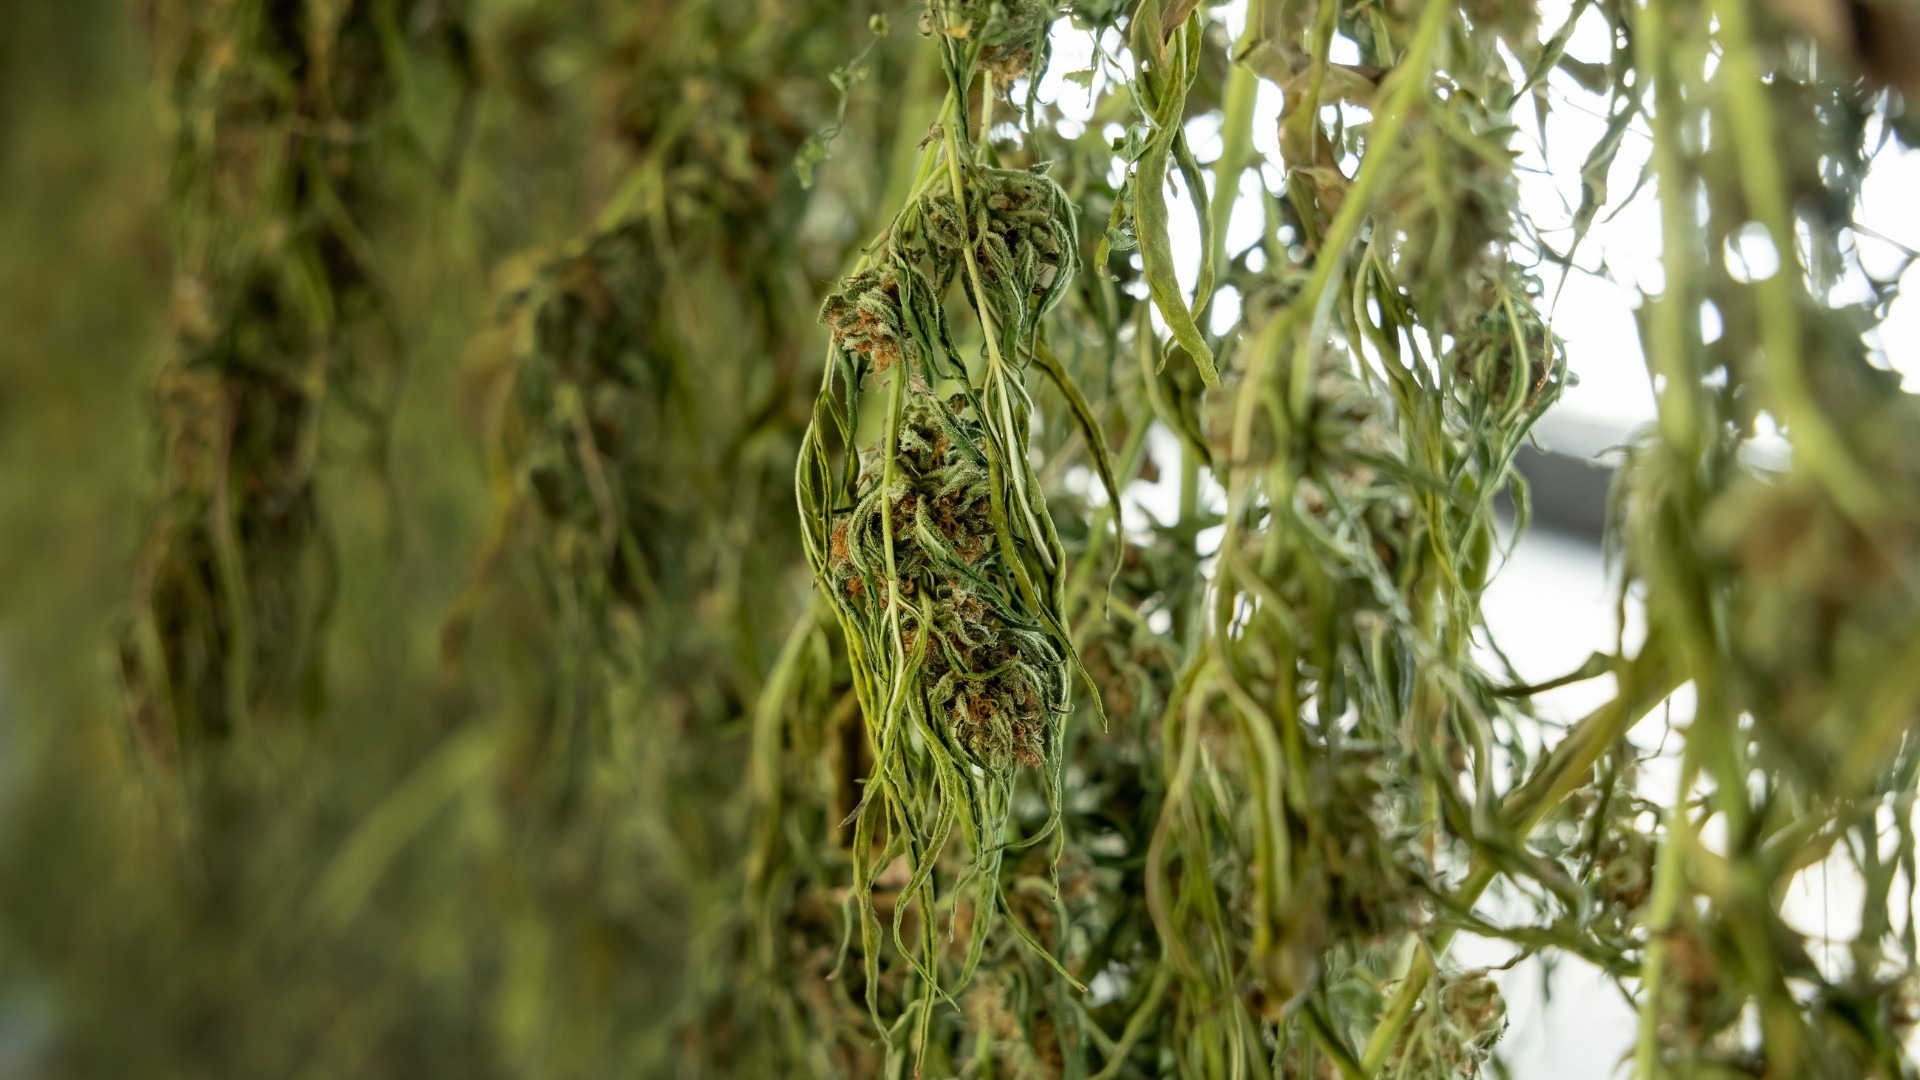
- Gradual Moisture Loss: Buds feel less spongy over time but remain unbrittle on the outside. Moisture is leaving evenly rather than drying the exterior too quickly.
- Clean, Developing Aroma: The scent becomes sharper and more defined as chlorophyll breaks down. A grassy or hay-like smell usually indicates drying is moving too fast or unevenly.
- Flexible Stems: Smaller stems bend and begin to snap rather than folding cleanly. This indicates internal moisture is reducing without complete desiccation.
- Consistent Texture Across Batches: Buds from the same batch feel similar to the touch. Large differences often point to airflow or spacing issues during drying.
- No Visible Mold Or Dampness: Surfaces remain dry with no dark spots or musty odors. Any sign of moisture buildup requires immediate correction.
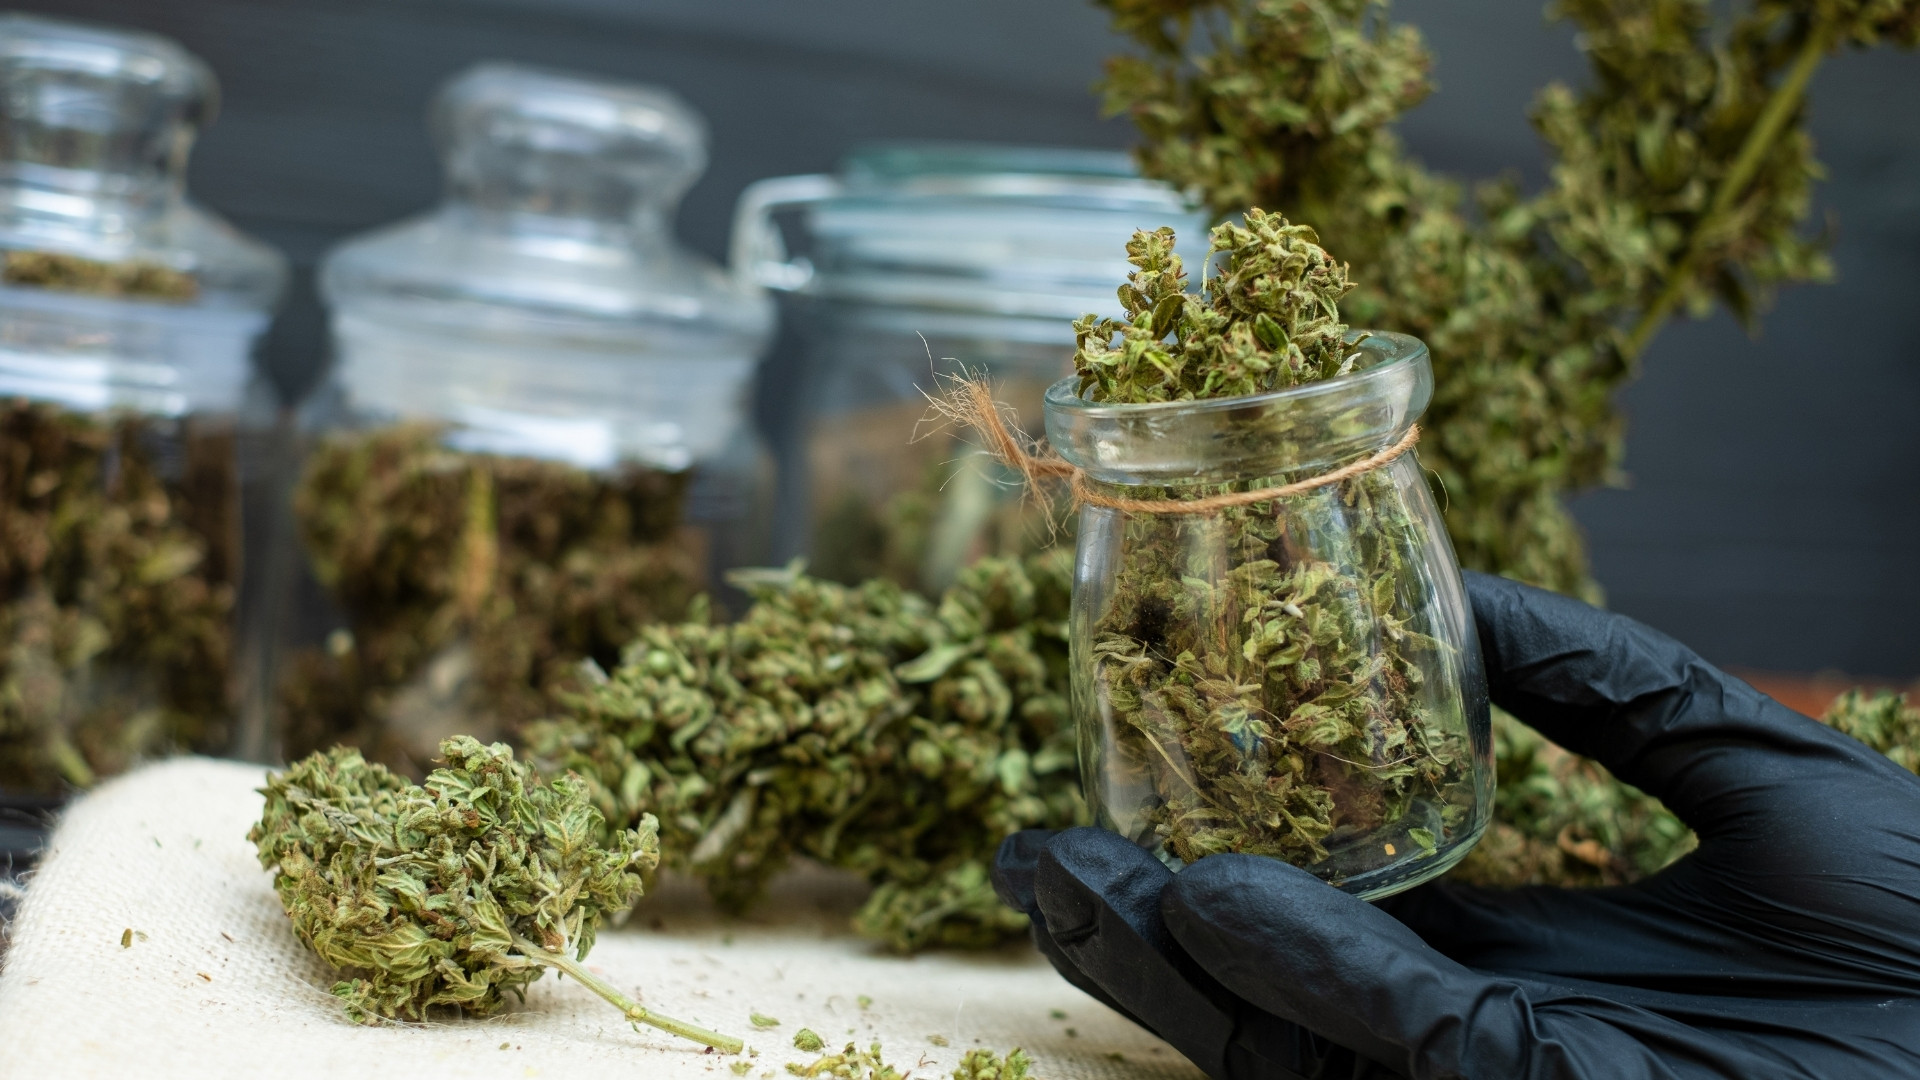
Once these signs appear, drying should transition into curing rather than continue indefinitely. Curing allows moisture to redistribute within the buds and helps stabilize flavor, aroma, and potency over time. Extending drying time rather than curing can flatten terpene profiles and reduce overall quality.
Using cultivation software to document drying conditions, timelines, and outcomes helps teams repeat successful post-harvest processes. The next section explores how structured tools support reliable results beyond individual harvests.
Manage Drying and Post-Harvest Consistency with PlanaCan
PlanaCan is a cultivation planning and execution platform built specifically for cannabis growers who need consistency across cycles, rooms, and teams. It brings structure to what is often an improvised post-harvest phase by turning drying and curing into planned, trackable processes.
PlanaCan helps support drying and post-harvest consistency by enabling you to:
- Plan Post-Harvest Workflows: Define drying, curing, and handoff steps in advance so nothing is rushed or skipped.
- Use Automated Schedules: Generate timelines that reflect real drying windows and adjust as conditions change.
- Track Progress in an Interactive Calendar: Visualize where each batch sits in the drying process alongside other post-harvest activities.
- Coordinate Teams Clearly: Assign responsibilities and maintain alignment across shifts during critical post-harvest stages.
- Capture Harvest and Outcome Data: Record what was done, when it happened, and how each batch performed.
- Stay Connected on Mobile: Use iOS and Android apps to keep teams aligned directly from the drying area.
PlanaCan is built for growers who care about repeatability, not guesswork. By bringing clarity and structure to drying and post-harvest execution, it helps protect the flavor and potency you worked all season to produce.
Conclusion
Outdoor drying can preserve exceptional flavor and potency, but it leaves little room for error. Shifts in humidity, temperature swings, uneven airflow, or missed timing can quietly degrade terpenes, reduce cannabinoid content, or introduce mold.
PlanaCan gives growers a structured way to plan drying and curing, coordinate teams, and document what actually happens across harvests. Turning post-harvest execution into a repeatable process helps protect consistency, quality, and hard-earned results.
See how PlanaCan supports consistent post-harvest execution. Schedule a free call today.
Frequently Asked Questions
1. Is it okay to dry weed outside at a commercial scale?
Outdoor drying can be acceptable for commercial operations if conditions are controlled. Success depends on shade, airflow management, humidity control, and protection from weather, contaminants, and light exposure.
2. Is weed still good if it is too dry?
Over-dried cannabis often loses terpene intensity and aroma, resulting in harsher smoke and reduced perceived quality. While cannabinoids may remain, flavor and market value typically decline.
3. How long does outdoor weed take to dry commercially?
Outdoor drying usually takes 7–14 days, depending on temperature, humidity, plant structure, and airflow. Variability increases at scale due to nightly humidity swings and uneven conditions.
4. What happens if the weed dries out too quickly?
Rapid drying can cause terpene evaporation and trap moisture inside buds, leading to uneven curing. This often results in muted flavor, brittle texture, and inconsistent batch quality.
5. How do commercial growers know when outdoor drying is complete?
Drying is complete when moisture loss is gradual, aroma is clean and developed, smaller stems begin to snap, and bud texture is consistent across batches. At this point, cannabis should move into curing rather than continue drying.