
Drying Cannabis in a Paper Bag: A Simple Method
Are your buds drying too quickly, losing aroma, or feeling brittle before they even reach the cure? It is frustrating when months of hard work go to waste right at the finish line. Many growers struggle to find that sweet spot between overdrying and moldy disaster. Too much airflow strips terpenes. Too little breeds mold. Getting it right is not just about preserving potency, but also about protecting your entire harvest.
Drying cannabis in paper bags offers a low-cost, low-tech solution to this problem. This method gives you more control over drying speed, helps retain flavor and aroma, and works especially well in drier climates or grow rooms that dry buds too quickly.
In this article, you will learn when to start drying, compare different drying methods, and discover why paper bags are such a game-changer. We will walk you through the preparation, execution, and monitoring of this method in easy steps, followed by instructions on what to do after drying and how to troubleshoot common issues.
TL;DR
- Drying in paper bags slows down the process, which helps preserve terpenes, aroma, and overall bud quality.
- It prevents overdrying and reduces the risk of mold without needing a climate-controlled setup or special gear.
- This method works especially well in dry climates and is perfect for small harvests or home growers.
- You’ll need to open the bags daily to release moisture, check for mold, and gently rotate the buds for even drying.
When to Begin Drying Your Cannabis
You should begin drying your cannabis immediately after harvest. As soon as you cut your plants, the drying process must begin. Any delay can cause mold, terpene loss, or a drop in potency.
But when should you harvest so that you can proceed directly to drying?
Look at the trichomes, the tiny, crystal-like structures on your buds. Use a magnifying tool to check their color. When most of them turn cloudy or milky, with a few starting to look amber, your cannabis is ready. If the trichomes are still clear, it’s too early. If most are amber, you’ve waited too long.
You should also watch the pistils, the hair-like strands on your buds. When about 70 to 90 percent of them have darkened and curled in, it’s time to harvest.
Once you see these signs:
- Cut the plant
- Trim the leaves (or not, depending on your method)
- Start drying right away
There should be no gap between harvest and drying. Even a few hours of delay can affect the quality of your buds. Start drying the moment your scissors touch the stalk. That is the right time.
Wet Drying vs. Moist Drying
The table breaks down the key differences between wet and moist drying methods for cannabis, helping you choose the right one based on your goals and setup.
Aspect
Wet Drying
Moist Drying
Timing of Trimming
Immediately after harvest
After drying (once buds feel dry to the touch)
Plant Condition
Trimmed buds are placed in a drying room while still full of moisture
Whole plants or large branches are hung with leaves intact
Drying Speed
Faster (buds lose moisture quickly)
Slower (gradual moisture release)
Space Required
Less space (individual buds are hung or tray-dried)
More space (plants or long branches take up room)
Humidity Control
Requires precise RH to prevent overdrying
Requires steady RH to avoid mold
Terpene Retention
Moderate (risk of loss due to fast drying)
Higher (slower drying protects aromatic compounds)
Labor Requirements
Trimming is front-loaded; faster to cure after drying
Trimming is delayed; more post-dry handling needed
Best For
High-volume grows, limited drying space, quick turnaround
Craft or premium flower, terpene preservation, high-quality cure
Risk Factors
Overdrying, harsh texture if not managed well
Mold, uneven drying if airflow and RH are poor
Now, let us look at the different methods of drying cannabis and see which one is best suited for it in detail below.
Different Methods of Drying Cannabis
After months of work, drying is the final step that can make or break your harvest. You need a method that fits your space, crop size, and workflow. Whether you grow at home or manage a larger setup, the right approach helps protect your results and maintain consistency.
Below is a breakdown of common cannabis drying methods, including trimming-based techniques, with their pros and best-use scenarios.
1. Hang Drying: This is the most common method. You trim the fan leaves, cut branches or buds, and hang them upside down in a dark, ventilated room. Moisture escapes slowly and evenly.
Best for: Medium to large harvests with good airflow
Tip: Keep temperatures between 60 and 70°F and humidity between 50 and 60%
2. Drying Racks: Instead of hanging, you lay trimmed buds flat on mesh racks. This method saves space and allows for good airflow.
Best for: Smaller spaces or already trimmed buds
Tip: Flip buds daily for even drying
3. Paper Bags: After partial drying, place buds in clean paper bags to slow the process. This helps prevent over-drying in dry climates.
Best for: Controlling moisture in dry environments
Tip: Open bags daily to check for mold and release moisture
4. Box Drying: Spread buds in a single layer inside cardboard boxes lined with paper. Stir them gently each day to avoid moisture buildup.
Best for: Small harvests in low-humidity spaces
Tip: Avoid plastic containers as they trap moisture
5. Machine Drying: Some large growers use drying machines to save time. While fast, this method can reduce flavor and potency.
Best for: Large-scale operations on tight timelines
Tip: Only use this if absolutely necessary
6. Freeze Drying: This advanced method uses cold temperatures and vacuum pressure to dry buds quickly while preserving terpenes. It is costly but effective.
Best for: Experienced growers aiming for top-tier terpene retention
Tip: Only worth considering if you already have the equipment
So, out of all the methods of drying cannabis, why is paper bag drying the most convenient and beneficial? Let us discuss in detail below.
Benefits of Drying Cannabis in Paper Bags

If you want a simple, low-tech way to dry cannabis that gives you more control, paper bags are a solid option. This method doesn’t require costly gear or a climate-controlled room, but it can still deliver great results when used properly. Here’s how drying cannabis in paper bags benefits your harvest:
1. Slower, More Controlled Drying: Paper bags slow the drying process by gently wicking away moisture without overdrying the outer layer. This prevents harsh smoking and helps preserve terpenes and cannabinoids. You avoid crispy outsides with damp centers, a common issue that occurs when drying too quickly.
2. Mold Prevention in Humid Conditions: If you grow in a humid area, mold is always a risk. Paper bags help by absorbing some moisture and promoting even airflow. They don’t trap humidity like plastic or jars, which lowers the risk of mold or rot.
3. Light Protection: Light can break down THC during drying. Paper bags offer natural protection by blocking direct light and helping preserve potency.
4. Great for Small Batches: If you’re drying just a few plants, hanging them may not make sense. Paper bags are ideal for smaller harvests and can be easily stored in a closet or drawer.
5. Cost-Effective and Simple: No fancy setup needed. Just use clean, ink-free brown paper bags, loosely fill them with trimmed buds, and check them daily. It’s budget-friendly and beginner-approved.
6. Encourages Hands-On Monitoring: Paper bag drying makes it easy to inspect buds daily. You’ll feel for moisture, adjust airflow, and rotate buds when needed. This hands-on approach helps you identify issues early and maintain control.
PlanaCan takes that a step further by letting you track every decision and its impact on your harvest. It keeps everything in one place so you can look back, see what worked, and fine-tune your process for better results next time.
Now, let us look at the process of drying cannabis in paper bags.
Also Read: Guide to Drying and Curing Cannabis Quickly and Properly
Steps for Drying Cannabis in Paper Bags
Drying cannabis in paper bags helps you slow down the drying process, preserve terpenes, and reduce the risk of overdrying. Here's how to do it right, step by step, with tips along the way to make things smoother.
1. Harvest Your Buds at the Right Time: Start by checking the trichomes with a jeweler’s loupe or microscope. You want most of them to be milky white, with a few turning amber for a balanced high.
Tip: Harvest in the early morning or just before sunrise. THC levels are usually highest then.
2. Do a Light Trim (Optional): Remove large fan leaves and maybe some sugar leaves. This makes drying more even and prevents excessive moisture from becoming trapped in the bag.
Tip: If your drying space has very low humidity (below 40 percent), leave more leaves on to slow the drying process. If it’s humid, trim more to avoid mold.
3. Choose the Right Paper Bags: Use plain brown paper bags that haven’t been printed or coated. Lunch bags are suitable for small harvests, while grocery bags are better suited for larger batches.
Tip: Avoid bags with glossy finishes or colorful logos. These often contain inks or chemicals that can affect your buds.
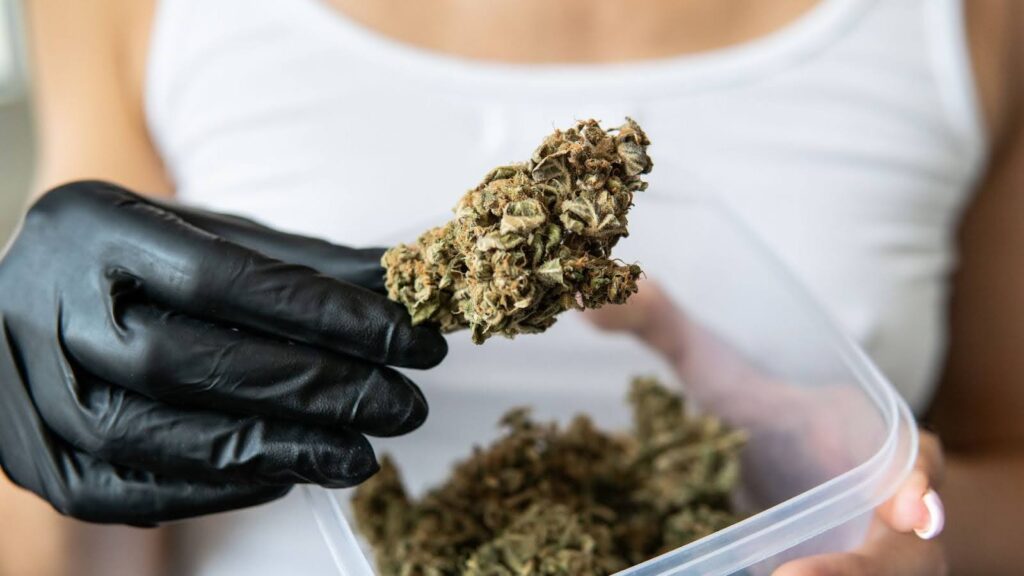
4. Gently Fill the Bags: Place your buds loosely inside. Fill the bag only halfway to give the buds room to breathe. Don’t press them down or pack them in tightly.
Tip: If you’re drying whole branches, make a small cut on one side of the bag to allow the stems to stick out, ensuring they dry evenly as well.
5. Label and Store Properly: Write the strain name and harvest date on each bag with a marker. Store them in a cool, dark location where the temperature and humidity remain stable.
Tip: Place a hygrometer nearby to monitor room conditions. A small fan in the room (not pointing directly at the bags) helps maintain airflow.
6. Rotate and Check Daily: Open the bags at least once a day to let out excess moisture. Gently stir the buds with clean hands or a gloved finger to prevent them from flattening or sticking together.
Tip: If the buds feel wet or have a grassy smell, leave the bag open for an hour or two to allow more moisture to escape.
7. Monitor for Mold and Dryness: Keep a close eye out for white fuzz, dark spots, or any musty smell. These are signs of mold.
Tip: If mold shows up, remove the affected buds immediately and isolate the rest. You can also reduce the quantity of buds in the bag or switch to a drier environment.
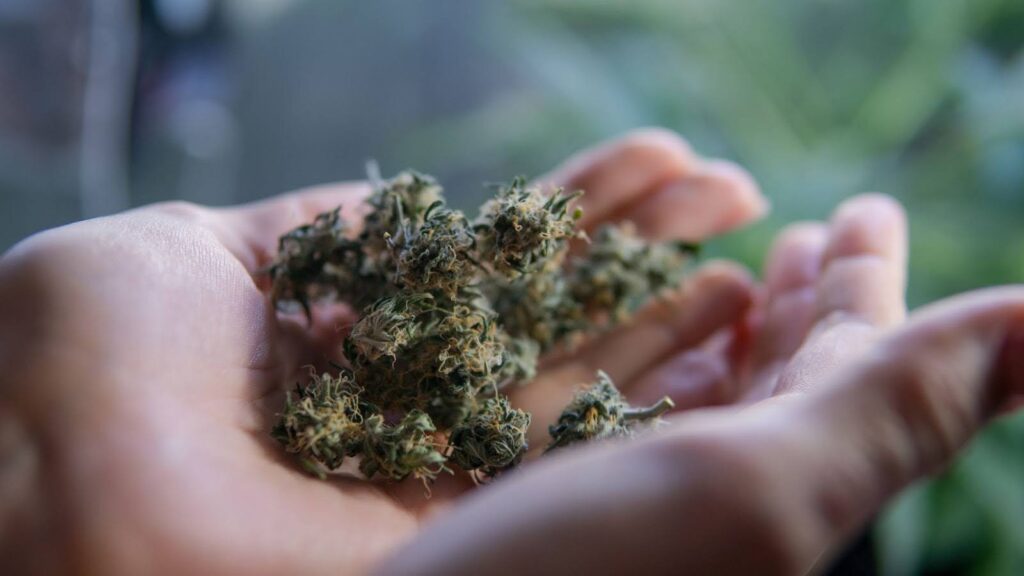
8. Test for Dryness: After about a week, snap a small stem. If it cracks instead of bending, your buds are ready to cure. The outside should feel crisp, but the inside should still have a slight stickiness.
Tip: Bend a few different stems from different bags. Drying can be uneven depending on bag size and bud density.
9. Move to Jars for Curing: Transfer the dry buds to airtight glass jars. Open the jars once a day for the first week to let out moisture. This is the start of the curing process.
Tip: Drop a small hygrometer into one of the jars. You want to maintain humidity levels between 58% and 62%. If it's too high, leave the lid off for a few hours.
So, what to do after your buds are properly dried? Let us understand below.
Final Steps After Drying Cannabis
You’ve dried your buds, but you’re not done yet. What you do next can make or break the quality of your harvest. Here’s how to finish strong.
1. Check if the Buds Are Ready: Bend a stem. If it snaps cleanly, you're good to go. The buds should feel crisp on the outside but slightly sticky inside. If they’re too wet, they can mold. If they’re too dry, you lose flavor
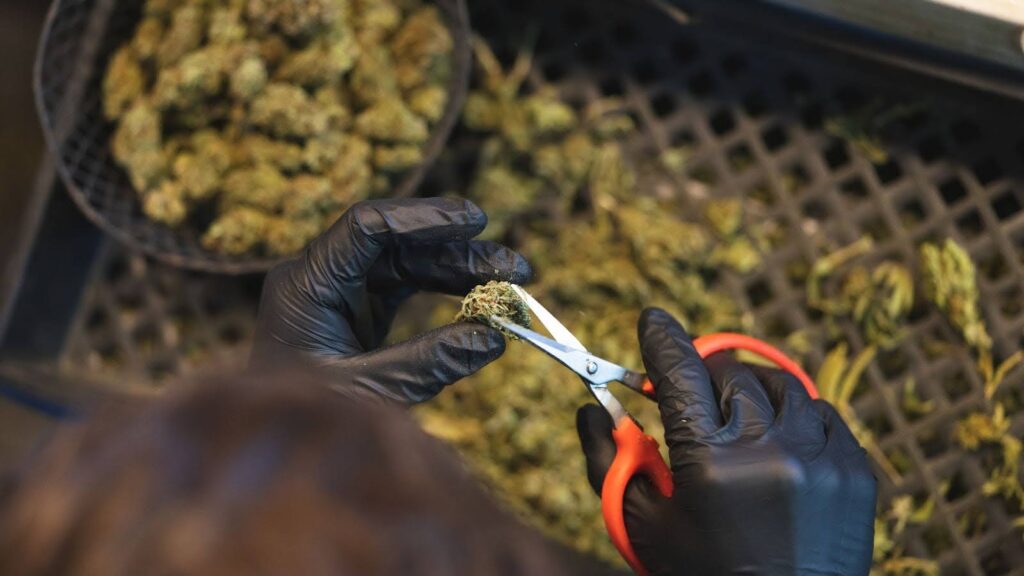
2. Trim the Buds (If Needed): If you dry-trimmed, now is the time to clean them up. Remove sugar leaves for a smoother smoke and better appearance. Use sharp scissors and take your time.
3. Begin Curing: Place buds in airtight glass jars, filling them about 70 percent full. Store them in a cool, dark place. Open the jars daily for 10 to 15 minutes during the first two weeks to release moisture.
4. Watch the Humidity: Use a hygrometer inside each jar. Maintain humidity levels between 58% and 62%. If it’s too high, leave the jar open for a longer period. If it’s too low, add a humidity control pack.
5. Cure for 2 to 4 Weeks: Two weeks is the minimum. Four to eight weeks yield a better flavor and smoother texture. Be patient. It’s worth it.
Tools like PlanaCan make it easier to stay on track. Its visual timeline helps you plan work months ahead while managing daily tasks. You can adjust schedules as you go, keeping up with changing conditions. With everything in one place, it ensures nothing gets missed and everyone knows what needs to be done.
6. Store It Right: Once cured, keep your buds in airtight jars in a dark, dry space. Avoid plastic. Keep them away from heat, air, and light to preserve potency.
7. Label Everything: Mark your jars with the strain name and harvest date. It helps you track what worked and what didn’t.
8. Clean Your Setup: Wipe down tools, jars, and drying areas. A clean space prevents contamination during your next grow.
Common Problems and How to Avoid Them
Drying your cannabis properly is crucial to preserving overall quality. Knowing what to watch out for and how to fix these problems will save you time, effort, and frustration.
Here are some common cannabis drying problems you may face and practical tips to avoid them:
1. Mold and Mildew Growth
One of the biggest risks during drying is mold. If your buds stay too wet for too long or if the environment is too humid, mold can develop quickly. Mold not only ruins your crop but can also be harmful to your health.
How to avoid it: Ensure your drying space has good airflow and maintains humidity between 45% and 55%. Use fans to circulate air, but don’t blow directly on the buds. Monitor your buds daily. If you spot any damp spots or a musty smell, increase ventilation or lower humidity immediately.
2. Overdrying and Brittle Buds
If you dry your cannabis too quickly or leave it hanging too long, your buds can become dry and crumbly. This not only reduces the aroma and flavor but can also make the smoke harsh and less enjoyable.
How to avoid it: Dry your buds slowly at a temperature around 60 to 70°F (15 to 21°C). Aim for about 7 to 10 days of drying time. Check the buds regularly and feel for a slight bend in the stems. If they snap too easily, your buds are overdried.
3. Loss of Potency and Terpenes
High temperatures and excessive exposure to light during drying can degrade THC and terpenes, robbing your cannabis of its effects and flavor.
How to avoid it: Dry your buds in a cool, dark place. Maintain a low temperature and controlled humidity. Avoid strong direct light sources, including sunlight and bright bulbs, during the drying phase.
4. Uneven Drying
Sometimes buds dry unevenly, with the outer parts becoming dry while the inner parts remain moist. This can lead to inconsistent quality and increase the risk of mold inside dense buds.
How to avoid it: Hang your branches or lay out buds evenly to allow airflow all around. Rotate buds or branches occasionally to help dry all sides evenly. Breaking larger branches into smaller sections can also help.
5. Sticky or Wet Buds After Drying
If your buds still feel sticky or wet after your drying period, it usually means they need more time or better conditions to dry fully. This can cause problems when curing and storing.
How to avoid it: Don’t rush the drying process. Ensure the environment is within the optimal temperature and humidity range. If necessary, extend the drying time by a few days and monitor it closely. You can also try using a moisture meter to obtain accurate readings.
Conclusion
Drying cannabis in paper bags is a reliable, low-tech method that protects terpenes, prevents overdrying, and leads to a smoother, more flavorful cure. If you’re battling low humidity or just want more control over the drying process, paper bags offer a simple and effective solution that many experienced growers trust.
But choosing the proper drying method is only one part of managing a successful harvest. Staying on top of every detail, from when to flip your lights to how long to dry and cure, requires more than guesswork. That is where PlanaCan helps.
PlanaCan lets you plan, monitor, and optimize your entire grow operation from seed to sale. Whether you are tracking harvest windows, managing team workflows, or handling post-harvest tasks like drying and curing, the platform keeps everything organized and synced in one place.
Stop relying on scattered notes and reminders. With PlanaCan, you can streamline your workflow and focus on what matters most: growing better weed. Schedule a free call today and see how the right tools can transform your growth.
FAQs
Why should you dry cannabis in a paper bag instead of plastic?
Paper bags allow better airflow and help regulate moisture during the drying process. This reduces the risk of mold or mildew. Unlike plastic, which traps humidity and creates a wet environment, paper bags wick away excess moisture while still slowing the drying process just enough to preserve terpenes and cannabinoids. This gives you more control and better flavor.
How long does it take to dry cannabis in a paper bag?
Drying cannabis in a paper bag typically takes 5 to 10 days. The exact timing depends on your local humidity, temperature, and the size and density of your buds. In drier conditions, you may need to check more frequently to avoid overdrying. In more humid climates, the process can take longer. Always monitor your buds daily by touching, smelling, and observing them for signs of mold or crisping.
Can you use any paper bag for drying cannabis?
It’s best to use clean, unprinted, ink-free paper bags such as brown grocery or lunch bags. Avoid bags with ink, glossy finishes, or coatings, as they can leach chemicals or affect the smell and safety of your buds. The paper should be thick enough to hold shape but porous enough to allow airflow. A standard brown paper grocery bag works well for most small batches.
How do you know when cannabis is properly dried in a paper bag?
Your cannabis is ready when the buds feel dry on the outside but still have a slight bounce when squeezed. The stems should snap instead of bend, and the smell should be rich and pleasant, not grassy or musty. Trichomes should still be intact and visible. At this point, your buds are ready for the curing stage, which further enhances flavor and potency.


