
The seedling stage is one of the most critical phases in cannabis cultivation. During this early growth period, seedlings develop the foundation for healthy roots, strong stems, and vibrant foliage that will carry them through the vegetative and flowering stages. Proper care at this stage can make the difference between a fragile, struggling plant and a robust, high-yielding cannabis crop.
This guide will teach you how to nurture cannabis seedlings for optimal growth, including the right lighting, temperature, humidity, and nutrient practices. We will also cover common seedling problems and practical solutions to ensure your young plants thrive.
Quick Glance
- The cannabis seedling stage lasts 2–3 weeks and establishes the foundation for strong roots, stems, and leaves essential for healthy vegetative growth.
- Germination requires clean, moist, and warm conditions; choose mature, firm seeds for best results.
- Use blue-spectrum LEDs or fluorescent lights for 18–24 hours/day at the proper distance to prevent leggy seedlings or light stress.
- Maintain optimal environmental conditions: temperature 70–78°F, humidity 60–70%, proper airflow, and well-draining soil or monitored hydro setup.
- Introduce nutrients gradually once seedlings have 2–3 true leaves; avoid over-fertilization and use a balanced NPK ratio.
- Watch for common problems like leggy growth, yellowing, and damping-off disease, and adjust light, water, and nutrient schedules accordingly.
Cannabis Seedlings: Key Growth Basics
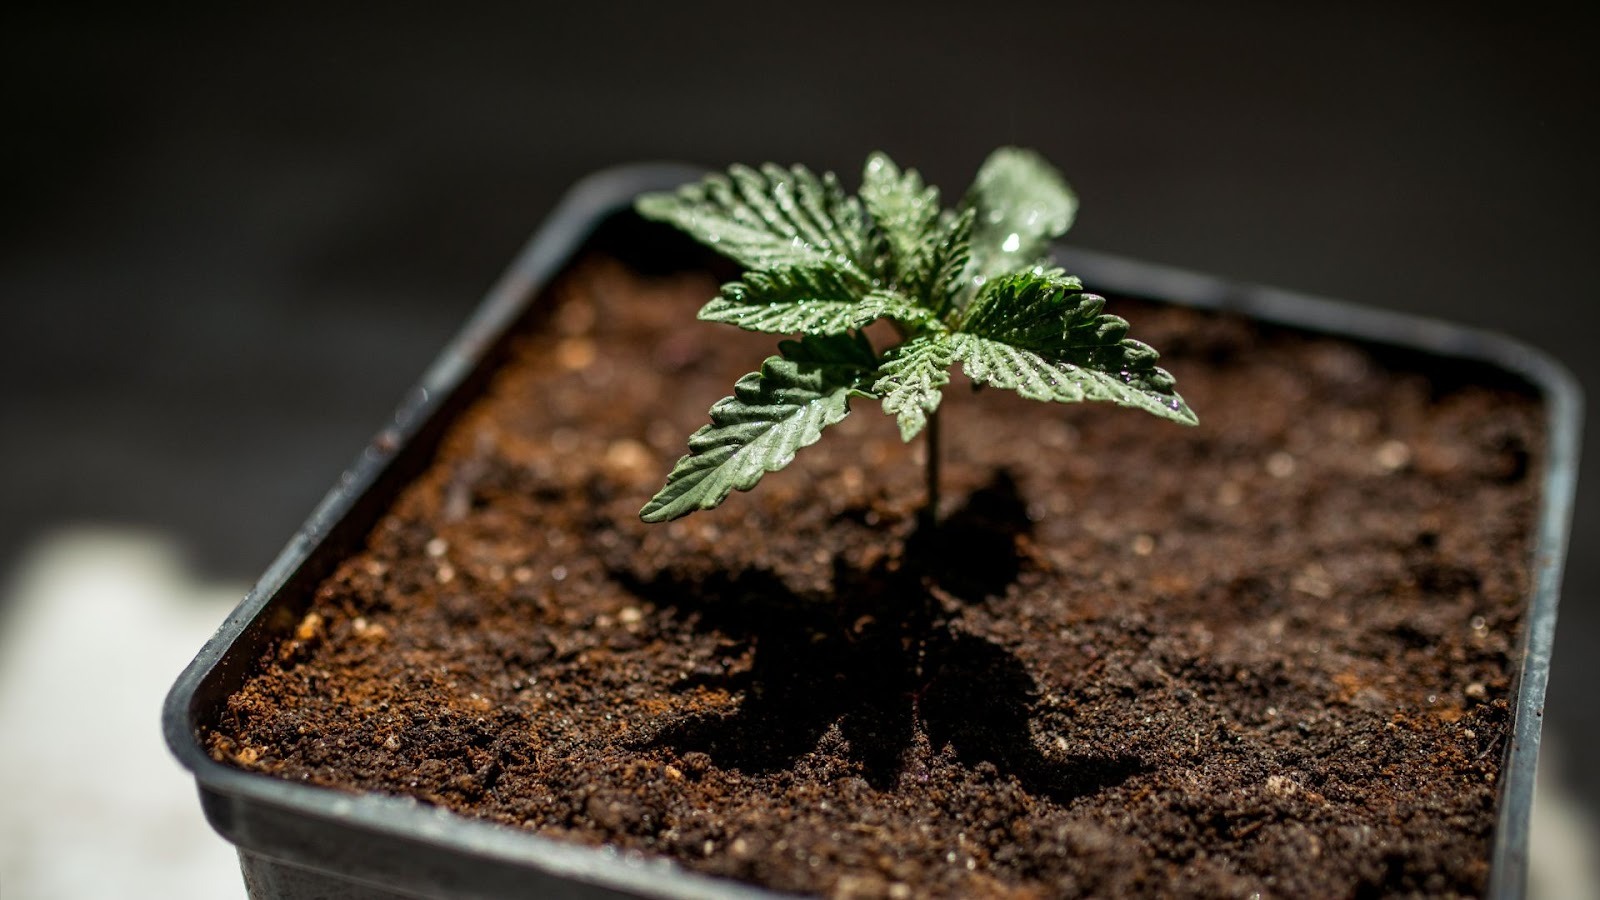
The cannabis seedling stage marks the transition from germination to the early growth phase, typically lasting 2–3 weeks after sprouting. During this period, seedlings develop their first sets of true leaves and start photosynthesizing to fuel future growth. While small in size, seedlings are incredibly vulnerable, and proper care at this stage lays the foundation for a healthy, productive plant.
Why the Seedling Stage Matters
Seedlings determine the overall health and structure of your cannabis plants. Strong seedlings develop sturdy stems, dense foliage, and a well-established root system, which are critical for supporting vigorous growth during the vegetative stage. Neglect or improper care at this stage can lead to leggy plants, stunted growth, or susceptibility to diseases, all of which can reduce final yields and plant quality.
Impact of Proper Care on Long-Term Growth
Investing attention in seedlings pays dividends later in the cultivation cycle. Proper lighting, temperature, humidity, and gentle handling ensure seedlings develop resilient stems and robust roots. These healthy foundations enable your plants to:
- Absorb nutrients efficiently.
- Resist pests and environmental stressors.
- Support larger canopies during the vegetative and flowering stages.
- Maximize yield and cannabinoid content.
Even small adjustments, like maintaining the correct light distance or keeping the soil consistently moist without overwatering, can make a significant difference. For commercial growers managing multiple plants or strains, establishing consistent seedling care protocols helps standardize growth and reduce variability between crops.
By understanding the seedling stage and its importance, growers can set up cannabis plants for success from the very beginning, avoiding issues that could affect the overall harvest quality and operational efficiency.
Also Read: How Long Does it Take a Weed Seed to Germinate?
With a clear understanding of what defines a healthy cannabis seedling and why this stage is critical, the next step is ensuring your seeds germinate successfully. Proper germination sets the stage for strong seedlings that can thrive throughout their growth cycle.
Germination Tips for Healthy Seedlings
Successful cannabis cultivation begins with strong, healthy seeds. Proper germination techniques ensure that seedlings start life with the best possible chance of growing into robust plants.
Best Practices for Germinating Cannabis Seeds
1. Use a Clean, Sterile Environment
Start seeds in a clean container or seed tray to prevent contamination. Avoid using soil from outdoor gardens, as it may contain pathogens that can harm delicate seedlings. Many growers prefer rockwool cubes, peat pellets, or paper towels for controlled germination.
2. Keep Seeds Moist, Not Soaked
Seeds require consistent moisture to sprout, but overwatering can cause them to rot. Use a spray bottle to mist the growing medium or keep paper towels damp but not dripping. The goal is to maintain even humidity around the seeds.
3. Maintain Ideal Temperature
Cannabis seeds germinate best at a temperature between 70–80°F (21–27°C). Using a heat mat or placing seeds in a warm room can accelerate germination, especially in cooler climates.
Also Read: Optimal Temperature for Germinating Cannabis Seeds
4. Provide Gentle Darkness
Many growers prefer to cover seeds lightly to create a dark, humid microenvironment, which encourages sprouting. Once the seeds crack open and the taproot emerges, they can be exposed to light gradually.
Choosing Healthy Seeds
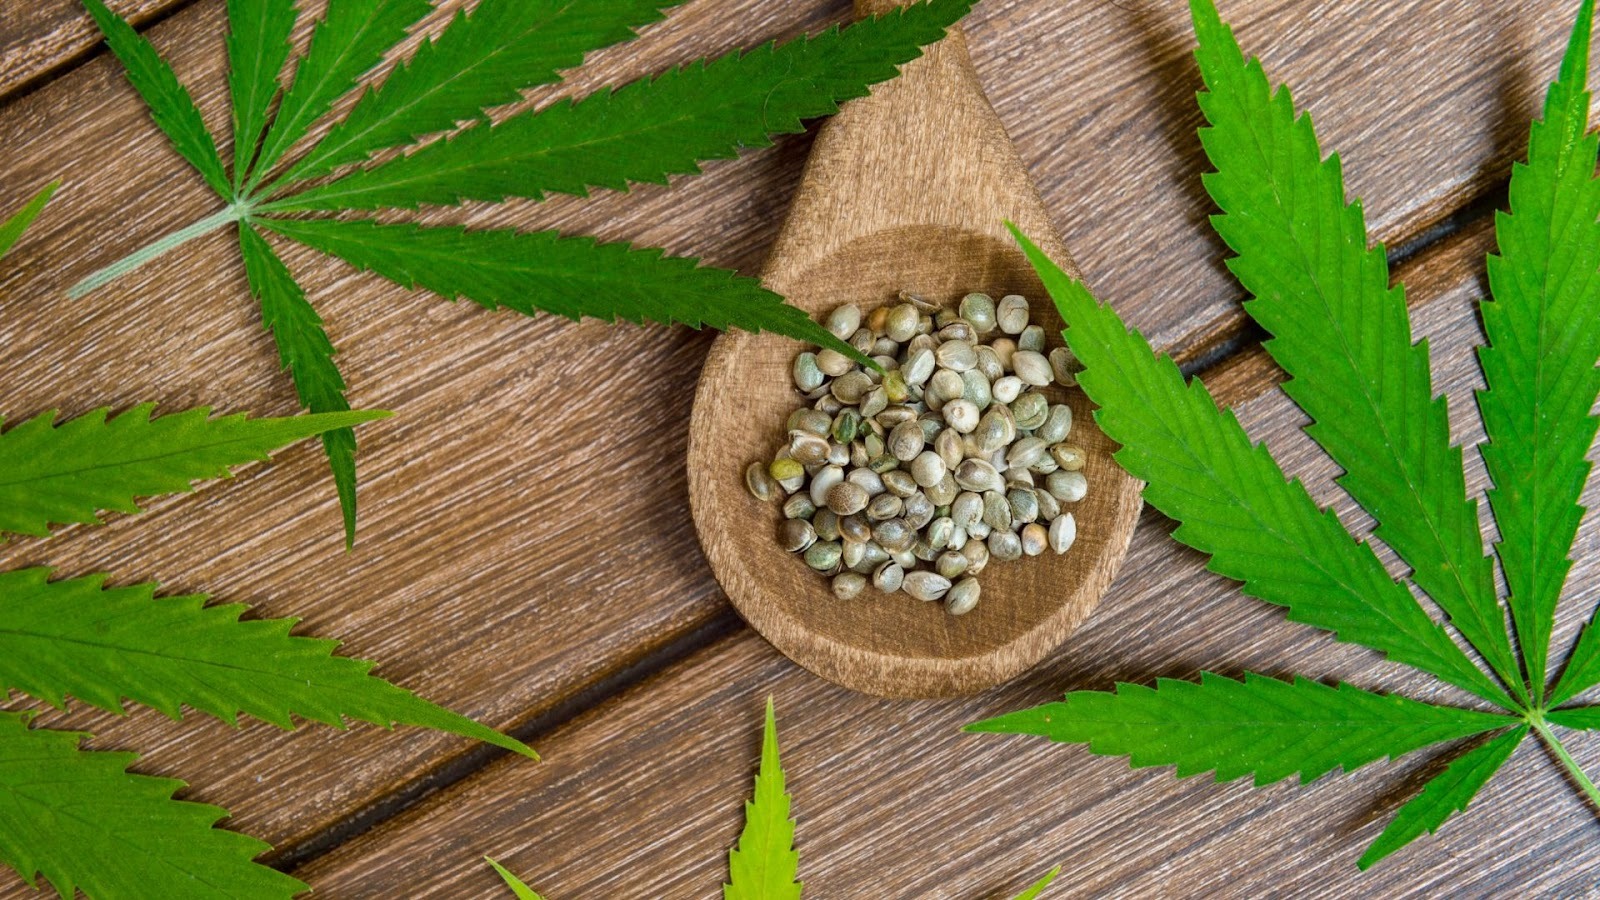
- Look for firmness: Healthy seeds are usually dark brown or gray, with a hard shell. Avoid seeds that are white, green, or cracked.
- Check for maturity: Seeds should be fully developed; immature seeds are less likely to germinate successfully.
- Test viability: A simple float test in water can help identify non-viable seeds. Seeds that sink are usually viable, while seeds that float may be empty or damaged.
Troubleshooting Germination Issues
Even with proper care, seeds may sometimes fail to sprout. Common issues include:
- Seed rot or mold: Often caused by excessive moisture or poor air circulation. Ensure seeds are damp, not wet, and provide gentle airflow.
- Slow germination: Could result from low temperatures. Keep seeds within the ideal 70–80°F range.
- Non-viable seeds: Some seeds may simply fail to sprout. Always start with high-quality, mature seeds.
Pro Tip for Growers: Keeping a germination log can help track which seeds sprout successfully and under which conditions. For commercial growers managing multiple strains, this helps standardize processes and improve overall seedling success rates.
Once your seeds have germinated and seedlings have emerged, the next critical factor for healthy growth is lighting. Proper light conditions ensure strong stems, vibrant leaves, and rapid development during this delicate growth stage. Let’s explore how to optimize lighting for cannabis seedlings.
Optimal Lighting for Cannabis Seedlings
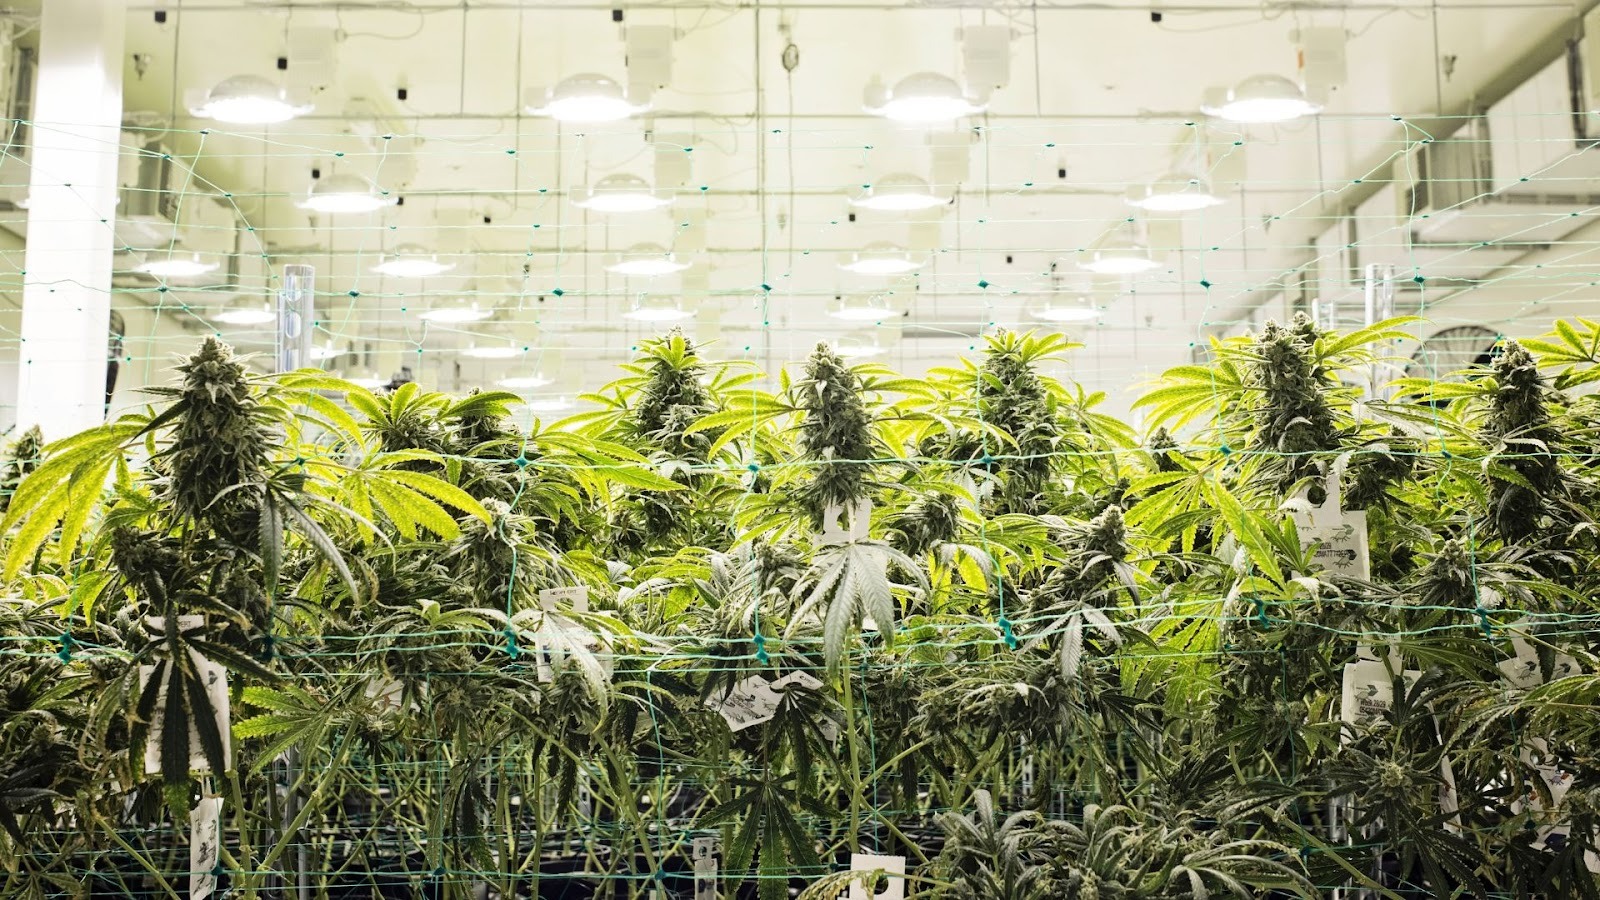
Lighting is one of the most influential factors in determining how well your cannabis seedlings develop. At this early stage, correct light intensity, spectrum, and duration can make the difference between weak, leggy seedlings and robust, healthy plants ready for the vegetative stage.
Importance of Light Intensity and Spectrum
Light Intensity: Seedlings need sufficient light to photosynthesize and develop sturdy stems. Too little light causes stretching or “legginess”, making seedlings weak and more prone to falling over or damage during transplanting.
Light Spectrum: During the seedling stage, cannabis responds best to blue light (400–500 nm), which promotes compact growth, strong leaf development, and healthy root formation. Red light is less critical at this stage but becomes more important in the vegetative and flowering phases.
Recommended Types of Lights
- LED Grow Lights: Energy-efficient and versatile, LEDs allow you to adjust the spectrum and intensity, making them ideal for seedlings. They produce less heat than other lights, reducing the risk of burning young plants.
- Fluorescent Lights (CFL or T5): Commonly used for seedlings due to their gentle light and relatively low heat output. They are affordable and effective for small-scale setups.
- Avoid High-Intensity HPS/MH Lights: High-pressure sodium (HPS) or metal halide (MH) lights can generate excessive heat and may stress seedlings if placed too close.
Light Duration and Distance
Duration: Cannabis seedlings require 18–24 hours of light per day. Maintaining a consistent light cycle encourages steady growth without triggering stress.
Distance: Place lights 2–6 inches above seedlings (depending on type) to prevent stretching and ensure even coverage. Monitor seedlings daily and adjust height as they grow to avoid light burn or insufficient exposure.
Effects of Under- or Over-Lighting
- Under-Lighting: Causes seedlings to stretch, grow thin stems, and develop pale leaves. This weakens their ability to support future growth.
- Over-Lighting: Can burn leaves, reduce growth rates, and stress seedlings, especially with high-intensity LED or HPS lights placed too close.
- Balanced Lighting: Ensures compact, healthy seedlings with strong stems and well-developed leaves, setting them up for success in the vegetative stage.
PlanaCan helps you plan, schedule, and assign light adjustment tasks using customizable templates and an interactive calendar. This keeps your team aligned and ensures lighting changes are implemented consistently.
Also Read: How to Treat Light Burn and Light Stress in Cannabis Seedlings
With proper lighting in place, the next key to healthy cannabis seedlings is maintaining the right environmental conditions. Temperature, humidity, and airflow all play a vital role in seedling development, while your choice of soil or hydro system can impact growth and nutrient uptake. Let’s break down these critical factors.
Environmental Factors
Cannabis seedlings are delicate and highly responsive to their surroundings. Optimizing the growing environment ensures strong stems, healthy leaves, and a robust root system.
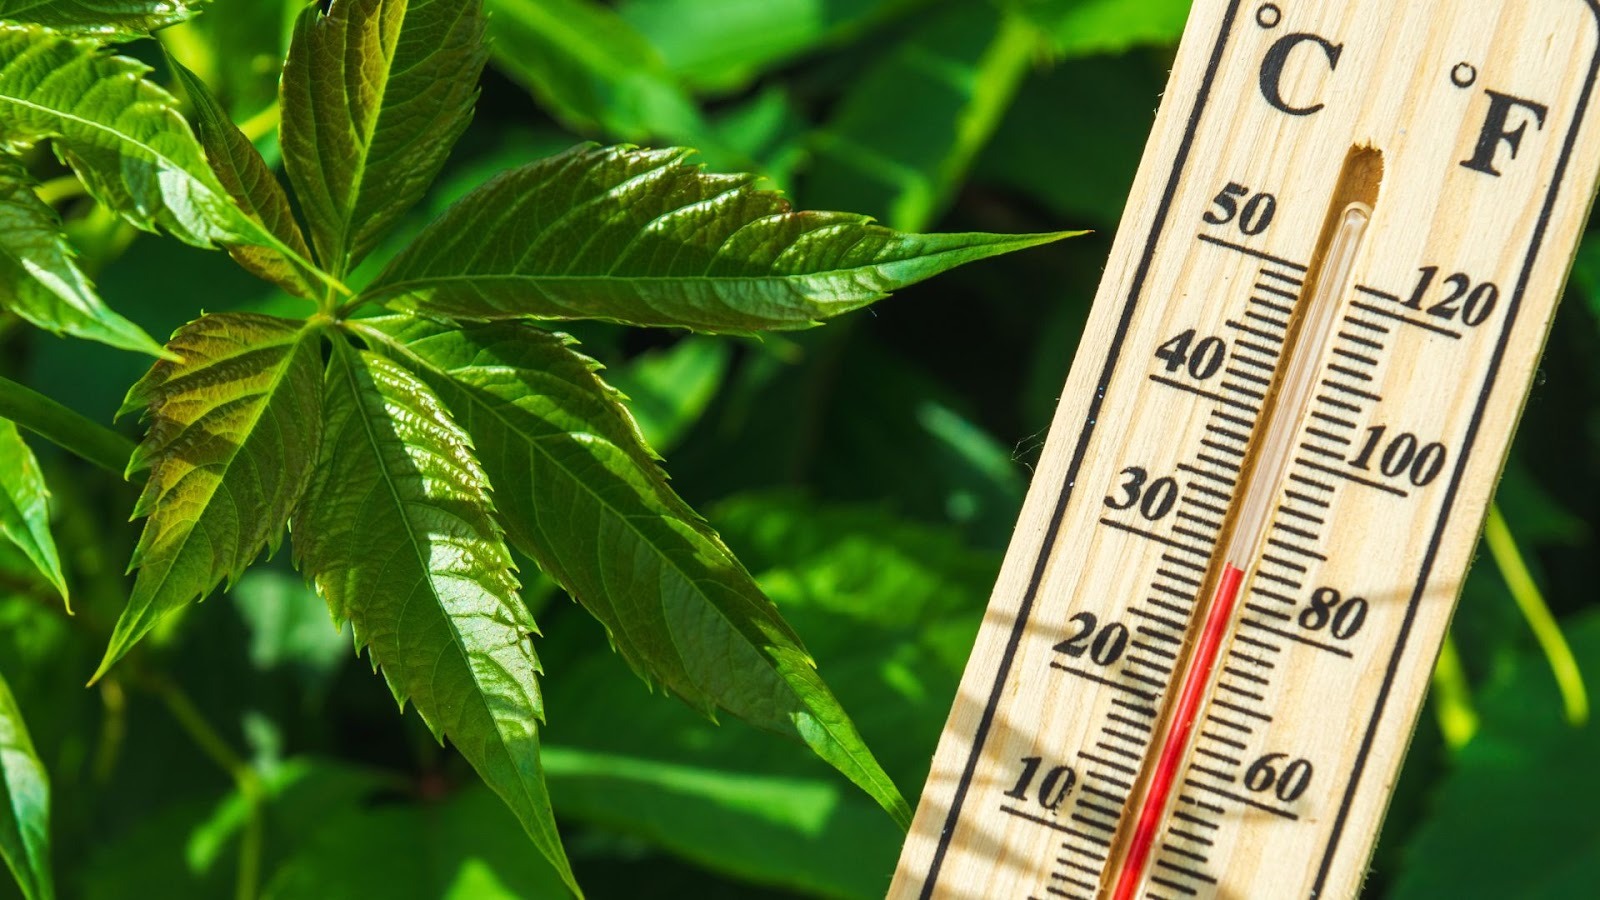
1. Temperature Requirements
Ideal Range: Seedlings thrive in a temperature range of 70–78°F (21–26°C).
Avoid Extremes: Temperatures consistently below 65°F can slow growth and increase susceptibility to disease, while temperatures above 80°F can stress the seedlings and hinder root development.
Tips for Control: Use heating mats for soil or propagation trays in cooler climates, and fans or air conditioning to prevent overheating in warmer setups.
2. Humidity Requirements
Ideal Range: Seedlings prefer 60–70% relative humidity, which helps prevent excessive water loss while promoting turgid, healthy leaves.
Managing Humidity: Use humidity domes for newly germinated seedlings and gradually reduce humidity as seedlings develop to encourage stronger stems and reduce the risk of fungal growth.
Signs of Problems: Yellowing leaves or damp, soft stems can indicate humidity imbalance, requiring adjustments to airflow or misting.
3. Airflow and Ventilation
Proper air circulation strengthens stems, prevents stretching, and reduces the risk of mold or mildew. Use gentle fans to simulate natural wind, which encourages seedlings to develop sturdier stems capable of supporting future growth. Ensure that seedlings receive fresh air regularly, avoiding stagnant environments that promote pathogens.
4. Soil vs. Hydro Setup Considerations
Soil: Offers a buffer against over-fertilization and allows roots to develop naturally. Ensure well-draining soil and maintain consistent moisture without waterlogging.
Hydroponics: Provides direct nutrient access and faster growth but requires closer monitoring of pH, EC, and water temperature. Seedlings in hydro setups may be more sensitive to environmental fluctuations.
Recommendation for Seedlings: Many growers start seedlings in soil or seedling plugs before transitioning to hydro systems, giving young plants a stable start while reducing risk.
Once lighting and environmental conditions are optimized, the next step is nutrient management. Seedlings are delicate and providing the right nutrients at the correct stage is critical to ensure healthy growth without causing stress or damage.
Nutrient Management

Cannabis seedlings are sensitive to nutrient levels. Overfeeding or using the wrong nutrient ratios can stunt growth, burn leaves, or reduce overall plant vigor. Understanding when, how, and what to feed your seedlings is essential for setting the foundation for strong vegetative growth.
When and How to Introduce Nutrients
Timing: During the first 2–3 weeks, seedlings generally do not require nutrients, as they rely on stored energy in the seed.
Introducing Nutrients: Begin feeding once seedlings develop 2–3 sets of true leaves. Start with a quarter-strength nutrient solution to avoid overwhelming the young plants.
Application: Use gentle watering methods to deliver nutrients evenly, ensuring the soil or medium remains moist but not waterlogged.
Avoiding Over-Fertilization
Over-fertilization at the seedling stage can cause nutrient burn, leading to brown or yellow leaf tips and stunted growth. Use low-strength solutions and increase concentrations gradually as plants mature. Monitor seedlings closely for discoloration or curling leaves, which are early signs of nutrient stress.
Choosing the Right Nutrient Ratio
- Balanced Formulation: Seedlings benefit from a higher nitrogen (N) ratio for leafy growth, with moderate phosphorus (P) and potassium (K). A common starting ratio is 2:1:2 or 3:1:2 (N:P:K).
- Micronutrients: Ensure trace elements like calcium, magnesium, and iron are present in small amounts to support root development and overall seedling health.
- Hydro vs. Soil: Hydro setups may require more precise nutrient monitoring with EC and pH adjustments, while soil provides a natural buffer against overfeeding.
Also Read: Beginners Guide on Mixing Nutrients for Cannabis Growth
Even with optimal lighting, environment, and nutrients, cannabis seedlings can encounter a few challenges. Recognizing these problems early and knowing how to address them is essential for maintaining healthy seedlings and preventing long-term growth issues.
Common Problems and Solutions
Cannabis seedlings are delicate and can show signs of stress if conditions aren’t ideal. Understanding common problems and how to address them will help you maintain strong, healthy plants from the start.
1. Leggy Seedlings
Problem:
Seedlings stretch excessively, developing long, weak stems. This is usually caused by insufficient light, causing the plant to reach upward in search of it.
Signs: Long, thin stems, pale leaves, and seedlings leaning toward the light source.
Solution:
- Increase light intensity or reduce the distance between lights and seedlings.
- Ensure seedlings receive 18–24 hours of light daily during the seedling stage.
- Use gentle fans to strengthen stems and promote sturdier growth.
2. Yellowing Leaves
Problem:
Yellow leaves may indicate nutrient deficiencies, overwatering, or poor soil/drainage. Seedlings rely on stored nutrients initially, so overfeeding too early can also cause stress.
Signs: Yellowing starts at the tips or between veins, often accompanied by slow growth.
Solution:
- Check watering practices and ensure well-draining soil.
- Introduce nutrients gradually, using quarter-strength solutions when seedlings develop 2–3 true leaves.
- Monitor pH levels to ensure nutrient uptake is not blocked.
3. Damping-Off Disease
Problem:
Damping-off is a fungal disease that attacks seedlings, causing them to collapse at the soil line. It is typically caused by excess moisture or poor air circulation.
Signs: Seedlings suddenly wilt, stems appear soft at the base, or seedlings topple over.
Solution:
- Use sterile growing media and avoid overwatering.
- Provide adequate airflow around seedlings with fans or vents.
- Maintain optimal temperature and humidity for seedling growth (70–78°F, 60–70% RH).
4. Signs Seedlings Need Adjustment in Light, Water, or Nutrients
- Under-lighting: Seedlings stretch, pale leaves, weak stems.
- Over-lighting: Leaves may curl, burn, or turn yellow.
- Overwatering: Wilting, soft stems, or mold on soil surface.
- Underwatering: Dry, brittle leaves, slowed growth.
- Nutrient deficiencies: Discoloration (yellow, purple, or brown leaves), slow growth.
Pro Tip for Growers: Monitoring seedlings closely and keeping detailed records can help you adjust light, water, and nutrients in real time.
After successfully nurturing seedlings through germination and early growth, the next critical step is transitioning them to the vegetative stage. This stage requires careful handling to ensure seedlings adapt to stronger light, higher nutrient levels, and larger containers or grow spaces without stress.
Transitioning Seedlings to the Vegetative Stage
The move from seedling to vegetative stage is a pivotal moment in cannabis cultivation. Properly managed, it sets the stage for robust growth, healthy canopies, and higher yields.
When and How to Transplant Seedlings
Timing: Transplant seedlings when they have 2–4 sets of true leaves and a well-developed root system. This ensures they are strong enough to handle the stress of being moved.
Method:
- Gently lift seedlings from their current medium, keeping as much soil around the roots as possible.
- Plant them into a larger container or grow bed, ensuring the roots are covered but not compacted.
- Water lightly after transplanting to help settle the soil around the roots.
Preparing Seedlings for Increased Light and Nutrient Levels
Lighting: Vegetative plants require more intense light than seedlings. Gradually adjust your light height and duration to avoid light stress or burning.
Nutrients: As plants enter vegetative growth, they need higher levels of nitrogen to support leaf and stem development. Introduce nutrients gradually to prevent shock.
Tips for Minimizing Transplant Shock
- Handle Roots Carefully: Avoid damaging the taproot or compacting soil around the roots.
- Gradual Acclimation: Slowly increase light intensity over a few days to prevent light burn.
- Monitor Watering: Newly transplanted seedlings are sensitive to both over- and under-watering. Keep the soil moist but not soggy.
- Maintain Stable Environment: Ensure consistent temperature, humidity, and airflow to reduce stress and promote recovery.
Worried about transplant shock or inconsistent growth across strains? PlanaCan’s interactive calendar and planning tools help you manage every transplant and workflow, ensuring seedlings transition smoothly to the vegetative stage with minimal stress.
How PlanaCan Supports Seedling and Early-Stage Growth
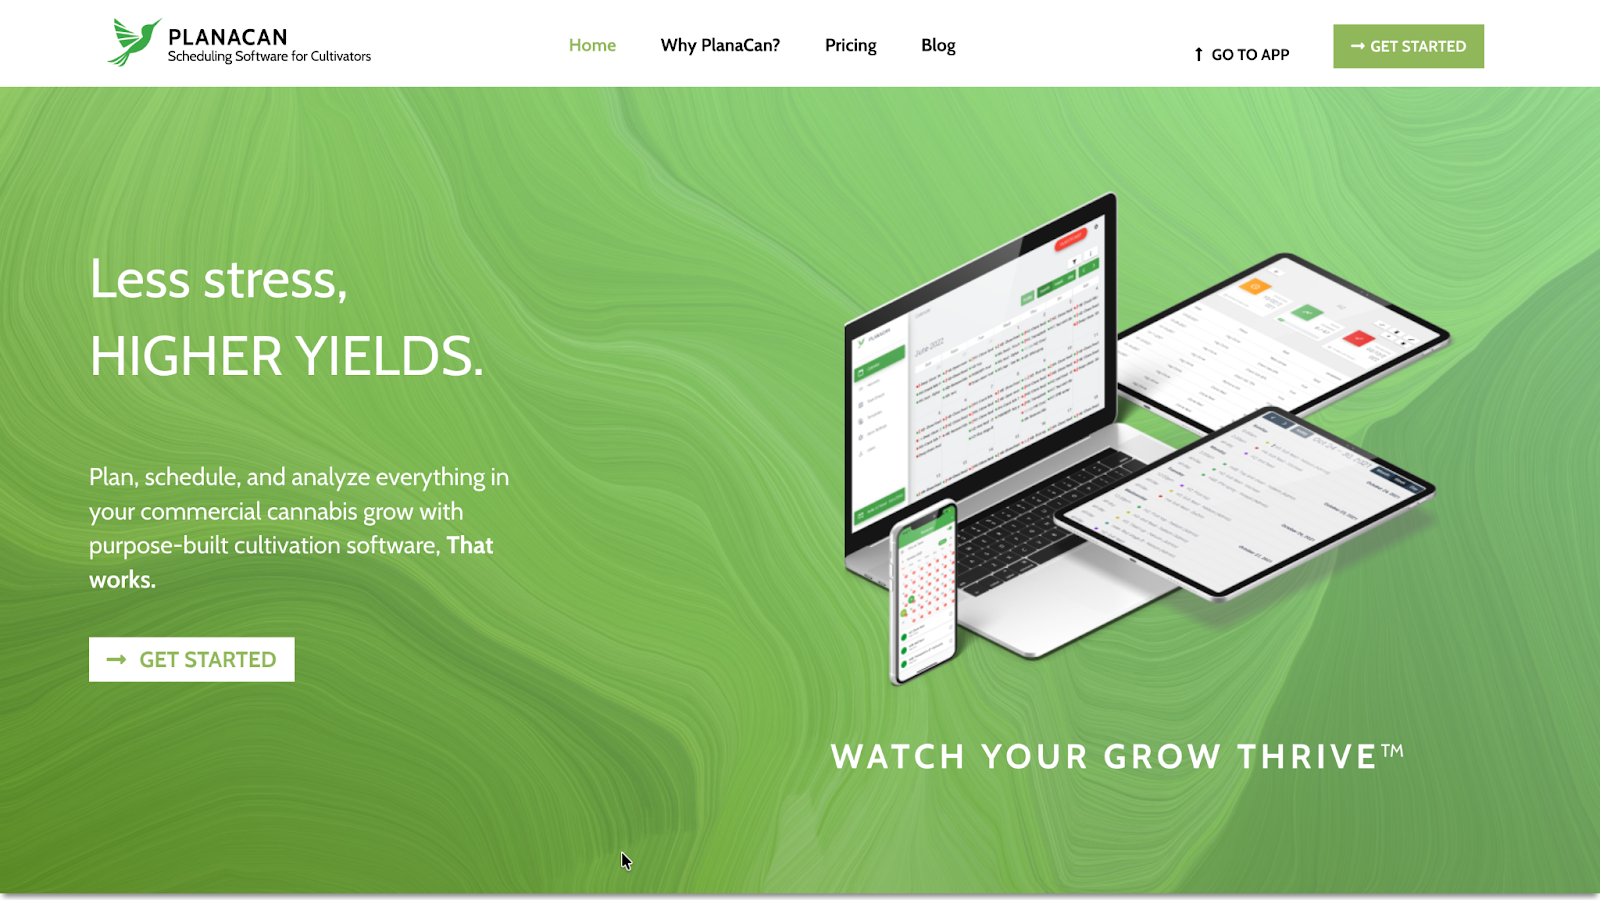
PlanaCan is more than a task scheduler. It is a purpose-built cultivation software designed for commercial cannabis growers. The platform allows users to plan, schedule, and analyze every aspect of their cannabis cultivation. It mitigates operational inefficiencies, bridges communication gaps, and alleviates team bottlenecks.
During the seedling and early vegetative stages, PlanaCan helps you to:
- Automate Workflows: Plan each step of the growing process for multiple strains using customizable templates.
- Track Progress in Real Time: Monitor growth, conditions, and task completion for every seedling.
- Centralize Communication: Ensure your team sees updates, adds notes, and stays aligned, even across multiple grow rooms or locations.
- Analyze Early Results: Capture data on seedling health and growth trends to refine processes for better outcomes during vegetative and flowering stages.
Using PlanaCan at this stage helps reduce errors, improve efficiency, and ensure a strong foundation for higher yields, turning complex seedling management into a streamlined, repeatable process.
Conclusion
The cannabis seedling stage is a critical foundation for a healthy, high-yielding crop. By understanding the needs of your seedlings, from germination and optimal lighting to environmental control, nutrient management, and problem prevention, you set your plants up for strong, consistent growth throughout the vegetative and flowering stages.
Consistent care and careful monitoring are essential at this stage. Even minor adjustments to light intensity, watering, humidity, or nutrient levels can have a significant impact on the overall health and resilience of your seedlings.
Ensure every seedling in your grow operation thrives with PlanaCan. Automate workflows, monitor conditions in real time, and streamline team coordination to maximize plant health and yield.
Schedule your free call today to see how PlanaCan can transform your cultivation process.
Frequently Asked Questions
1. How long does the cannabis seedling stage last?
The seedling stage typically lasts 2–3 weeks, depending on the strain and growing conditions.
2. When should I start feeding cannabis seedlings?
Begin introducing nutrients after 1–2 weeks if the soil doesn't contain any. For hydroponics, you can start with a weak solution right from the beginning.
3. How often should I water cannabis seedlings?
Water seedlings when the top layer of soil feels dry, approximately every 2–3 days. Ensure the soil is moist but not waterlogged.
4. What are common problems with cannabis seedlings?
Common issues include:
- Overwatering: Leads to drooping and damping-off disease.
- Underwatering: Causes wilting and slow growth.
- Nutrient deficiencies: Result in yellowing or burnt leaves.
- Improper lighting: Can cause leggy growth or light burn.
- Temperature stress: High heat can cause curling leaves.
5. What should the ideal temperature and humidity be for seedlings?
Maintain daytime temperatures between 20–25°C and nighttime temperatures 4–5°C cooler. Humidity should be around 60–70% to promote healthy growth.
6. How can I prevent damping-off disease?
Use clean, high-quality soil, avoid overwatering, and ensure good airflow around seedlings.
7. When should I transplant seedlings?
Transplant seedlings when they have 2–4 sets of true leaves and a well-developed root system, typically around 2–3 weeks after germination.


