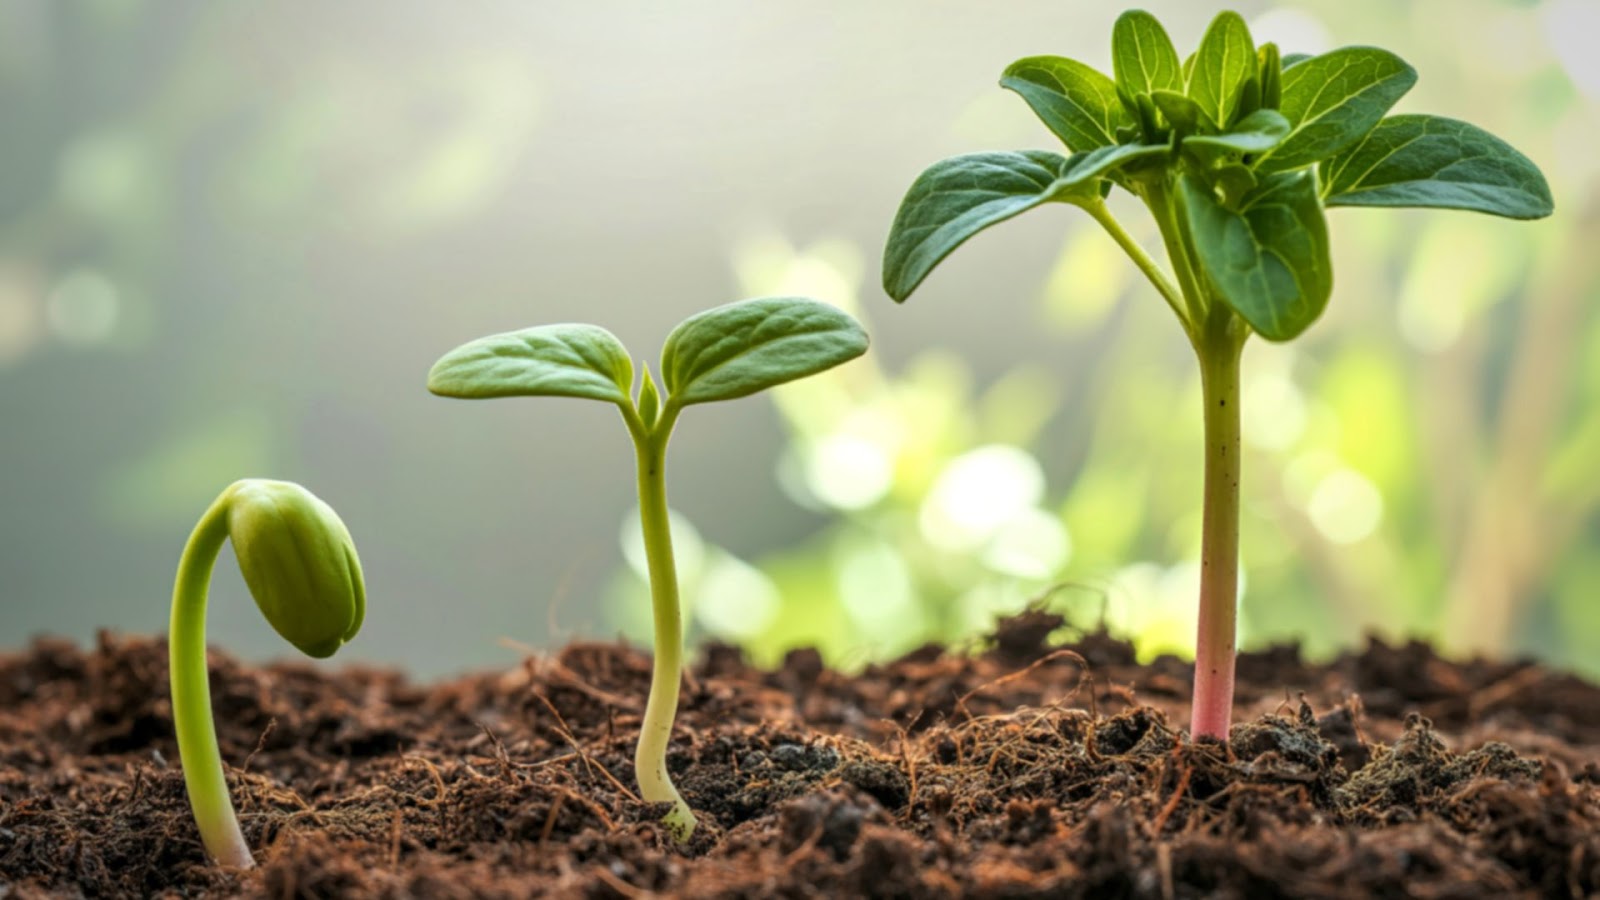
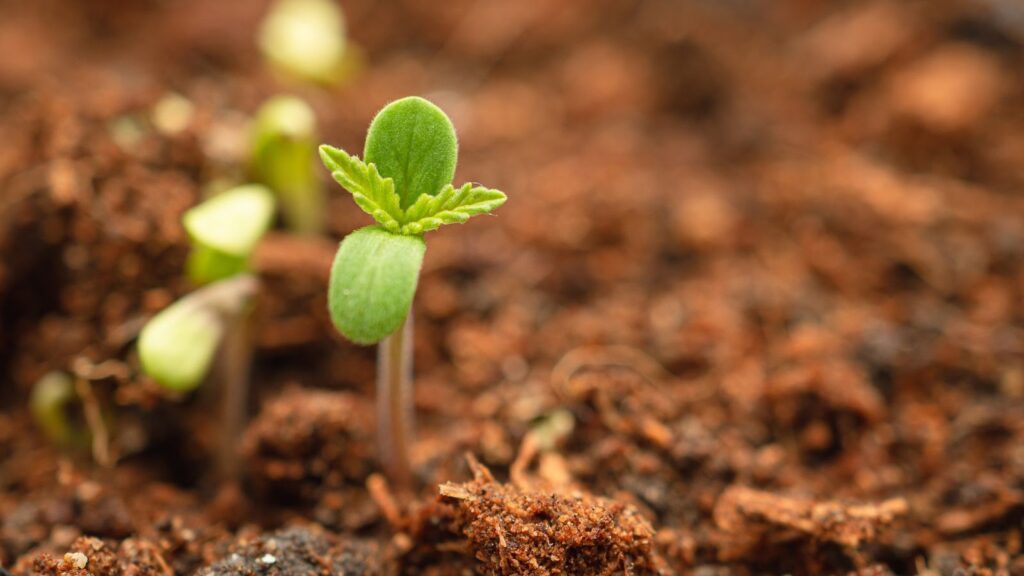
At three weeks old, your cannabis seedlings are no longer fragile sprouts, but they are not fully established plants yet either. This is a pivotal stage where the foundation for healthy vegetative growth is set. Get it right, and your plants will transition smoothly into vigorous growth. Get it wrong, and you could see stunted development, yellowing leaves, or even seedlings that fail to thrive.
Many growers at this stage wonder:
- How big should my seedlings be?
- Do they need nutrients now?
- When should I transplant?
The answers matter because week three is when seedlings start demanding more attention, from light and water to root space and airflow.
In this guide, we will break down what a healthy 3-week-old seedling should look like, the ideal conditions to maintain, and the mistakes to avoid.
At a glance:
- Week three is a critical period where seedlings shift from fragile sprouts to resilient young plants, with stem strength, leaf symmetry, and color indicating health.
- Maintaining steady light, temperature, humidity, watering, and airflow is essential for consistent growth and stress prevention.
- Nutrient management should be minimal and precise, using low doses only when necessary and keeping pH optimal for uptake.
- Watching for early signs of stress and transplant readiness lets growers intervene before problems escalate.
- Documenting care, environmental conditions, and seedling responses builds a reliable framework for future successful grows.
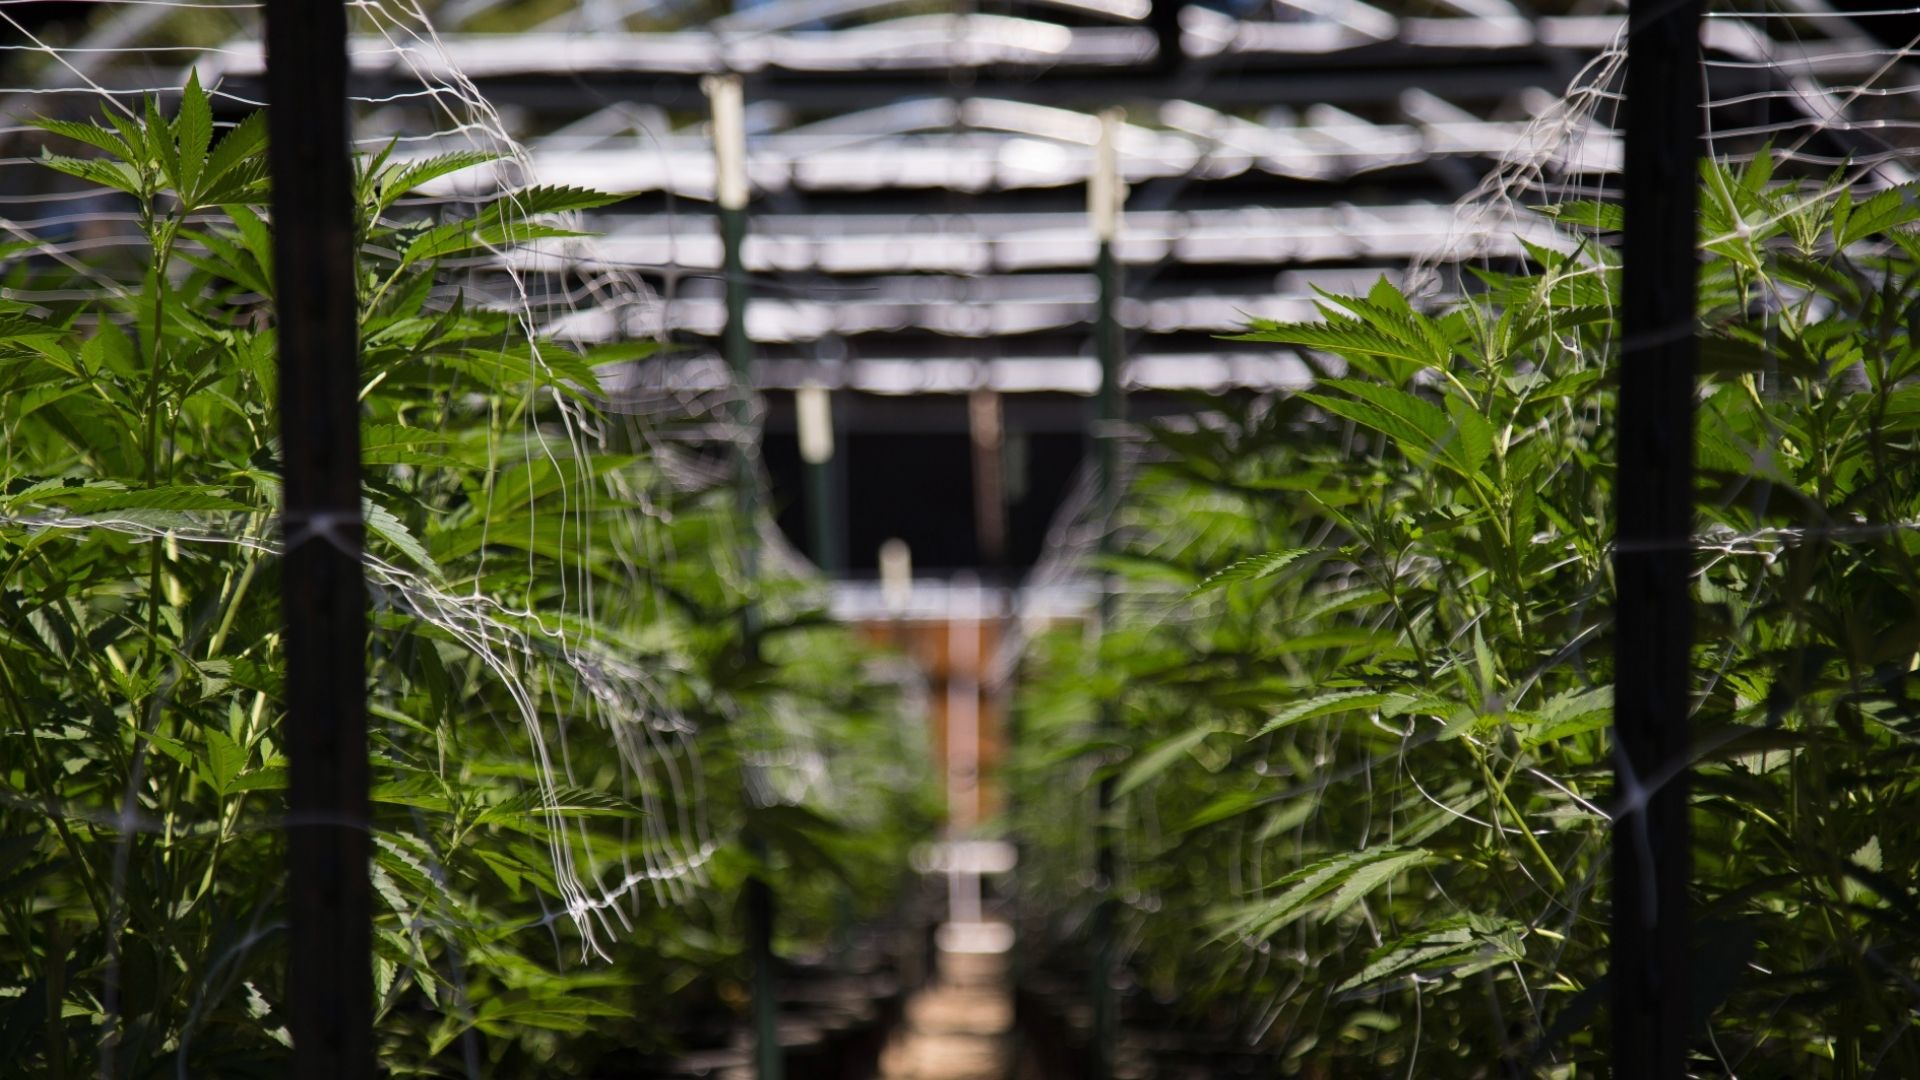
Understanding the 3-Week-Old Cannabis Seedling Stage
Week three is often the turning point where cannabis seedlings shift from fragile sprouts into sturdy young plants. By this stage, you should start noticing faster growth above the soil and stronger development below it. How your seedlings look and behave now will tell you if they are ready for a smooth transition into the vegetative stage.
- Size and Appearance: Healthy cannabis seedlings typically stand 3–6 inches tall with 3–4 sets of true leaves. The stem should be firm and upright, not thin or spindly. Leaves should look vibrant green and symmetrical.
- Root Development: Even though you cannot see it, root growth is accelerating underground. A strong root system is what supports the plant’s sudden growth spurt in the next stage. If roots are restricted, the seedling will stay small and stressed.
- Soil vs. Hydro Differences: In soil, seedlings may grow a little slower since roots are establishing in a denser medium. In hydro, growth is often faster, with slightly larger leaves by week three. Both are normal, but the key is consistency in your chosen medium.
If your plant does not match these signs, do not panic. Growth can vary depending on strain, environment, and medium. What matters most is steady progress and a plant that looks stronger each week.
Ideal Growing Conditions for 3-Week-Old Seedlings
At three weeks old, seedlings are delicate but no longer fragile. The environment you provide now plays a huge role in whether they grow into strong, healthy plants. Even small inconsistencies in light, temperature, or watering can slow them down.
Here’s what to keep steady at this stage:
1. Light
Keep seedlings on an 18/6 cycle. Fluorescent or LED grow lights are ideal since they deliver strong light without excess heat. Place them 12–24 inches above the canopy, depending on wattage. Leaves that taco upward often mean light stress, while thin, stretched stems signal lights are too far.
2. Temperature and Humidity
Hold temps steady between 65–75°F with 60–70% relative humidity. At this stage, roots need warmth to expand, but too much heat dries out topsoil and stresses leaves. If humidity dips too low, seedlings may transpire faster than their small roots can handle, slowing photosynthesis.
3. Watering
Moisture management is critical. Light, frequent watering encourages roots to “hunt” deeper into the medium, building a stronger base. Heavy, infrequent watering suffocates roots and invites fungal growth. A good rule is to water only when the top inch of soil feels dry to the touch.
4. Airflow
Seedlings thrive in moving air because it forces them to strengthen stems against gentle resistance. Proper circulation also reduces stagnant zones where mold spores or pests thrive. Even a clip-on oscillating fan can significantly lower the risks of damping off.
PlanaCan Tip: Instead of relying on memory or guesswork, log your environmental data and watering tasks in PlanaCan. By tracking patterns across cycles, you can spot early signs of stress, compare results, and lock in the conditions that consistently deliver healthy seedlings.
Signs of a Healthy vs a Struggling Seedling
At the three-week mark, seedlings are no longer fragile sprouts, but they are still highly responsive to their environment. This is the stage where you can clearly tell if things are on track or if small mistakes are starting to slow growth.
Understanding what healthy development looks like and catching early signs of stress makes all the difference in setting plants up for a strong vegetative phase.
FeatureHealthy SeedlingStruggling SeedlingCommon CauseStemUpright, sturdyThin, stretched, droopingWeak/inconsistent light, overwateringLeavesSymmetrical, vibrant greenYellowing, curling, burnt tipsNutrient imbalance, pH issues, and overfeedingGrowthSteady, new leaves formingStunted, slow developmentRoot stress, compacted soil, and environmental stressOverallStrong, responsive to the environmentWeak, stressed, slow recoveryOverfeeding, poor pH, improper light, and inconsistent careNow let’s dive into the details:
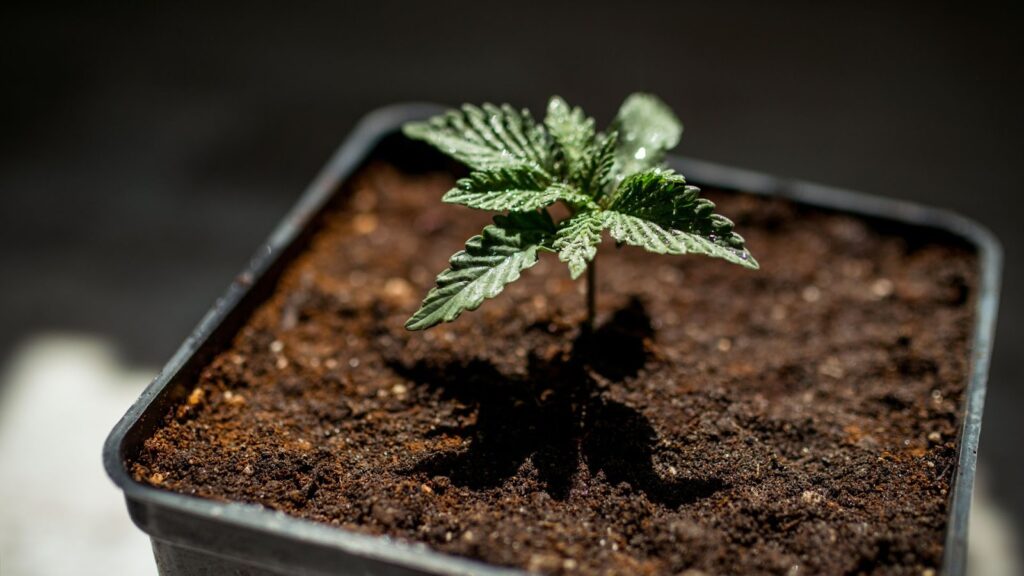
What Healthy Seedlings Look Like
When your environment and care are dialed in, seedlings will show visible signs of progress:
- Upright stem: A straight, sturdy stem shows roots are anchoring properly and the plant is strong enough to support new growth. It also indicates good light exposure and no stretching due to weak light.
- Symmetrical leaves: New leaf sets should emerge evenly on both sides. Symmetry signals balanced light exposure and no early stress, and helps maximize photosynthesis efficiency.
- Vibrant green color: Consistent medium-green foliage indicates chlorophyll production is on point and nutrients are being absorbed as expected. Vibrant color also suggests proper watering and ideal environmental conditions.
Healthy seedlings at this stage are actively growing and responding well to their surroundings, forming a strong foundation for the vegetative phase.
Warning Signs That Something is Off
If conditions are not quite right, seedlings will show stress quickly. Here are the most common red flags to watch for:
- Yellowing leaves: Early yellowing often starts at the lower leaves and can point to nutrient deficiencies, pH imbalance, or overwatering. If left unchecked, this can slow overall growth and reduce vigor.
- Drooping posture: Leaves curling downward typically signal too much water, while limp, thin leaves often suggest weak lighting. Persistent drooping can stunt stem development and delay the next set of leaves.
- Stunted growth: A lack of new leaf sets usually points to root stress, compacted soil, or unstable environmental conditions. Stunted seedlings may struggle to compete for light or recover from minor stressors.
- Burnt leaf tips: Crispy, clawed leaves are a classic sign of nutrient burn from feeding too early or too heavily. Severe burn can permanently damage the growing tip and limit leaf expansion.
Most seedling struggles trace back to a few common issues, but early detection and adjustments can prevent long-term damage and keep growth on track.
Why do These Problems Happen
At the three-week stage, most problems stem from a few common environmental or care-related factors:
- Overfeeding: Seedlings at this age have delicate roots and limited nutrient uptake capacity. Too much fertilizer too soon can burn the roots, causing leaf tips to curl, discoloration, or slowed growth. Gentle, balanced nutrient support is ideal until the vegetative stage.
- Poor pH balance: Nutrients are only available to plants within a specific pH range—6.0–6.5 in soil and 5.5–6.0 in hydroponic setups. Even minor deviations can lock out essential nutrients, causing yellowing, stunted growth, or deficiency symptoms, regardless of how much you feed.
- Weak or inconsistent light: If lights are too far from seedlings, stems stretch, leaves thin out, and growth slows. Too much intensity can bleach leaves or cause curling. Maintaining consistent light distance and intensity ensures balanced, healthy growth.
By identifying these underlying causes early, growers can make precise adjustments to feeding, pH, and lighting, keeping seedlings strong and on track for the next growth stage.
Suggested read: Cannabis Feeding Schedule: How and When to Feed Your Plants
Feeding and Nutrients at Week 3

This is the phase when your cannabis seedlings start signaling that plain water alone may not cut it anymore. However, too much, too soon, and growth can slow instead of speeding up. To keep seedlings on track, feeding has to be measured and precise.
Here’s how to approach it.
1. Start With Minimal Nutrients
At this stage, less is more. In nutrient-rich soil, plain water may still be sufficient. For hydro or coco, introduce nutrients at one-quarter strength. This gentle approach supports early growth while preventing root stress and nutrient burn.
2. Avoid Overfeeding Too Early
Strong feeds can do more harm than good. Heavy nitrogen or high-strength solutions often scorch leaf tips and restrict root expansion. Keeping nutrients light allows seedlings to focus on building a solid root and leaf base for the weeks ahead.
3. Maintain the Correct pH Range
Balanced pH is the key to nutrient absorption. In soil, keep levels between 6.0–6.5, while hydro and coco growers should aim for 5.5–6.0. Monitoring regularly avoids nutrient lockout, where essential elements remain unavailable even when present.
4. Adjust for Strain Type
Autoflowers are especially sensitive to nutrients due to their rapid life cycle, so they should be fed lightly and cautiously. Photoperiod plants can tolerate a gradual increase in feeding since they stay in veg longer, but the rule remains the same: start low, watch closely, and increase slowly.
Handled carefully, week three feeding sets the tone for the rest of the grow. The right balance means stronger roots, greener leaves, and seedlings ready to surge into vegetative growth without setbacks.
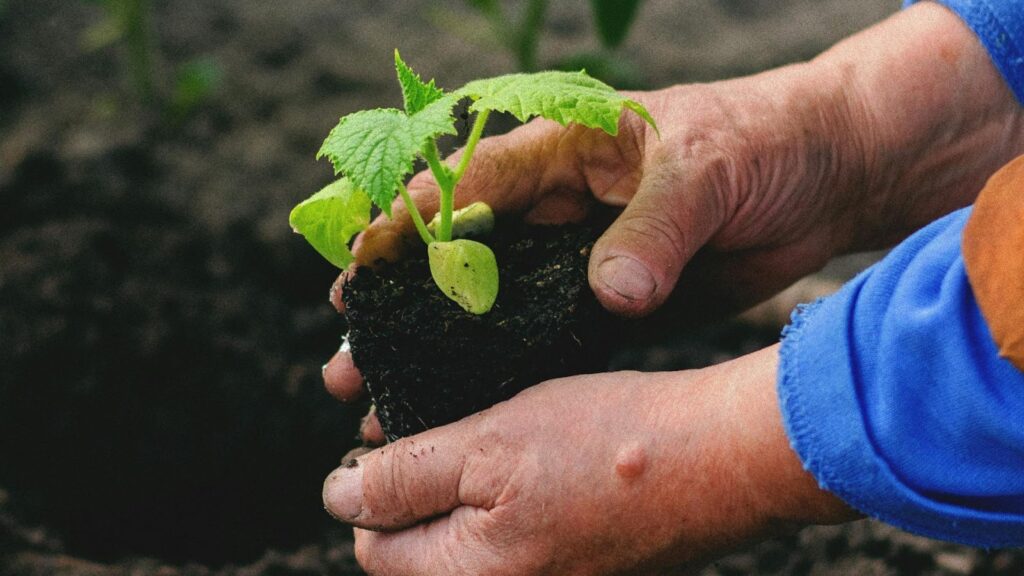
When and How to Transplant

Transplanting is all about reading the plant. Some seedlings are ready a little earlier, others need a few extra days. The real skill is knowing when your young cannabis plant has outgrown its container and will benefit from more root space. Moving at the right time keeps growth steady; moving at the wrong time can stall it.
1. Signs Your Seedling Is Ready
Before you even think about new pots or soil, confirm that your plant is asking for it. Pushing a seedling into a bigger container too early can shock fragile roots, while waiting too long causes binding and stress.
So, what should you look for?
- Roots peeking through drainage holes: This is one of the clearest indicators that your seedling is running out of room. Roots circling or poking through the base mean it’s time to act.
- Leaf canopy larger than the pot rim: When the foliage stretches beyond the edges, it usually mirrors what’s happening below the soil. The roots need more room to match top growth.
- Slowed growth despite good health: If your plant still looks green and upright but has stalled in progress, it may be root-bound and unable to push further in its small container.
2. Choosing the Right Medium and Container
Once you know it’s time to transplant, the next decision is what kind of environment you’ll be moving into. The wrong soil mix or container size can cause just as many issues as waiting too long.
Here’s how to get it right:
- Soil growers: Use a light, aerated blend with perlite, coco, or peat. This prevents compacting and gives roots oxygen to recover after the move.
- Hydro or coco growers: Make sure the next container drains well and has enough volume for aggressive root expansion. Fabric pots are excellent here, reducing the risk of binding.
- Pot sizing: Step up gradually (cup → 1 gallon → 3 gallon) instead of jumping to the final container. Too much unused soil holds excess water and can suffocate roots.
3. Reducing Transplant Shock
Even with the right timing and setup, the process itself can stress a plant. Roots don’t like being disturbed, and a rough move can stall growth for days.
To keep things smooth, focus on these best practices:
- Prepare the new home first: Pre-moisten the soil or medium before moving. This gives roots immediate contact with a stable environment.
- Keep the root ball intact: Gently loosen the old pot and handle from the base of the stem. Avoid tugging or breaking roots.
- Ease the adjustment period: Hold off on strong feedings for a few days and keep lights at a consistent height to reduce strain.
- Water smartly: Instead of drenching the whole container, water around the root zone so roots expand outward in search of moisture.
Suggested read: Choosing the Appropriate Soil for Cannabis
Best Practices for Week 3 Success
Seedlings don’t suddenly thrive because of one big decision. It's the accumulation of small, steady habits that makes the difference. This stage is less about pushing growth and more about avoiding setbacks.
The following best practices help you create that consistency so your plants move into veg strong and stress-free.
1. Keep a Steady Environment
Seedlings can’t adapt quickly to sudden swings in temperature, humidity, or light intensity. Stability is what fuels steady growth.
- Aim for 70–80°F with 50–60% humidity, keeping fluctuations within a narrow range. Even a sharp drop at night can stress your seedlings, so consistency matters as much as the target numbers.
- Maintain a light distance carefully. A few inches closer or farther can mean the difference between sturdy, compact growth and stretched, weak stems.
2. Monitor Daily Without Over-Handling
Close observation helps you catch small issues before they become big problems, but excessive touching or shifting can do more harm than good.
- Check for signs of leaf color changes, droop, or soil dryness. A quick visual scan every day builds a mental baseline of what “normal” looks like for your strain.
- Resist the urge to poke at roots or constantly adjust pots. Disturbance at this stage interrupts growth and adds unnecessary stress.
3. Dial In Water Quality, Not Just Quantity
Growers often fixate on how much or how often to water while ignoring the actual quality of what’s being fed to the roots. Getting this right early prevents hidden issues that otherwise surface weeks later.
- Check pH balance: Stick within 6.0–6.5 for soil or 5.5–6.0 for hydro. Even slight deviations can lock out nutrients and mimic deficiencies.
- Use clean sources: Filtered or dechlorinated water helps avoid chemical buildup that weakens root health. Hard tap water with excess minerals can stunt growth long-term.
- Maintain consistency: Don’t swing between different water types (tap, bottled, rain). Consistent input keeps root chemistry stable and predictable.
4. Consider Light LST Prep
While it’s too early to bend or tie branches, you can start laying the groundwork for future training.
- Position your pots so you’ll have space to anchor ties or clips when stems are stronger.
- Track which seedlings are stretching more than others, since those may be the first candidates for gentle training once growth allows.
5. Start Light Stress Management Early (Without Training Yet)
Seedlings don’t need full training this early, but introducing gentle stress now can help them build strength for later growth. Subtle techniques mimic outdoor conditions and prepare plants to handle more intense interventions down the road.
- Lightly brush your hand over the tops once or twice a day. This flexes stems in a controlled way, encouraging them to grow thicker and sturdier.
- A small oscillating fan set to a low setting creates constant, gentle motion. This not only strengthens stems but also improves air exchange, reducing the risk of mold.
- The goal isn’t shaping yet — just building resilience. Too much pressure at this stage risks snapping fragile tissue.
6. Document Everything for Learning and Consistency
Every grow is an opportunity to build a playbook for the next. Documentation helps you move from guesswork to repeatable success.
- Note environmental settings, watering times, and early signs of stress or vigor. Patterns often appear only when you compare notes across multiple grows.
- Record observations by strain, since genetics plays a major role in how seedlings respond to identical conditions.
The growers who keep records today are the ones who improve yield and efficiency tomorrow.
PlanaCan makes this process effortless by turning documentation into a shared digital record. You can log daily observations, assign monitoring tasks to your team, and build a reference library of strain-specific insights. Over time, these records help you refine techniques and avoid repeating mistakes.
Common Mistakes to Avoid at Week 3

Week three is a delicate balance between early growth and preparing for more active vegetative development. Missteps now can have lingering effects on plant health and yield, so it’s important to be aware of common pitfalls.
1. Overfeeding with Nutrients
Seedlings at this stage only need minimal nutrient support. Avoiding overfeeding ensures seedlings stay healthy and ready for robust growth later.
- Applying full-strength fertilizers can burn roots and stunt growth before they’ve fully developed.
- Stick to low doses or skip nutrients if your medium already provides sufficient minerals.
2. Keeping Lights Too Close or Too Far
Light intensity and distance directly affect stem thickness, leaf shape, and overall vigor.
- Lights that are too close can bleach or curl leaves, while lights that are too far encourage stretching and weak stems.
- Adjust height gradually as seedlings grow and monitor leaf response to fine-tune positioning.
3. Not Transplanting on Time
Stunted root development can slow overall growth if seedlings stay too long in small containers.
- Look for signs such as roots circling the pot or slowed growth to know when to move them.
- Choose the right medium and handle roots gently to minimize transplant shock.
4. Ignoring Early Signs of Stress
Subtle issues now can escalate quickly if overlooked.
- Drooping leaves, discoloration, or slow growth often indicate watering, nutrient, or environmental problems.
- Act promptly to correct issues rather than waiting for more obvious symptoms.
By avoiding these mistakes, you set up your seedlings for a smooth transition into more vigorous growth phases and increase the chances of a strong, productive plant.
Suggested read: Identifying and Treating Light Stress in Cannabis Plants
Conclusion
The third week is a pivotal stage in cannabis seedling growth. Plants are becoming sturdier, roots are developing, and the foundation for future vegetative growth is being set. Paying close attention to environmental conditions, nutrient management, and gentle stress preparation ensures seedlings stay healthy and resilient.
Monitoring for early signs of stress, avoiding common mistakes, and documenting progress creates consistency and confidence in your grow.
Tools like PlanaCan can make this easier by tracking watering, environment, and nutrient schedules while keeping a record of observations for each seedling. By mastering these practices during the three-week stage, you prepare your plants for smooth transplantation, vigorous vegetative growth, and ultimately, higher yields.
Schedule a free call today to see how PlanaCan can support your success.
FAQs
1. What does a healthy 3-week-old seedling look like?
A healthy seedling has an upright, sturdy stem and a symmetrical set of leaves. The color should be vibrant green, and the plant should show steady growth without any curling or yellowing of leaves. At this stage, the roots are developing below the surface, supporting the plant’s expanding structure.
2. When should I start feeding a 3-week-old seedling?
Most seedlings don’t need strong nutrients yet. If you choose to feed, use a very mild solution or a seedling-specific nutrient mix. Overfeeding at this stage can easily burn the roots, so start slow and monitor the plant’s response.
3. How often should I water a 3-week-old seedling?
Water lightly and only when the top layer of the soil feels dry. Seedlings are sensitive to overwatering, which can suffocate roots and stunt growth. Make sure your water is pH-balanced and avoid leaving standing water around the roots.
4. How do I know if my seedling is stressed?
Early warning signs include drooping leaves, discoloration, or slower growth than expected. Other indicators may be curling leaf tips or irregular spacing between leaves. Catching stress early lets you adjust light, water, or nutrients before serious damage occurs.
5. When is the right time to transplant?
Seedlings are usually ready for larger pots once roots start filling the current container and the plant shows steady growth. Look for a robust stem, healthy leaf development, and signs that the plant is outgrowing its space. Transplant carefully to minimize shock.
6. Can autoflower and photoperiod seedlings be treated the same at 3 weeks?
Both types can follow similar basic care routines for light, water, and nutrients. However, autoflowers have a fixed timeline and often benefit from slightly gentler feeding, while photoperiod plants allow a bit more flexibility with growth adjustments before flowering.